How To Make Flying Geese
I love flying geese! I adore how quilts made with flying geese have so much movement when this simple block is repeated!
Searching the web you can find several methods for making this versatile block, some of the techniques use specialty rulers and some don’t.
I think the method to use depends on the project you’re working on. When I still worked full time I bought lots of specialty rulers to have when I had less income – rulers can be pricey; I’m starting to use them and I find them to be helpful but not always necessary.
Method 1: Using One Large Triangle of one fabric and two small triangles from contrasting fabrics.
I have both the Fons & Porter Flying Geese Ruler and the Creative Grids Multi Size Flying Geese Ruler. Both work on the premise of using fabric strips of the same width to create both sets of triangles. Both rulers are terrific –ability to make flying geese units in several sizes; the Fons & Porter ruler the largest flying geese unit being 4×8 whereas with the Creative Grids ruler you can make a whopping 6×12 flying geese unit. As a bonus each ruler has the directions right on the face of the ruler. I do recommend having a rotating cut mat – I noticed an improvement in my accuracy when I rotated the mat versus flipping the ruler.
I made this mini using method 1. The flying geese units’ measure 2×4 finished. I added a 9 inch wide rectangle with the sunflower embroidery design and text to further practice my straight line quilting. This cutie adorned my front door during the month of September.
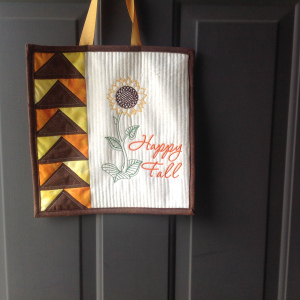
Sept 15 Door Mini
Method 2: Using a Rectangle of One Fabric and Two Squares of a Contrasting Fabric
No special ruler required for this method. In a nutshell you are using a rectangle and two squares to create the triangles. This method I believe is commonly known as stitch-n-flip. Although this method is super easy accuracy is key to success!
I made this Follow the Leader table topper measuring 15×24 from the scraps used from my maple leaf quilt rug using method 2. The flying geese units’ measure 4×8 finished. The center unit is a 4.5 x 8.5 rectangle with two 4.5 inch squares stitched, trimmed and flipped as the side unit. When I added the alternating rectangles the movement appears! Another opportunity to practice quilting with my walking foot. I used one of the decorative stitches on Miss Ellie.
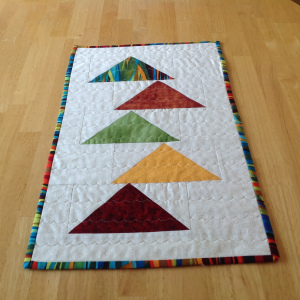
Follow The Leader table topper
Method 3: No Waste Method
Using only squares this method allows you to make 4 flying geese units at once. Great when you need multiple units!
I am in the process of making the Fons & Porter “Geese Go Modern” quilt from the Winter 2014 publication of Quilting Quickly which utilizes this method using 10 inch precut fabric squares. No special ruler is required for the pattern. You can purchase a ruler created by Eleanor Burns (Quilt In A Day) that is based on the no waste method.
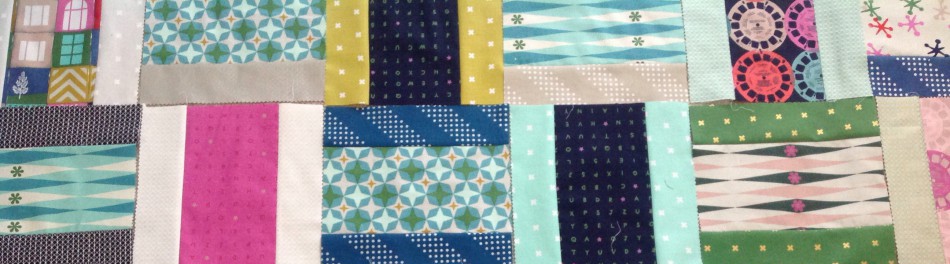
In my version of Geese Go Modern I’ve made 32 sets of four matching flying geese units! I had hoped to finish piecing this before I got busy with holiday orders – I didn’t so it will have to wait until I take vacation at the end of the year.
Geese Go Modern
Method 4 – Half Square Triangles
I’m not sure if this really is considered a method but you can arrange half square triangles to resemble flying geese units.
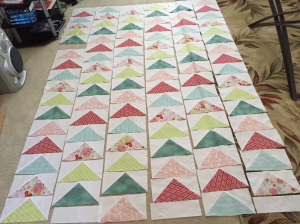
In the table runner below I used a batik charm pack from Tonga Treats — the center panel blocks are arranged as flying geese. Hopefully I’ll be able to get this one finished soon the colors are perfect for fall!
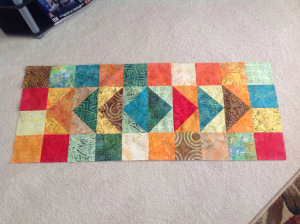
Tonga Treats TR
What’s your favorite method for making flying geese?
Until next time — live love and sew!