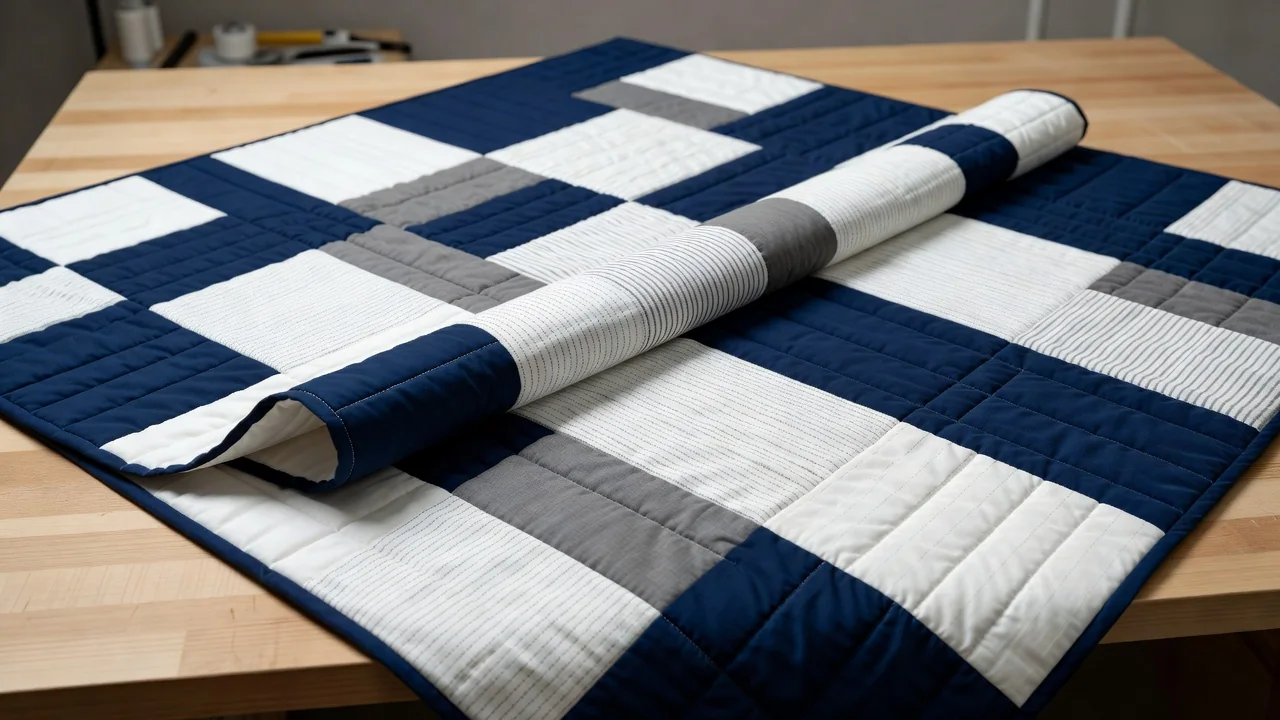
Baby Quilt with Knotted Stitching
A knotted quilt is the oldest way of holding three layers of cloth together, and it is still my favourite finish for a small quilt that needs to stay soft. Instead of running a machine across the surface, you tie a little knot through every layer by hand.
The result is a blanket with a gentle, puffed texture and a drape that machine stitching never quite achieves. It is also the friendliest first quilt anyone can make, because the whole thing can be finished sitting in a comfortable chair.
Why Knots Instead of Machine Quilting
Machine quilting holds the layers with continuous lines of thread. It is strong and it is beautiful, but the stitching also compresses the cloth, which makes the finished quilt firmer.
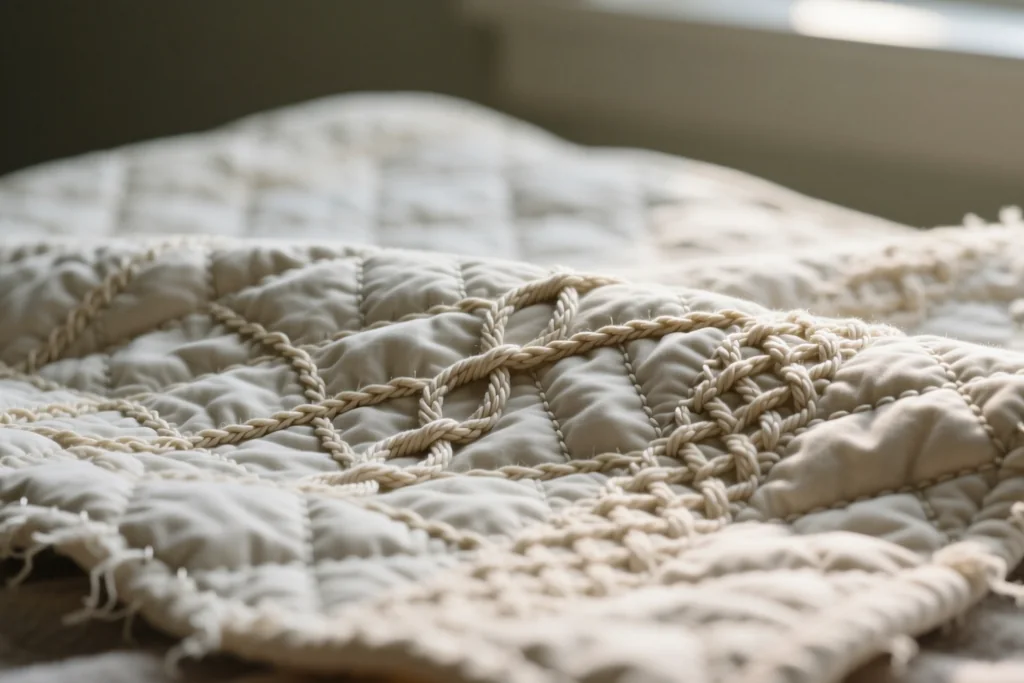
Knotted stitching does the same job at regular points, leaving the space between the knots loose and airy. A baby quilt pattern finished this way feels more like a soft blanket and less like a quilted bedspread.
There is also the practical side. Tying needs no quilting foot, no walking foot and no wrestling a full quilt through the throat of a sewing machine, which matters more as the size of the project grows.
Fabric and Layers: What Goes Into the Sandwich
Soft, natural fibre is the right choice. Cotton is the usual pick, and flannel makes a wonderfully warm backing without adding much weight. Pre-wash and press everything before you cut, because fabric that shrinks later will pull the layers out of shape.
Choose two prints you genuinely like, since this quilt has no border to hide behind. A quiet small-scale print on one side and a warmer tone on the other works beautifully together.
Every quilt is a sandwich, and each layer has a job. Get the middle one right and the finished quilt will stay soft and hold its shape through years of washing.
| Layer | What to choose | Why it matters |
|---|---|---|
| Top | Soft cotton in a small print | Takes the knots without pulling |
| Batting | Low-loft cotton or bamboo wadding | Keeps the quilt light and drapey |
| Backing | Cotton or brushed flannel | Gives the soft side against the skin |
| Tying thread | Perle cotton or several strands of floss | Strong enough to hold without cutting |
Lay the three layers out flat on the floor or a large table, smoothing each one from the centre outward. A quilt that starts flat stays flat, and no amount of tying will rescue one assembled in a heap.
Sewing It Together and Turning It Out
Place the top and the backing right sides together, with the batting resting on top or below depending on your method, and pin generously all the way round.
Sew around the edges, leaving an opening along one side that is wide enough to put your hand through comfortably. Backstitch firmly at both ends of the opening.
Trim the corners before you turn the quilt right side out, then push them gently into shape with a blunt point. Press the edges flat and slip-stitch the opening closed.
Tying the Knots
Thread a large-eyed needle with your tying thread and take a small stitch straight through all the layers, from the top to the back. Leave both ends loose and tie them firmly together.
Work your way across the quilt in a grid so the spaces stay even. If you tie row by row and finish each row, you can stop and start without losing your place.
Some makers hide the knot under the top layer, others leave the little tufts showing as a design feature. Either way, trim the ends to a comfortable length rather than cutting them flush.
Thread colour is a small decision with a big effect. Matching thread almost disappears and lets the fabric speak, while a contrasting thread turns the knots into part of the pattern.
Keeping the Tying Even
The charm of knotted stitching comes from rhythm, and a few small habits keep that rhythm from drifting across a large surface.
- Tie in the middle of the quilt first, then work outward toward the edges.
- Keep the quilt smooth with your free hand so no layer shifts as you pull the thread through.
- Leave the knots slightly relaxed rather than tight, or the surface will dimple around each one.
- Finish with a double knot and a dab of fabric glue on the ends if you want extra security.
- Roll the finished edge and clamp it while you work so the quilt does not drag on the floor.
Check the back of the quilt as you go. Knots that look neat from above can sit crooked underneath, and a quick glance every row saves a lot of unpicking.
Finishing Touches and Care
Knotted stitching is usually enough on its own, so a heavy border is not necessary. If you want a little more structure, a narrow bound edge gives the quilt a tidy frame and protects the corners.
Add a small label with your name and the month, stitched into a corner of the backing. Quilts made for a new arrival in the family are kept for a long time, and that little square of fabric becomes part of the story.
Wash the quilt gently in cool water and dry it flat or on a low setting. A laundry bag protects the knots, and a short gentle cycle keeps the layers from shifting.
A Quilt Finished in an Evening
Knotted stitching turns a small quilt into a project that fits around an ordinary week. An hour here and there across an evening or two will see the whole thing tied and ready to wrap.
If you are looking for a first baby quilt pattern to try, start with a simple two-fabric design and tie it generously. Neatness comes with practice, and nobody has ever minded a slightly crooked knot on a warm blanket.
Keep the first one for yourself if you can. It is the best reminder of how quickly a handmade quilt can come together, and of how good it feels to finish something by hand.