Sewing a Lightweight Mini Blanket
A lightweight mini blanket is my favourite kind of afternoon project. It is a small blanket, lap sized and easy to fold, meant for a chair, a sofa arm or a cool evening on the porch. You can start it after lunch and be wrapped in it by dinner.
There is no pattern to follow and no complicated piecing, which makes lightweight blanket sewing a gentle way back to the machine if you have not sewn for a while. The choices that matter are simple: the fabric, the size, the seams and the finish.
Why a small blanket works so well
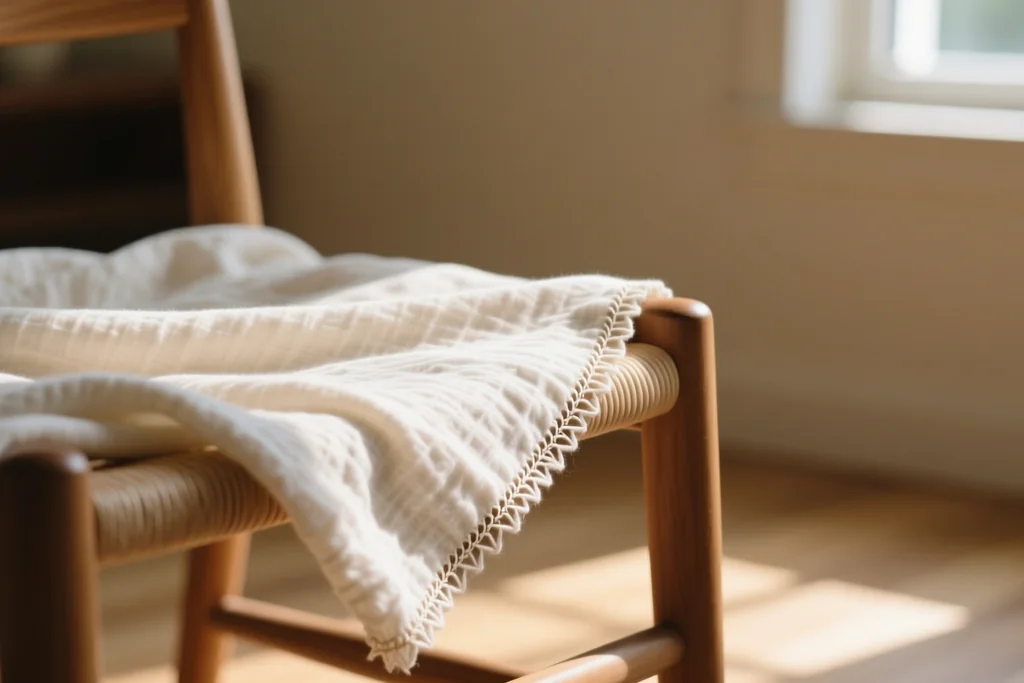
A mini blanket sits somewhere between a throw and a quilt. It is large enough to cover your knees or your shoulders but small enough to roll up and carry from room to room. That size is exactly what makes it useful every single day.
I keep one folded over the back of my sewing chair and another in the car. Handmade things earn their place by being used, and this is the sort of project that gets used constantly without ever looking worn out.
Because it is small, a mini blanket is also a friendly way to use fabrics you love but do not have much of. A metre here, a fat quarter there, and you have a finished object instead of another bag of leftovers.
It is also a project that works in any season. In summer you can sew a light cotton version for the porch, and in winter the very same plan becomes warmer with a flannel back and a slightly larger cut.
Fabric that keeps it light
The weight of the finished blanket comes from the fabric and from whatever you put in the middle. If light is what you want, let the fabric do the work and think twice before adding batting.
Cotton is the easiest choice. It washes well, holds its colour and presses flat. Flannel is softer and a little warmer. Cotton on the front with flannel on the back is a pairing I return to again and again.
Fleece needs no binding at all because it does not fray, which makes it ideal for a very quick version. Wool blends feel wonderful but ask for gentler washing. Choose something pleasant in your hand, because a blanket is touched far more than it is looked at.
For the middle, a layer of cotton flannel or a thin cotton sheet is usually enough. It adds a little body without weight and it stops the front and back from shifting while you sew.
Sizes, shapes and a simple plan
There is no single correct size. A blanket for an armchair is smaller than one for a sofa, and a blanket that travels should fold into a bag without a struggle. Measure the place where it will live before you cut anything at all.
| Shape to cut | What it gives you | Where it fits best | Keep in mind |
|---|---|---|---|
| Short lap length | Covers knees and feet | Armchair or desk | Easy to roll and store |
| Sofa width | Room to share | Living room | Needs more fabric |
| Square | Dresses a chair back | Reading corner | Simple to lay out flat |
| Rounded corners | Softer look, less wear | Settee or footstool | Clip the curves carefully |
| Rolled with ties | Stays tidy between uses | Travel and the car | Add a strap to keep it shut |
Write your measurements on a scrap of paper and pin it to the fabric while you work. It is a small habit that saves a great deal of guesswork when a project is put down for a few days.
If you are unsure, cut a little larger than you think you need. Trimming a blanket down is easy, while adding fabric back in the middle of a project never is.
Shape matters as much as size. A plain rectangle is the fastest and the most forgiving, while rounded corners soften the look and take daily wear a little better.
Sewing it together
Press both layers well before you begin. Place them right sides together, pin generously around the edge and sew with a steady seam, leaving an opening along one side for turning.
Clip the corners diagonally before turning so they lie flat, then trim away any bulky seam allowance. Turn the blanket right side out, push the corners out gently with a blunt tool, and press so the seam sits exactly on the fold.
Close the opening by hand with a small, neat stitch, then add a little quilting if you would like the layers to stay put. A few lines of straight stitching or a simple grid is plenty.
If your machine struggles with the bulk, reduce the pressure on the presser foot and lengthen the stitch a little. Going slowly always beats forcing the fabric through.
Finishing details that make the difference
- Topstitch around the edge for a crisp, deliberate finish.
- Add a line or two of stitching across the middle to hold the layers together.
- Sew a fabric tie or a short strap so the blanket stays rolled in the cupboard.
- Try a decorative stitch from your machine as a quiet row of interest.
None of these steps takes long, but each one is the difference between something that looks homemade and something that looks properly handmade. Good lightweight blanket sewing is mostly patience at the pressing board.
A mini blanket is also a perfect place to practise a new stitch or a new thread colour, because the stakes are low and the fabric is right there in your hands.
Using and caring for it
Wash a lightweight blanket the way you wash your other handmade textiles: a gentle cycle, cool water and a low tumble or a line outside on a bright day. Avoid harsh detergents that dull the colour.
Fold it rather than hanging it, and rotate where it lives in the house so one edge does not take all the wear. A blanket that is used softens with every wash, and that softness is part of the pleasure.
Make one and you will almost certainly make a second, because the first will quietly disappear into somebody else's favourite chair. That is the best compliment a small blanket can receive.