Handmade Greeting Cards for Every Occasion
There is something quietly satisfying about a handmade greeting card. It arrives out of the envelope as a small personal object, and it says far more than anything printed on a shop shelf.
Card making is also one of the kindest crafts for retirement. It needs very little space, it can be picked up for twenty minutes at a time, and handmade greeting cards can be made for every occasion in the year.
Why card making suits the sewing room
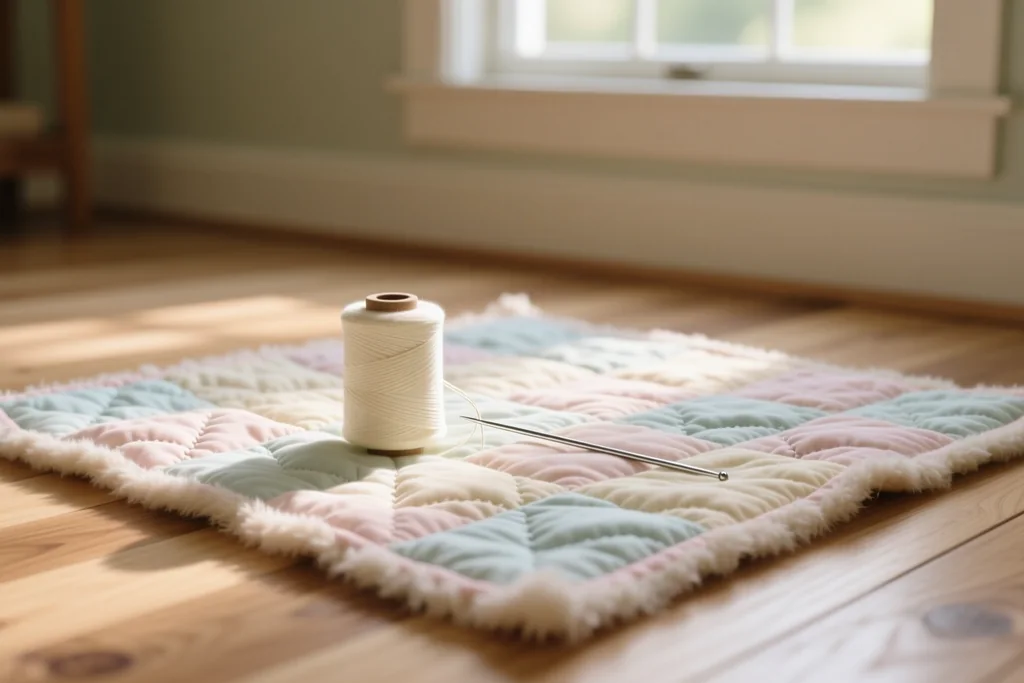
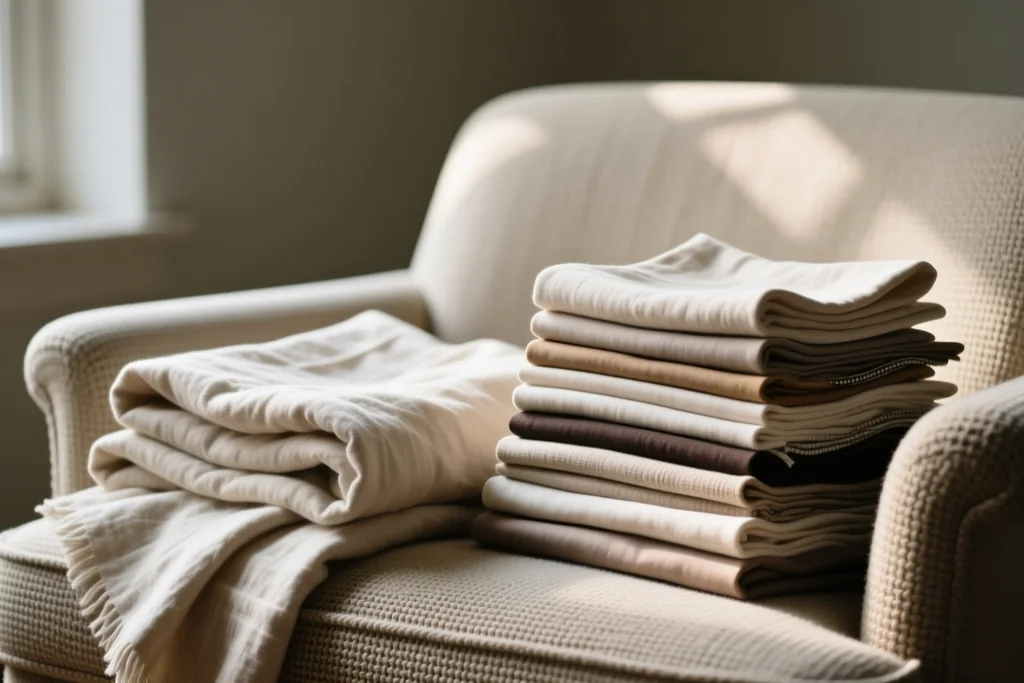
Most of what you need is already in the house. Card stock, a glue stick, a few fine pens and a box of fabric scraps will get you started, and the scraps are often the best part of the whole project.
Working with paper also keeps the hands busy in a different way from machine sewing. It is gentler on the eyes and shoulders, and a single card can be finished in one sitting without any setting up at all.
Best of all, cards give you a reason to use the small beautiful pieces of fabric that are too good to throw away but too small for anything else. A favourite print can live on in a card even when there is not enough left for a quilt block.
A small kit worth keeping together
- Plain card blanks and envelopes in two or three sizes.
- Fabric scraps, ribbon offcuts and a little fusible web.
- A glue stick, double-sided tape and small sharp scissors.
- Fine pens for the written message, plus a stamp or two.
- A shallow box to keep finished cards flat and safe.
Keep the kit in one container so that the whole hobby opens and closes in a minute. Projects that are easy to start are the ones that actually get started.
Three designs to try first
A stamped card is the simplest of all. Press the stamp onto the ink pad, press it onto the card, and leave it to dry before adding a short handwritten line underneath.
A layered card uses up your scraps. Cut two or three shapes, arrange them on the front until the balance feels right, and glue them down one at a time. A narrow strip of fabric along one edge makes even a plain card look considered.
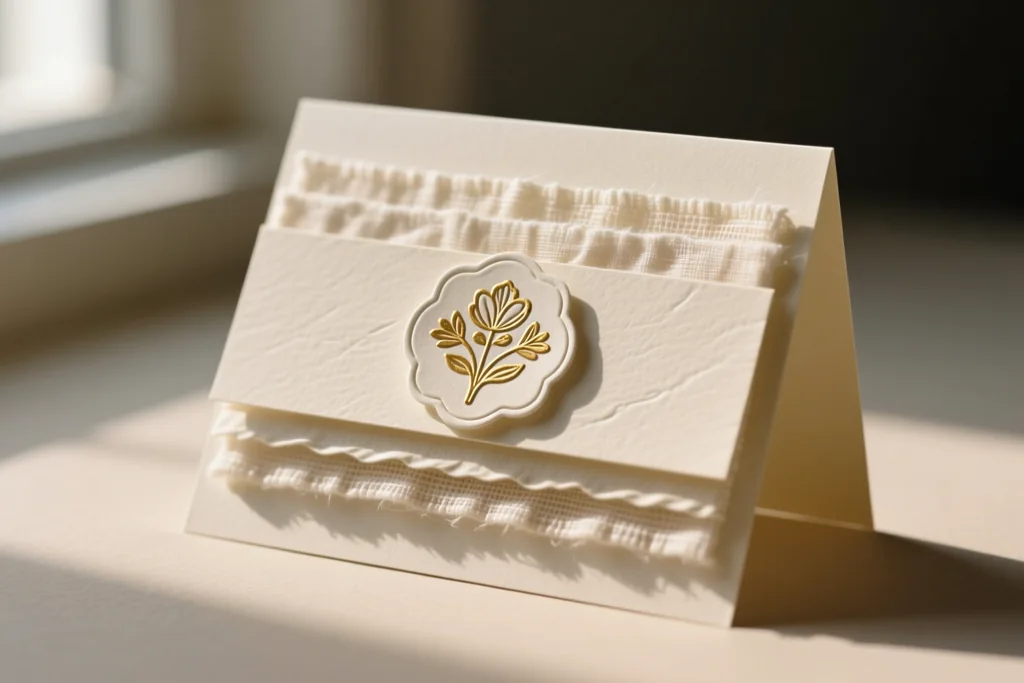
A fabric panel card is where the sewing comes in. Sew two small squares right sides together and turn them, press the panel flat, then attach it to the card front with a little fusible web or a few hidden stitches.
Matching the card to the occasion
Different occasions ask for different treatment. A design that feels perfect for a birthday can feel too busy for a sympathy note, so it is worth thinking about tone before you pick up the scissors.
| Occasion | Palette that works | Technique to use | Tone of the message |
|---|---|---|---|
| Birthday | Warm and bright | Stamping and layering | Cheerful and personal |
| Winter holiday | Seasonal colours | Fabric panel or applique | Warm and traditional |
| Thank you | Soft and light | One simple stamp | Short and sincere |
| Get well | Calm and pale | Plain card with ribbon | Gentle and brief |
| Anniversary | Muted and rich | Layered shapes | Reflective and warm |
| Just because | Anything you like | Scraps and stitching | Playful and light |
Keep a short note of what you made for whom, so the same design does not arrive twice. A small notebook is enough, and it is a pleasant thing to look back through at the end of the year.
It also helps to work in batches. Cutting and stitching ten fabric panels in one afternoon and assembling them on another day keeps the whole process calm and unhurried.
Taking the technique further
Once a few simple cards are behind you, the same supplies will carry you into techniques that look far more complicated than they really are. None of them needs a workshop, and each one can be learned on a single card.
Embossed card stock has a raised pattern pressed into it and catches the light in a very appealing way. Pre-embossed sheets can simply be cut to size and glued to a blank card, and a little ink brushed across the surface brings the pattern forward.
Quilling uses narrow strips of paper rolled into tight coils and then shaped. Arrange the coils into flowers or simple abstract patterns, glue them down with a tiny amount of adhesive and let them dry fully before the card goes into an envelope.
Punched and die cut shapes give crisp edges that are difficult to cut by hand. Layer a few of them in different colours for depth, or use a single shape as a quiet focus in the middle of the card.
Making the message personal
The words are the part people keep. A few honest lines written by hand in ink will always mean more than a printed verse, however pretty that verse happens to be.
If writing by hand feels difficult, keep it short. One clear sentence about why you are thinking of that person is worth more than a page of general good wishes.
Add a small drawing, a pressed flower or a scrap of the same fabric you used on the front. These details turn a card into something that gets kept rather than quietly recycled with the rest of the post.
Making cards together
Card making is easy to share. A table, a shared pile of supplies and a couple of hours is all a small group needs, and everyone can work at their own pace without anyone feeling rushed.
Making a set to donate to a hospital, a care home or a community group is a good reason to keep going. A box of blank handmade greeting cards is genuinely useful to people who cannot get to the shops.
Whether you make one card or fifty, the point is the same. It is the small pleasure of turning a few scraps into something that lands on a doormat and makes someone smile.