Decorating the Christmas Tree: Ideas and Traditions
Decorating the Christmas tree is the moment the season really begins. Boxes come down from the loft, the first ornament is unwrapped, and for a little while the whole room belongs to the ritual.
There is no rule that says a tree has to look like a shop window. With a colour plan, a sensible order of work and a few handmade pieces, christmas tree decoration becomes a pleasure rather than a long chore.
Start with a plan and a colour scheme
Before anything goes onto the branches, decide on the look. Two or three colours repeated through the tree will always read better than a mix of everything that happens to be in the box.
Look at the room first. A tree in a warm room with wooden furniture takes gold, cream and deep red beautifully, while a lighter room suits silver, white and soft blue.
Set aside the ornaments that do not fit this year and keep them for another year. Rotating what you use keeps the tree interesting and stops it from becoming crowded.
Take a photograph of the tree once it is finished and keep it with the decorations. Next year it is far easier to repeat a look you liked than to invent one from scratch.
The order of work
Lights first, then garlands, then ornaments, then the finishing touches. Working in that order means nothing has to be moved twice, and the tree fills evenly from the inside outwards.
Start the lights at the top and work down, tucking the strands into the branches rather than draping them over the tips. The light should seem to come from inside the tree.
Hang the larger ornaments low and towards the front where they can be seen, and the smaller ones higher up and deeper in. Stand back every so often to check the balance of the whole tree.
Work with the lights plugged in as you go, so you can see the gaps while you can still reach them. It is much harder to judge the balance of a tree that is not lit.
Get christmas tree decoration into a sensible order and the whole job takes an evening. Racing through it in the wrong order means moving the same bauble three times.
Choosing the tree and the topper
The shape of the tree decides what works on it. A full, wide tree can carry large ornaments, while a slim one is happier with small pieces and long vertical garlands.
Whatever sits on the very top should be the tallest item you own and it should be light. A fabric star or a padded angel will not tip a slim top branch the way a heavy glass figure can.
If the tree stands in a window, remember that the back will be seen from outside. A few ornaments placed at the back stop it from looking bare from the street.
Handmade ornaments from the sewing room
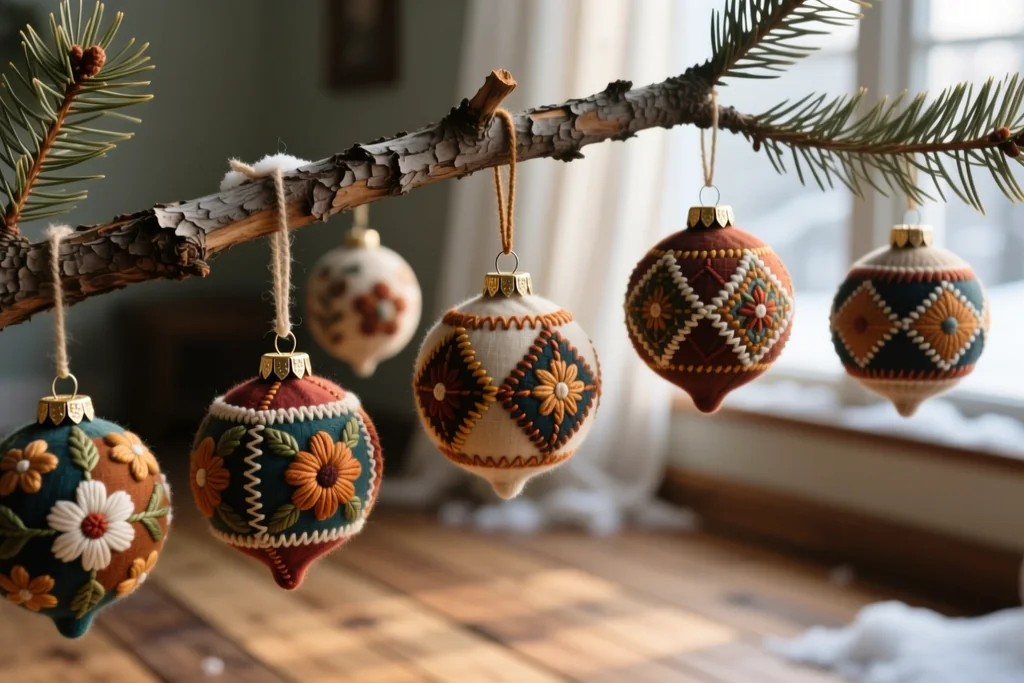
Fabric ornaments are the fastest handmade decoration there is. Two small shapes sewn right sides together, turned, stuffed lightly and hung from a ribbon will fill a bare patch in minutes.
Leftover quilting cotton, felt, ribbon and a little polyester filling are all you need. A simple running stitch around a circle, pulled tight around a ball of filling, makes a soft bauble with no pattern at all.
Small fabric stockings, miniature folded stars and padded hearts all hang well and add the softness that glass ornaments cannot. Make one each year and the collection grows quietly in the box.
Use a needle that is comfortable in your hand and a thread that shows against the fabric. Metallic thread catches the tree lights, while a plain cotton disappears into the stitching.
| Ornament | Materials | Skill level | Best place on the tree |
|---|---|---|---|
| Stuffed bauble | Cotton scraps and ribbon | First project | Evenly around the tree |
| Felt star | Felt and embroidery thread | Simple | Upper branches |
| Mini stocking | Cotton and narrow ribbon | Easy | Lower branches |
| Padded heart | Two fabric shapes, filling | Easy | Centre front |
| Folded fabric star | Stiff cotton and pins | Needs patience | Near the top |
| Ribbon bow | Wide ribbon and wire | Very quick | Filling gaps |
Keep a small box of these pieces with the rest of the decorations so they are never lost at the back of the loft. Handmade ornaments rarely break, which is one reason they stay in the family for so long.
Traditions worth keeping
Every family seems to have one ornament that must go on first. Whether it is old or plain matters far less than the simple fact that it is always there.
Add one new piece to the tree each year. Over time the tree becomes a record of the years rather than a display of one season, and that is a lovely thing to unwrap.
If you make ornaments as gifts, write the year on a small tag and tuck it inside. It is a small kindness that somebody will find years later.
Some of the best ornaments on any tree are the plainest ones, made in a single evening. Their value comes from the person who made them rather than from anything they cost.
Storage that saves next year
Store ornaments in shallow boxes with dividers or tissue between the layers. Fabric pieces prefer to lie flat, and glass needs to be separated so nothing knocks against it in the loft.
Label the boxes by type rather than by room, so lights, garlands and ornaments can each be found on their own. Note which strand of lights has a fault and deal with it before next December.
A cardboard tube makes a good home for the garlands, and a clean tin keeps the small ornaments together. Anything that is easy to put away is easy to find again.
- Lay fabric ornaments flat so they do not crease through the year.
- Keep glass pieces in their own box with dividers between them.
- Coil the lights loosely around a card and tape the ends down.
- Leave the tree bag open until the tree is completely dry.
Wrap the tree itself in an old sheet and stand it somewhere dry. Next year the whole ritual will be easier, and the decorations will come out of the box looking as good as they did when you made them.