Embroidery for Beginners: Your First Stitches
Hand embroidery has a way of slowing an afternoon down. There is no machine to thread, no seam allowance to measure, and nothing ruined if a stitch lands a little to the left of where you planned it. That forgiving nature is exactly why embroidery for beginners feels so welcoming.
What follows is the route I would take if I were starting from scratch this week: a short list of tools, four stitches that cover most designs, and the quiet habits that keep the fabric flat and the hoop steady.
Begin With a Simple Kit
A beginner kit takes the guesswork out of the first shop visit. Most contain fabric, a hoop, a few needles, a small range of threads and a printed design with clear diagrams.
Buying everything separately is fine once you know what you like. At the start, though, it is easy to come home with a needle that is too fine or thread that shreds every few stitches.
Look for a design with large shapes and few colour changes. A single flower, a leaf sprig or a simple outline gives you room to practise without juggling twenty shades of thread.
The Hoop, the Needle and the Thread
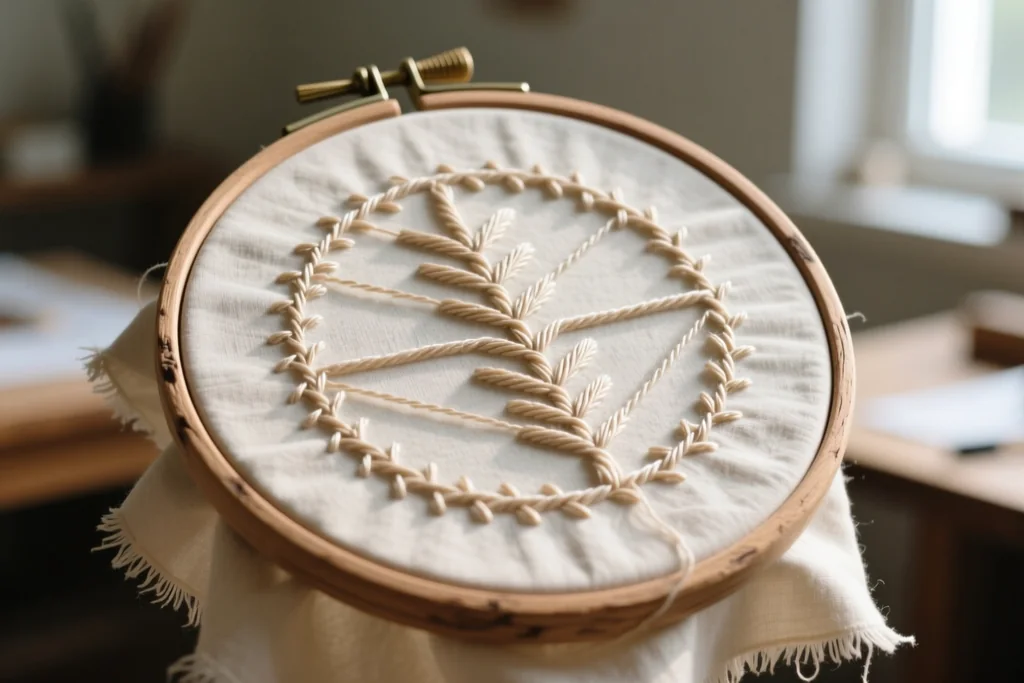
An embroidery hoop does one job: it holds the fabric taut while you work. A hoop with a screw fitting lets you tighten it as the fabric relaxes, which happens sooner than most people expect.
Choose a needle with an eye large enough for your thread, and one that passes through the fabric without dragging. If it resists, the needle is too fine or your thread is too thick.
Stranded cotton is the everyday choice. It splits into finer strands, so a single skein can give you fine outlines and bold fills without a second trip to the shop.
Keep a spare needle in your tin. Needles dull with use, and a fresh one glides through cotton in a way a tired needle never will.
Four Stitches That Cover Almost Everything
You do not need a long list of stitches to make something worth framing. The four below take you from outline to filled shape, and each one builds on the last.
| Stitch | How it looks | Best used for |
|---|---|---|
| Running stitch | Even dashes in a straight or gentle curve | Outlines, borders and quilting lines |
| Backstitch | A continuous, unbroken line | Lettering, stems and crisp edges |
| Cross stitch | Small even crosses in a grid | Motifs, samplers and counted designs |
| Satin stitch | Smooth threads laid side by side | Filling petals, leaves and small shapes |
Learn one stitch at a time on a spare square of fabric. Stitch a row, then another row beside it, until your hands remember the rhythm. That repetition is what turns a wobbly first line into something neat.
Tension Is the Habit That Changes Everything
Tension means how tightly the thread sits against the fabric. Pull it hard and the fabric puckers; leave it loose and the stitches look untidy and catch on everything.
The aim is for the thread to lie flat and calm on the surface. If you can slide a fingernail under a finished stitch, it is loose; if the fabric wrinkles around it, it is tight.
Let the needle do the work rather than tugging the thread. Bring it up, take it down, and stop pulling the moment the thread settles against the cloth.
Choosing Fabric You Can Actually See Through
A plain, medium-weight cotton is the kindest fabric to learn on. It has a visible weave, so you can count threads and place stitches evenly, and it holds a crease without fighting back.
Very dark fabric makes the weave hard to read in the evening. Very loose weaves let the thread slip, and very fine fabric shows every needle mark.
Buy a little more than you think you need. An extra square gives you somewhere to test a stitch before it goes onto the piece you really care about.
Wash and press new fabric before you begin. Pre-shrunk cloth will not shift under the stitches later, and a smooth surface is easier to work on than a creased one.
Small Habits That Keep the Work Tidy
Most of what makes embroidery look neat happens away from the needle. A few small habits will do more for your finished piece than any expensive tool.
- Start and finish each thread with a few tiny back stitches instead of a large knot.
- Cut thread to a comfortable arm's length so it does not fray as it passes through.
- Take the hoop off the fabric when you stop for the day, so the cloth does not hold the stretch.
- Work near a window or a bright lamp, and turn the hoop rather than reaching awkwardly across it.
- Keep a small pair of scissors and a needle case in a tin beside your chair.
None of these cost anything. They simply make the difference between a piece that looks handmade and one that looks unfinished.
Practice Without Pressure
Not every piece of embroidery needs to become a cushion or a picture. A practice square is a perfectly good use of an evening, and it teaches faster than a finished design.
Try a row of one stitch, then a row of another, and notice how differently the thread behaves in each. Keep the squares, because in a month they will show you plainly how far your hands have come.
Once the four stitches feel familiar, embroidery for beginners stops being a lesson and becomes something you reach for after supper. Transfer a simple outline onto a tea towel, or work a small motif to frame.
Set the hoop down when your shoulders tighten. Embroidery rewards patience far more than it rewards speed, and there is always tomorrow evening.