My Sewful Retirement

A Quilting Journey

Archive for the month “June, 2015”

It’s Almost 4th of July!

4th of July has always been a favorite holiday of mine. Growing up we would spend summer vacation in Georgia with my grandparents.  Each year on the 4th we would have a big family gathering to celebrate.  My very crafty grandmother and aunts would decorate everything to enhance the festivities.

Although our celebrations are on a much smaller scale I still try to decorate my home. I’ve been working on a few simple projects that I’d like to share.

I have to admit I’m a charm pack junkie.  I have stacks of them!!

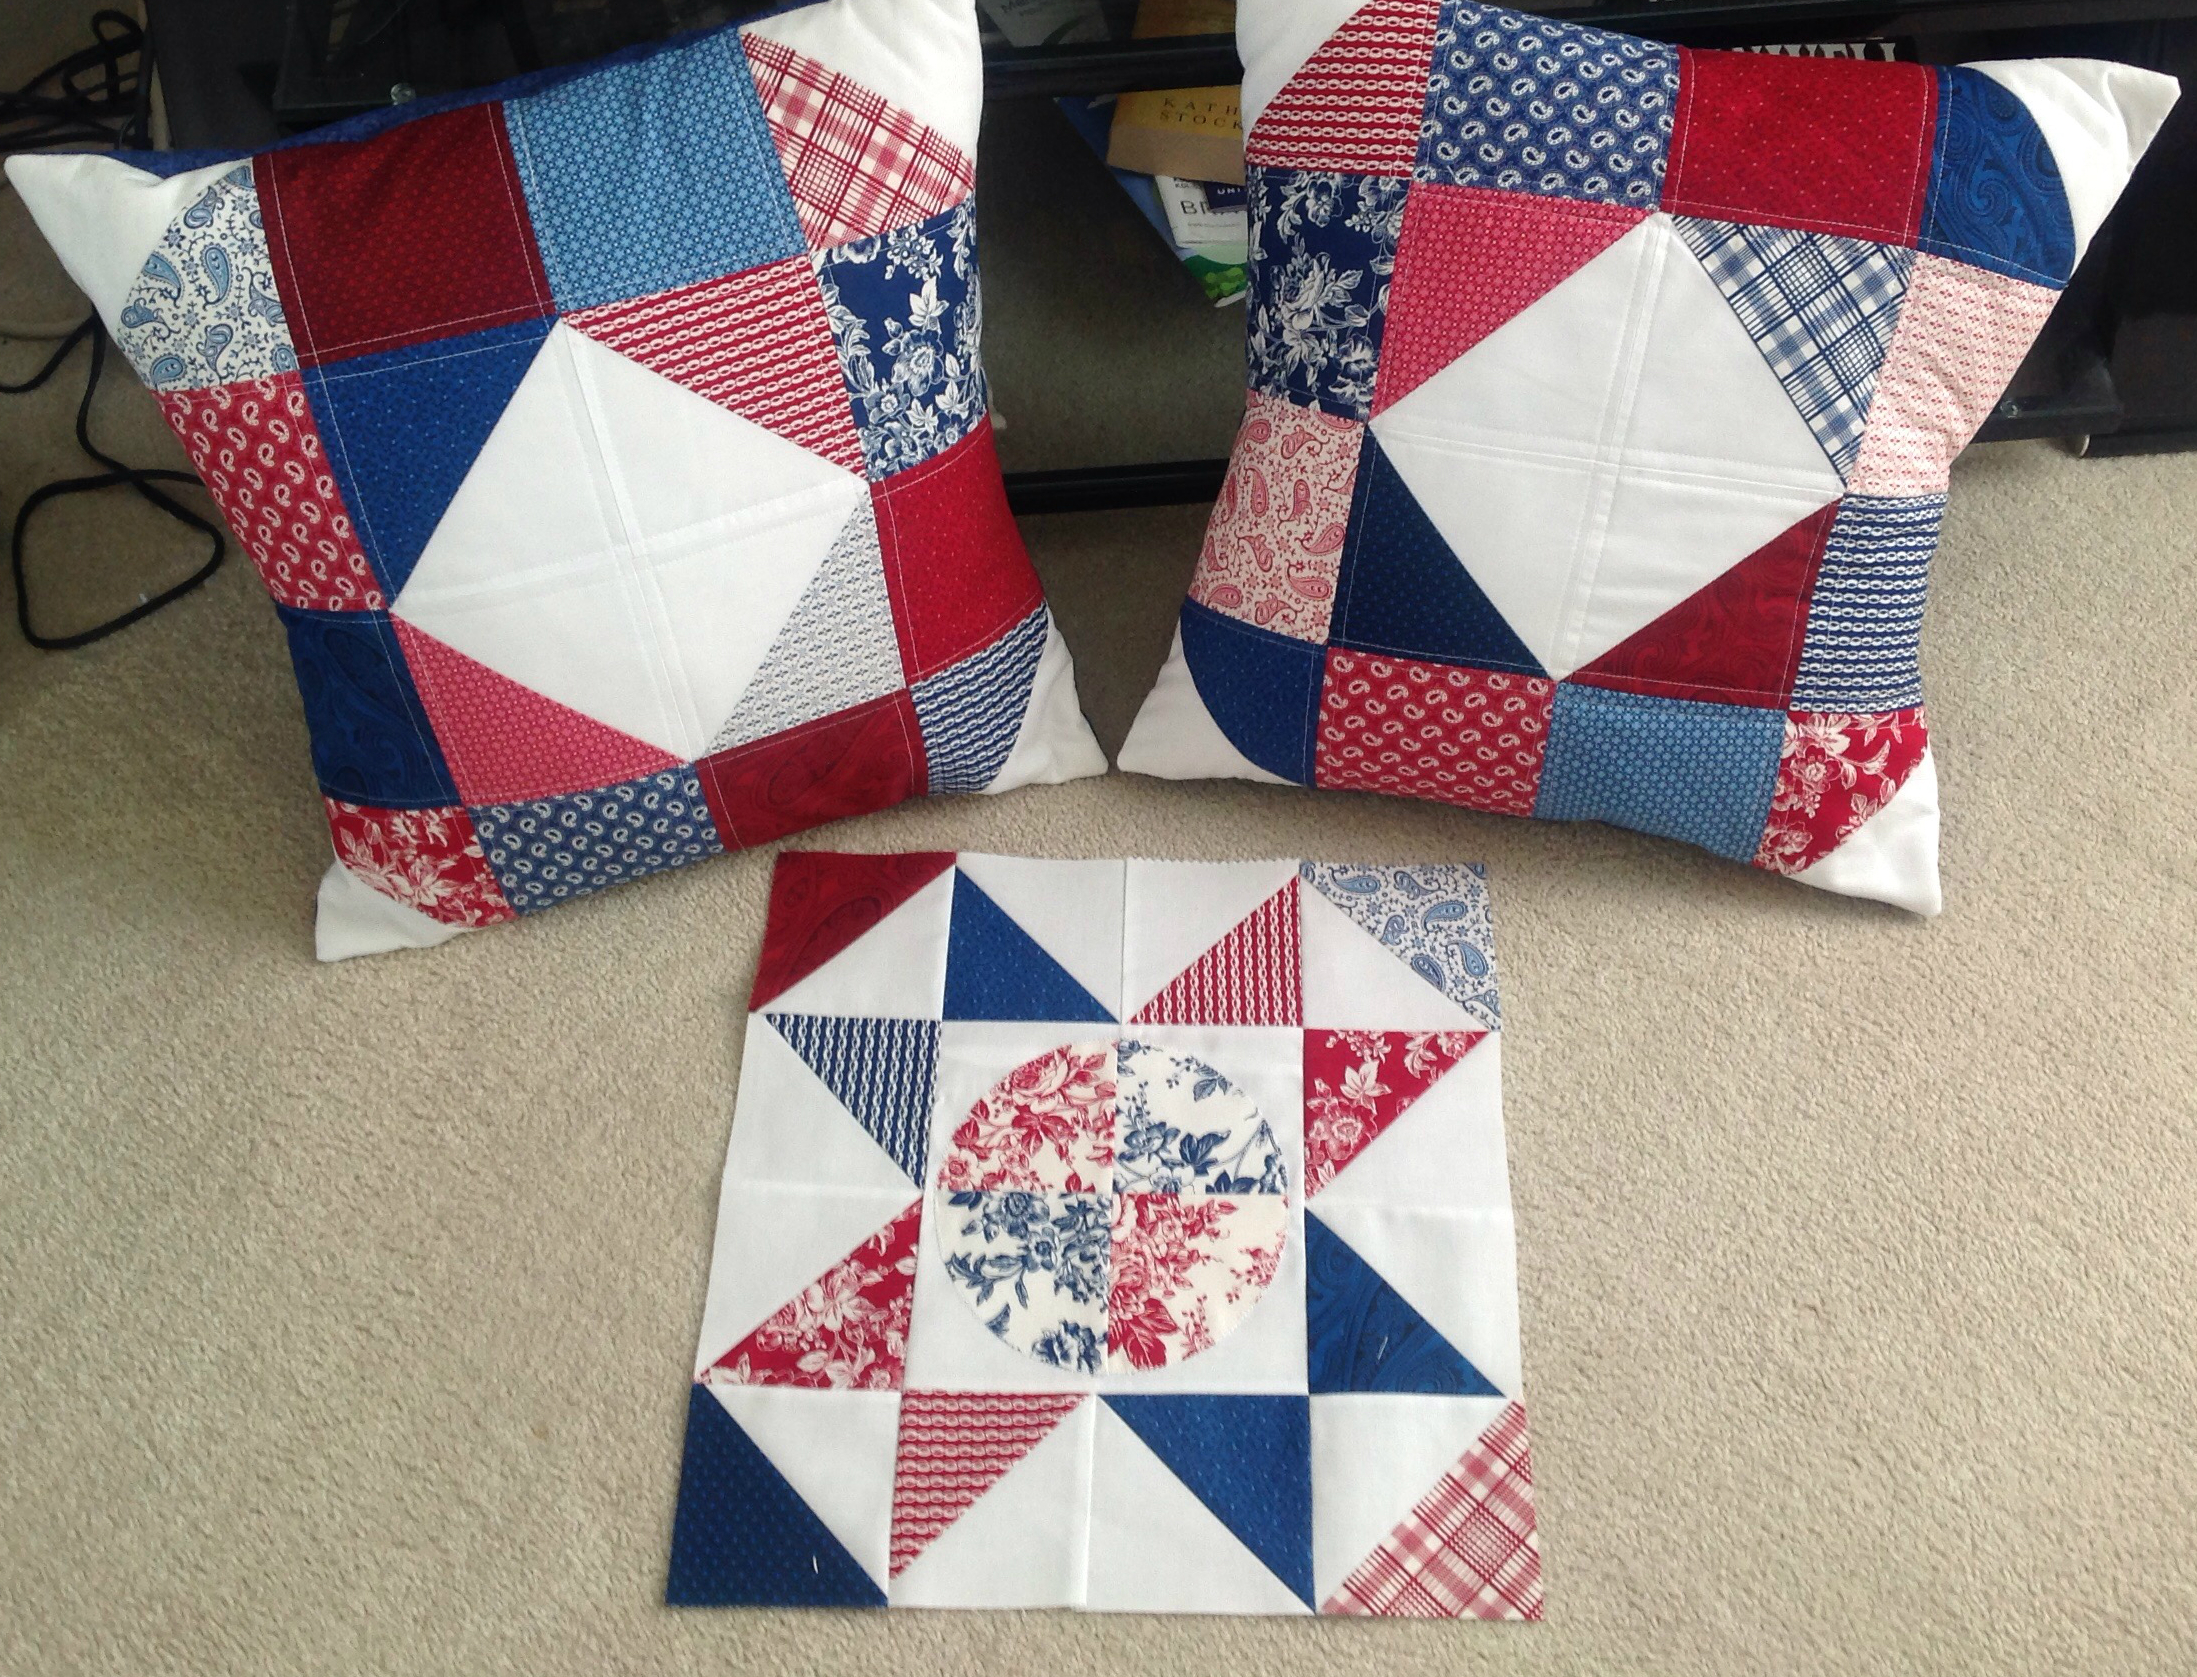
First up quilted pillow covers and mini quilt–

pillows measure 18 x 18 inches — I only had 20 inch forms on hand 18 inch would fit better.

fabric: Gallery in Red and Blue Charm Pack – by Faye Burgos for Marcus Brothers Fabric

pattern: A Star Spangled Patriotic Quilt from MSQC

Mini  measures 14 x 14 inches — I used the scraps from the hst from the pillows to create the mini.  I still need to quilt and bind it. Thought it would be cute for guest bathroom.

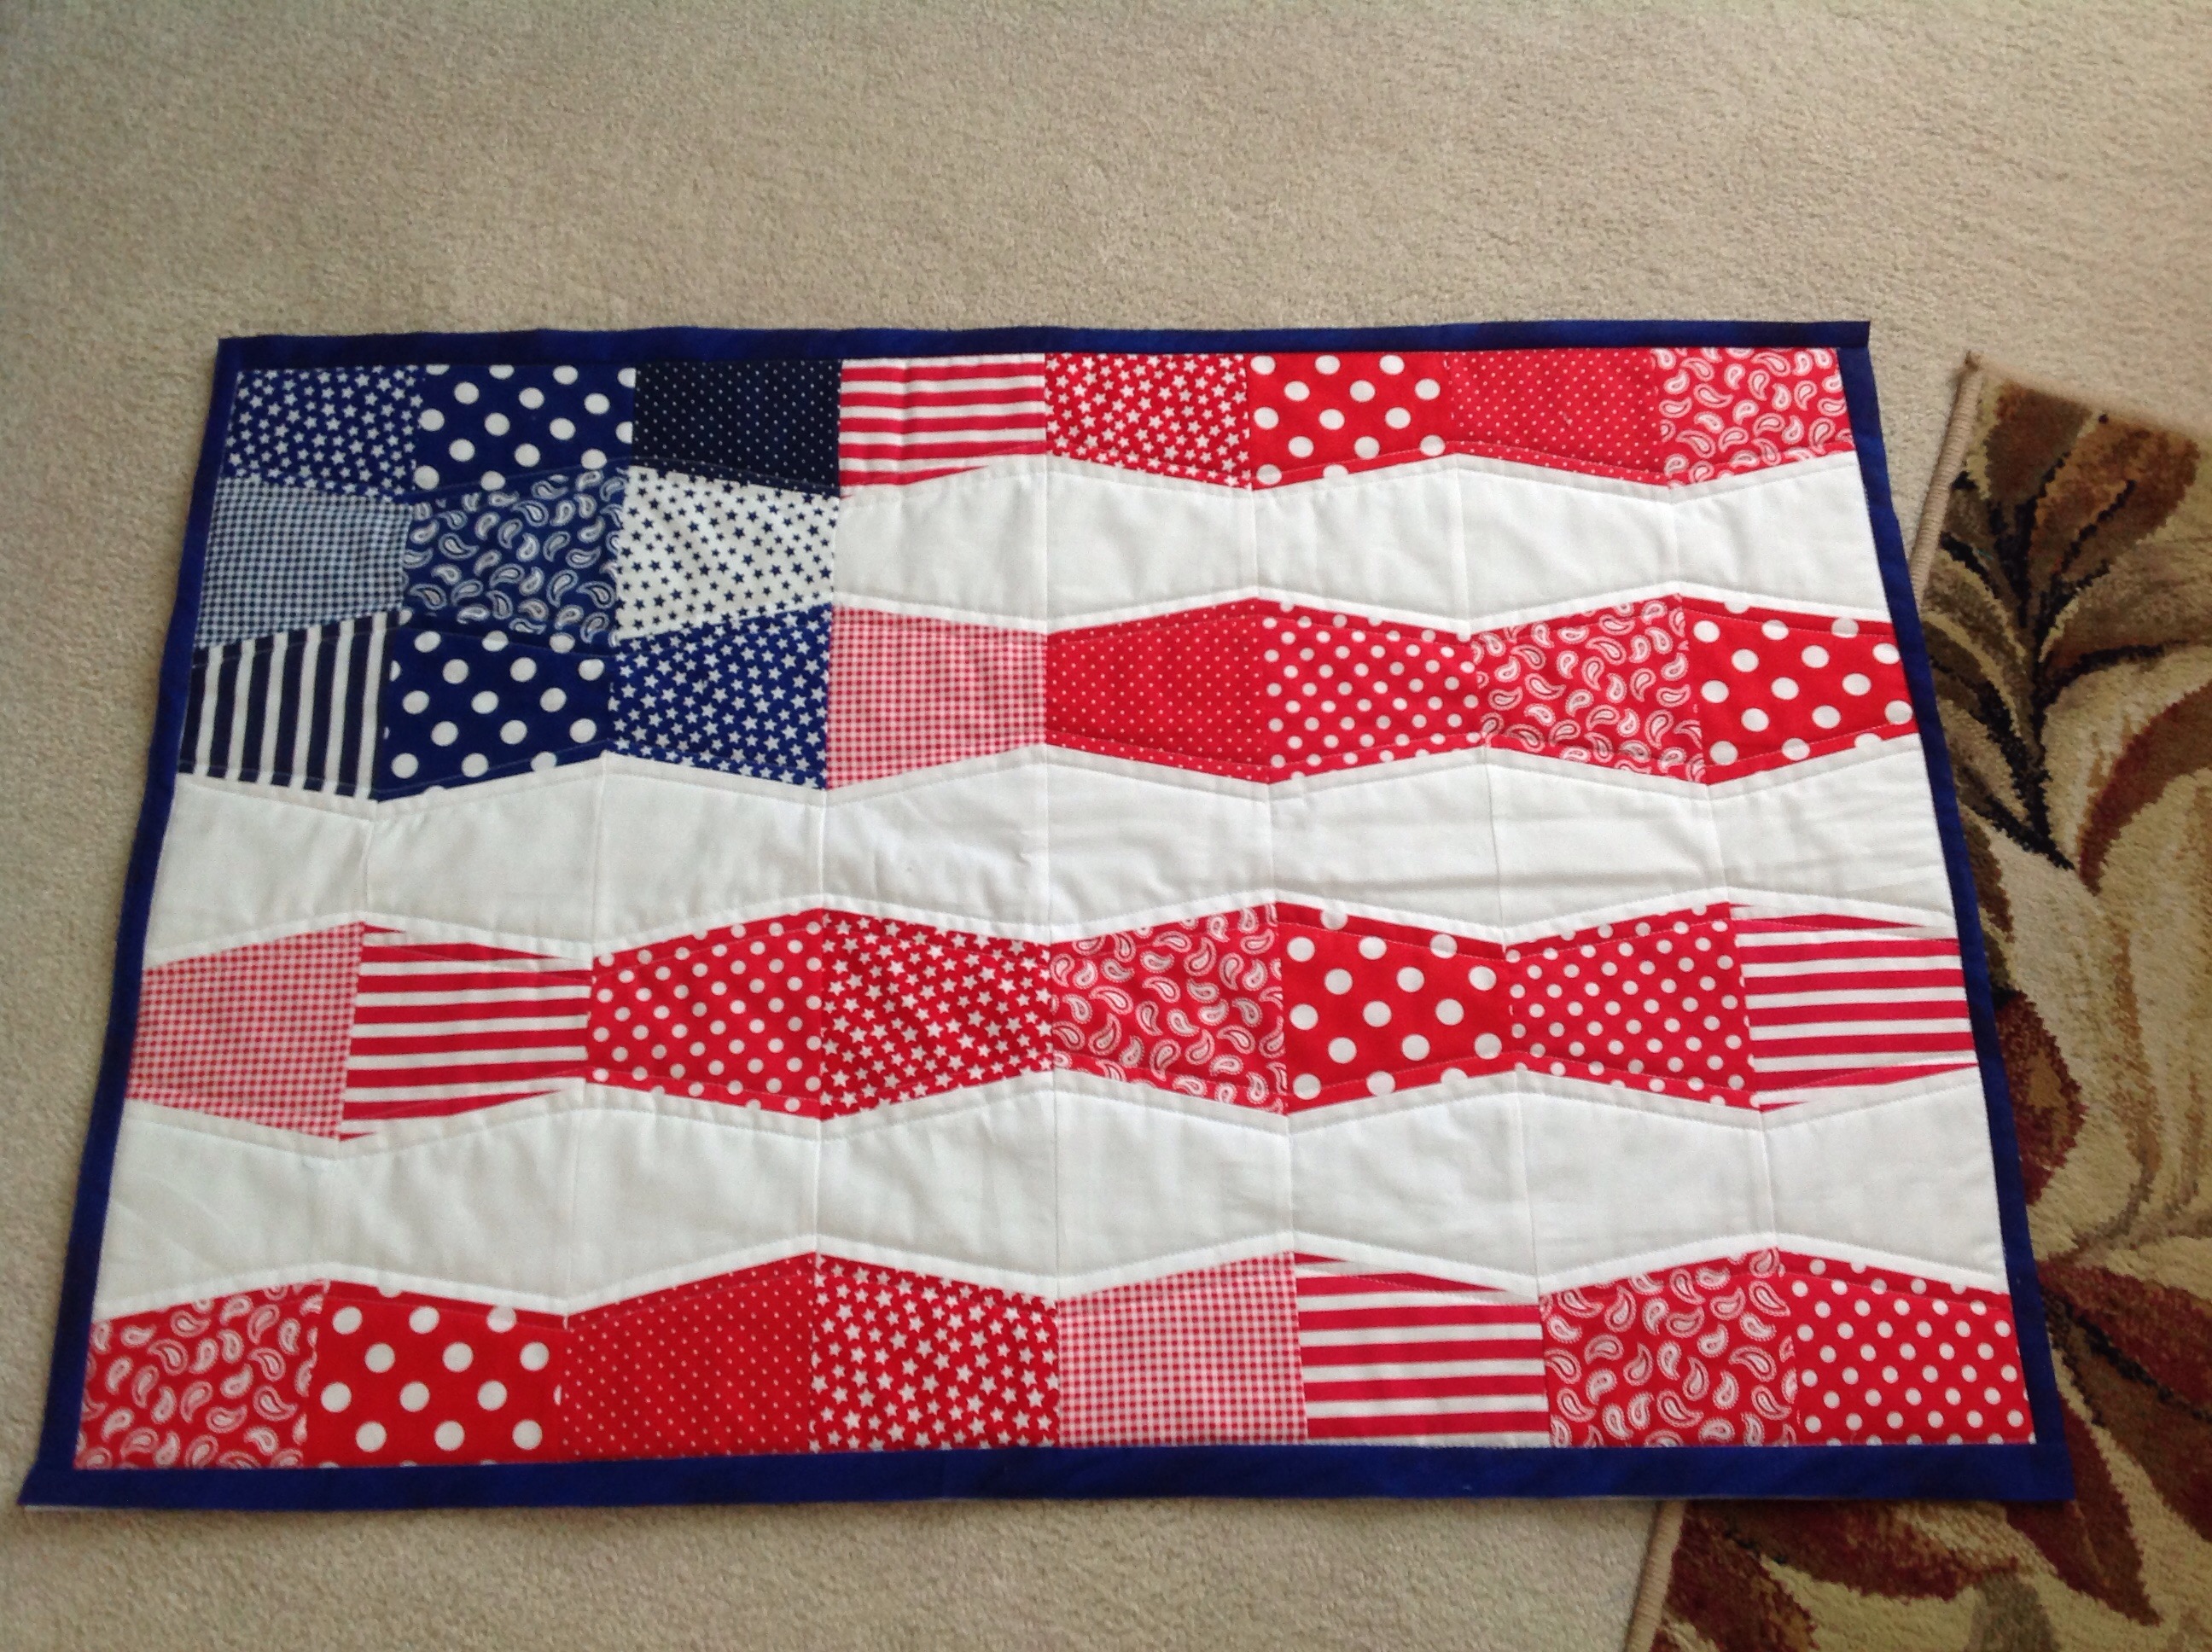
Last one for today — tumbler flag

Tumbler Flag

I plan on using this as the centerpiece for our dessert table.  It measures 24 x 36. I used the American Basics Charm Pack by Windham Fabrics and Bella #98 as the white background. I used the Tumbler Flag tutorial from MSQC.

3 projects = 2 charm packs plus yardage approximately $20 — not bad for quick cute decorating!

Until next time — live love and sew!

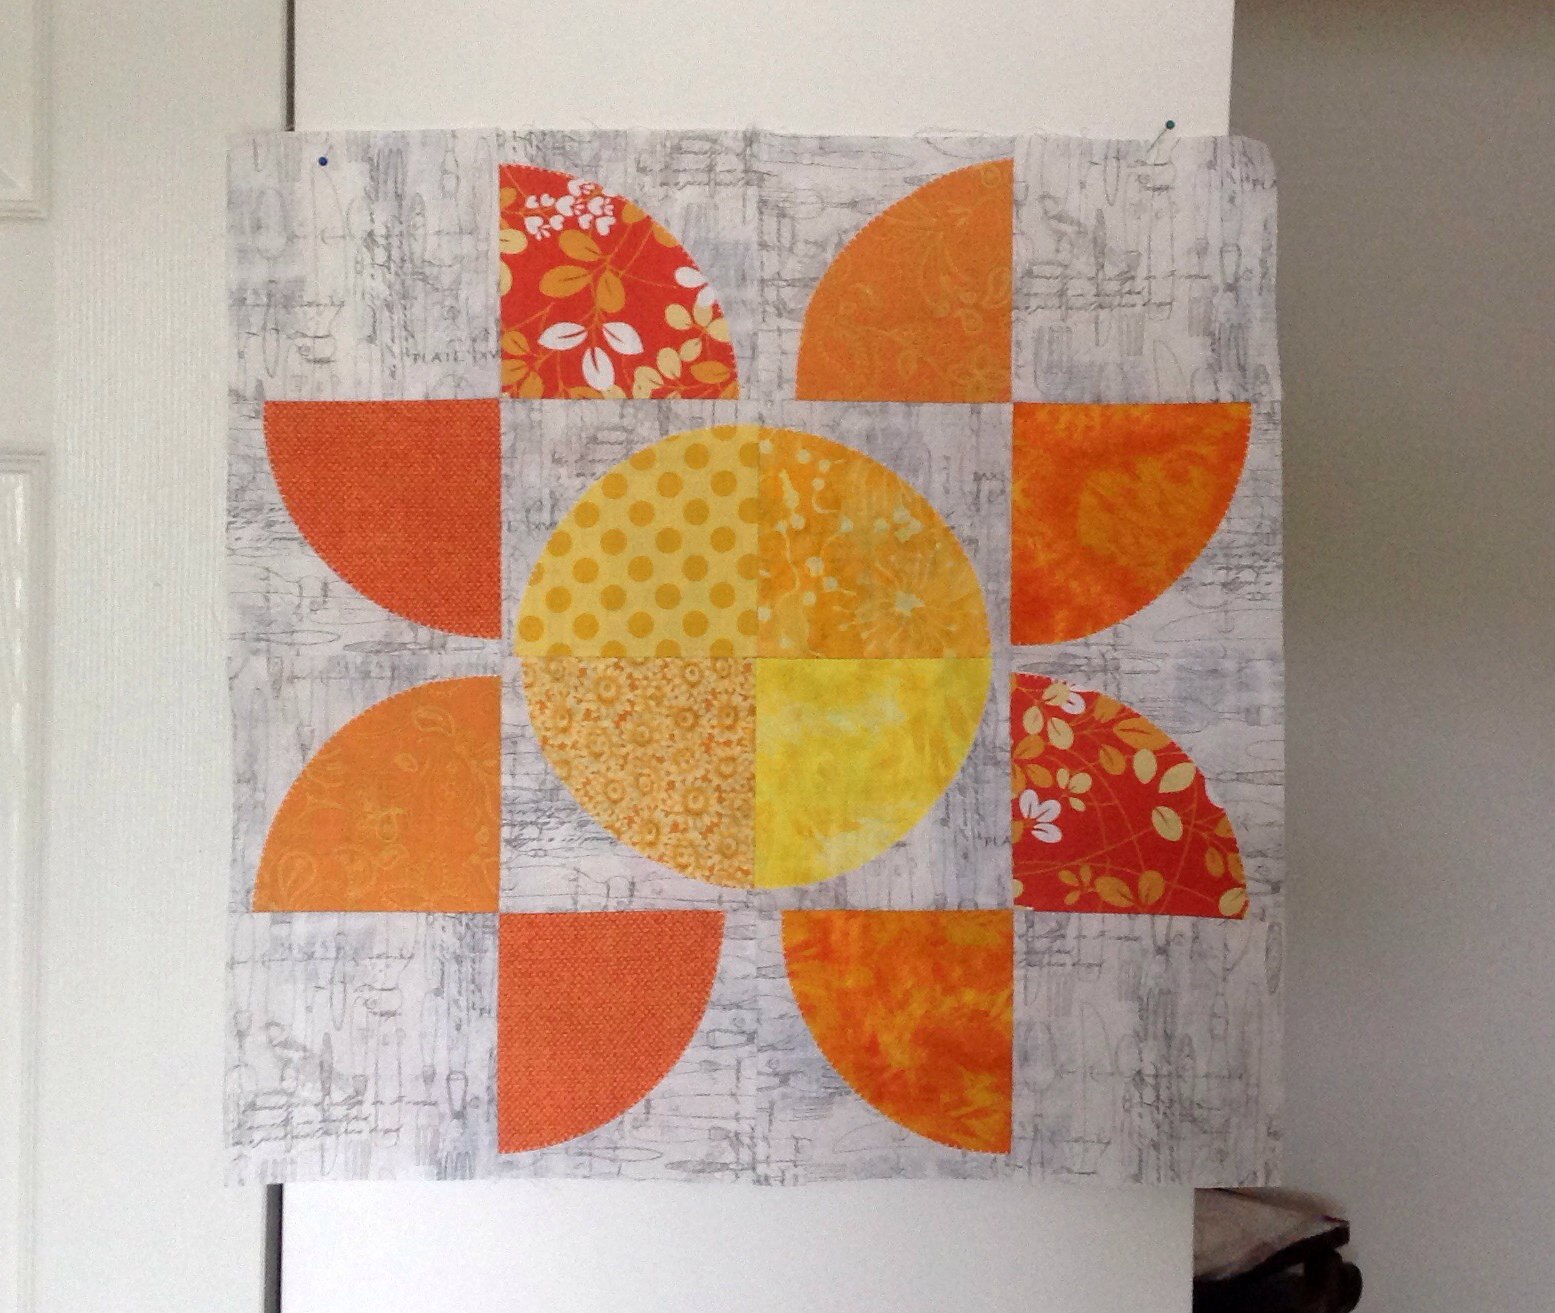
Sunflower Mini Quilt

Last week was really busy for me and thankfully I was able to get my orders out before their due dates.   I sew for a living sometimes when I’m free  it’s hard to motivate myself to work on quilting projects.

I love following Julie’s blog at the Crafty Quilter. She is one of the nicest people and is very generous sharing her quilting talents. I fell in love with her Drunkard’s Path variation here.

I’m not ready to try curved piecing yet so I searched YouTube for the MSQC drunkard’s path tutorial.  Thankfully Jenny used applique to create her version of this traditional block.

Sunflower Mini Quilt

My mini finishes at 18.5 inches square. I’m loving how it turned out! I used several orange and yellow scraps from my stash. The background fabric is a really cute low volume print with text and utensils. The orange and yellow fabrics combined with the arrangement reminds me of one of my favorite flowers – the sunflower — Don’t you agree?

I still need to quilt and bind before I can hang it in my sewing room.

I still have 20 remaining quarter circles; next time I’ll show you another variation for the drunkard path block.

Until then live love and sew!

Lessons Learned

Sometime last year I decided I wanted make a quilt using traditional methods instead of my embroidery machine. I wanted to experience getting an accurate quarter inch seam, pressing to the dark side, etc. I’d watched several MSQC tutorials and decided to start with a table topper for fall.

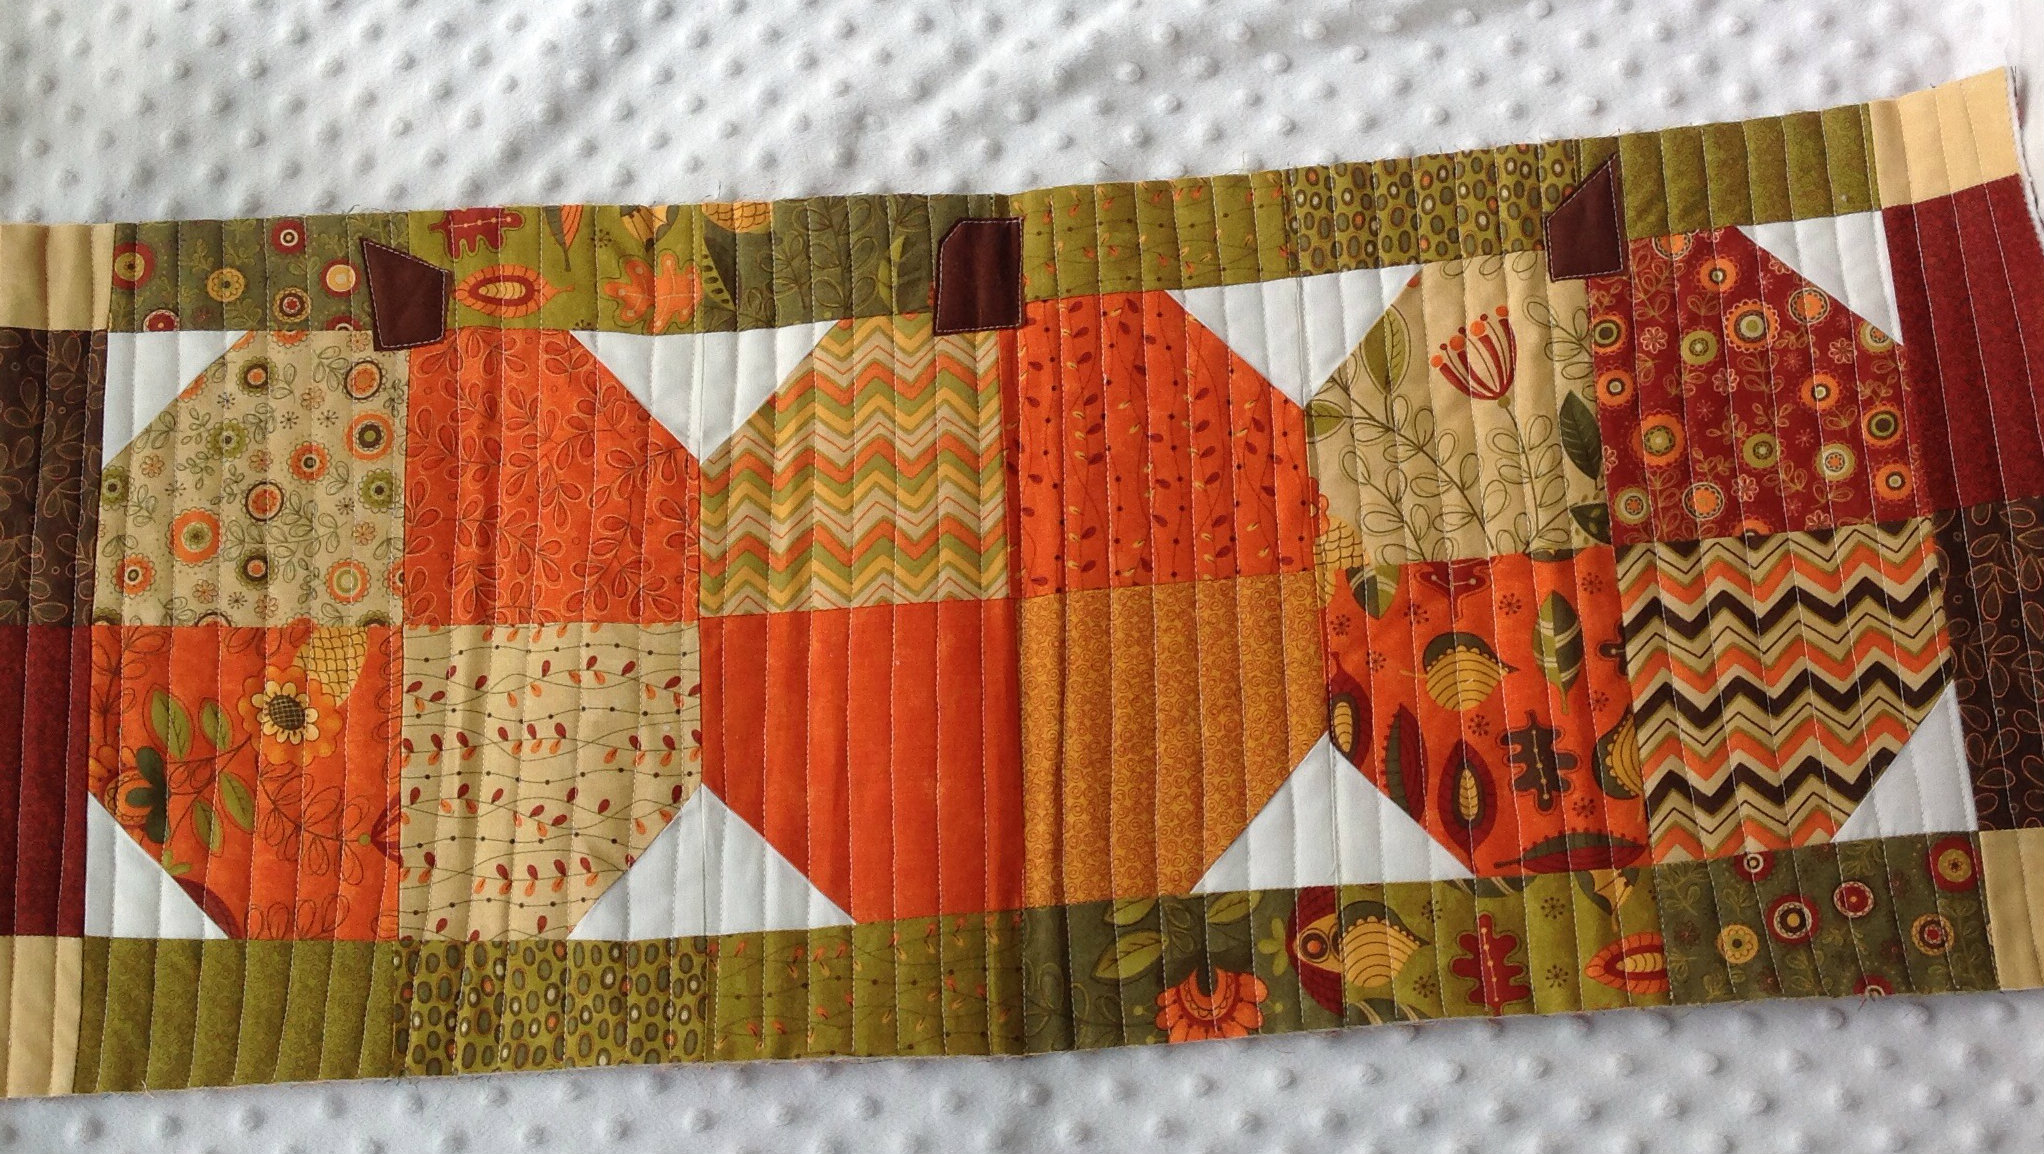
Using this tutorial and a Hello Fall charm pack by Sandy Gervais I made the following table runner. I just love the rich fall colors in this line!

Hello Fall Table Runner 2014

It was easy and stitched together nicely. I thought simple straight line quilting would be perfect and I wanted half inch intervals – which is exactly what I did but how I stitched it was WRONG!   As you can see the topper is wonky/warped — I began the quilting on one end using my walking foot moving left to right. Someone also told me that I may have been pulling the topper hard also.

Going forward I’ve learned to:

  • start in the center
  • begin with 2 inch intervals
  • second pass 1 inch intervals
  • last 1/2 inch intervals

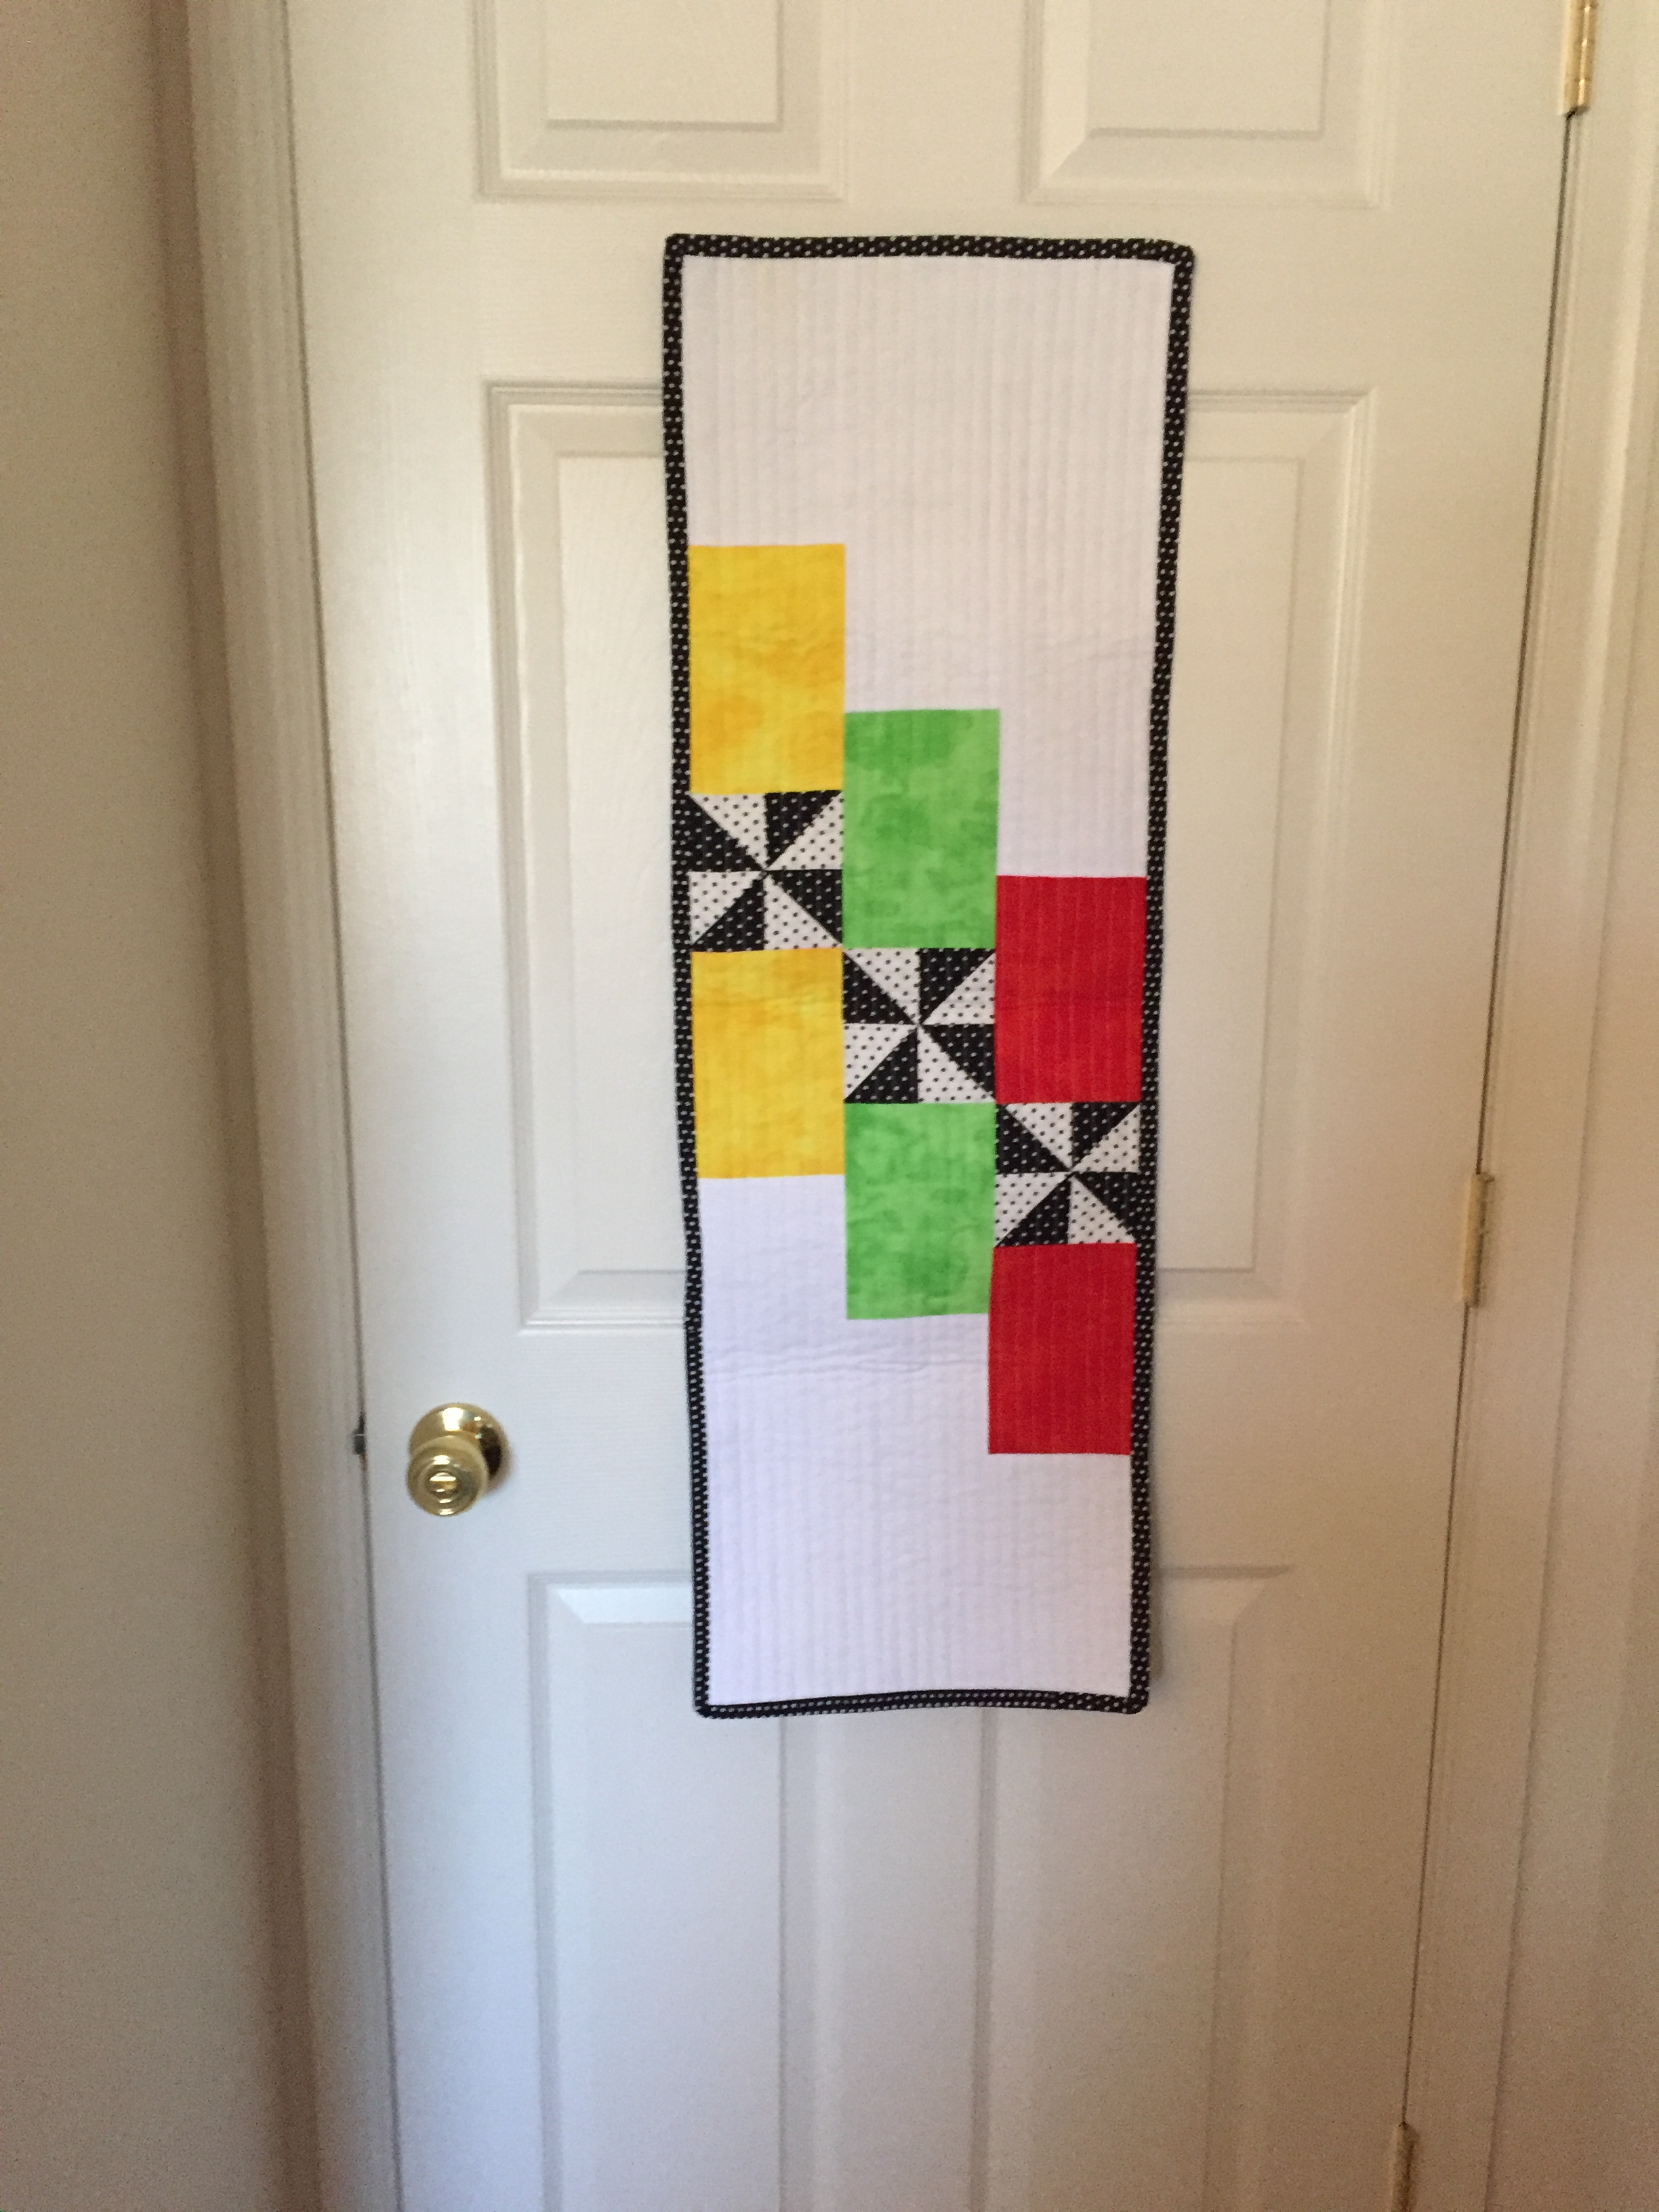
This skinny wall hanging was my second attempt with the matchstick quilting and it turned out sew much better.

matchstick quilting

Until next time–live love and sew!

Happy Monday

I hope everyone had a great weekend. The weather here was beautiful – I love sitting on our deck in the morning drinking coffee and tinkering with my flowers; it gives me positive energy for the day.

My hubby had golf outings both Saturday and Sunday which gave me several hours of uninterrupted time for sewing. YAY!!!

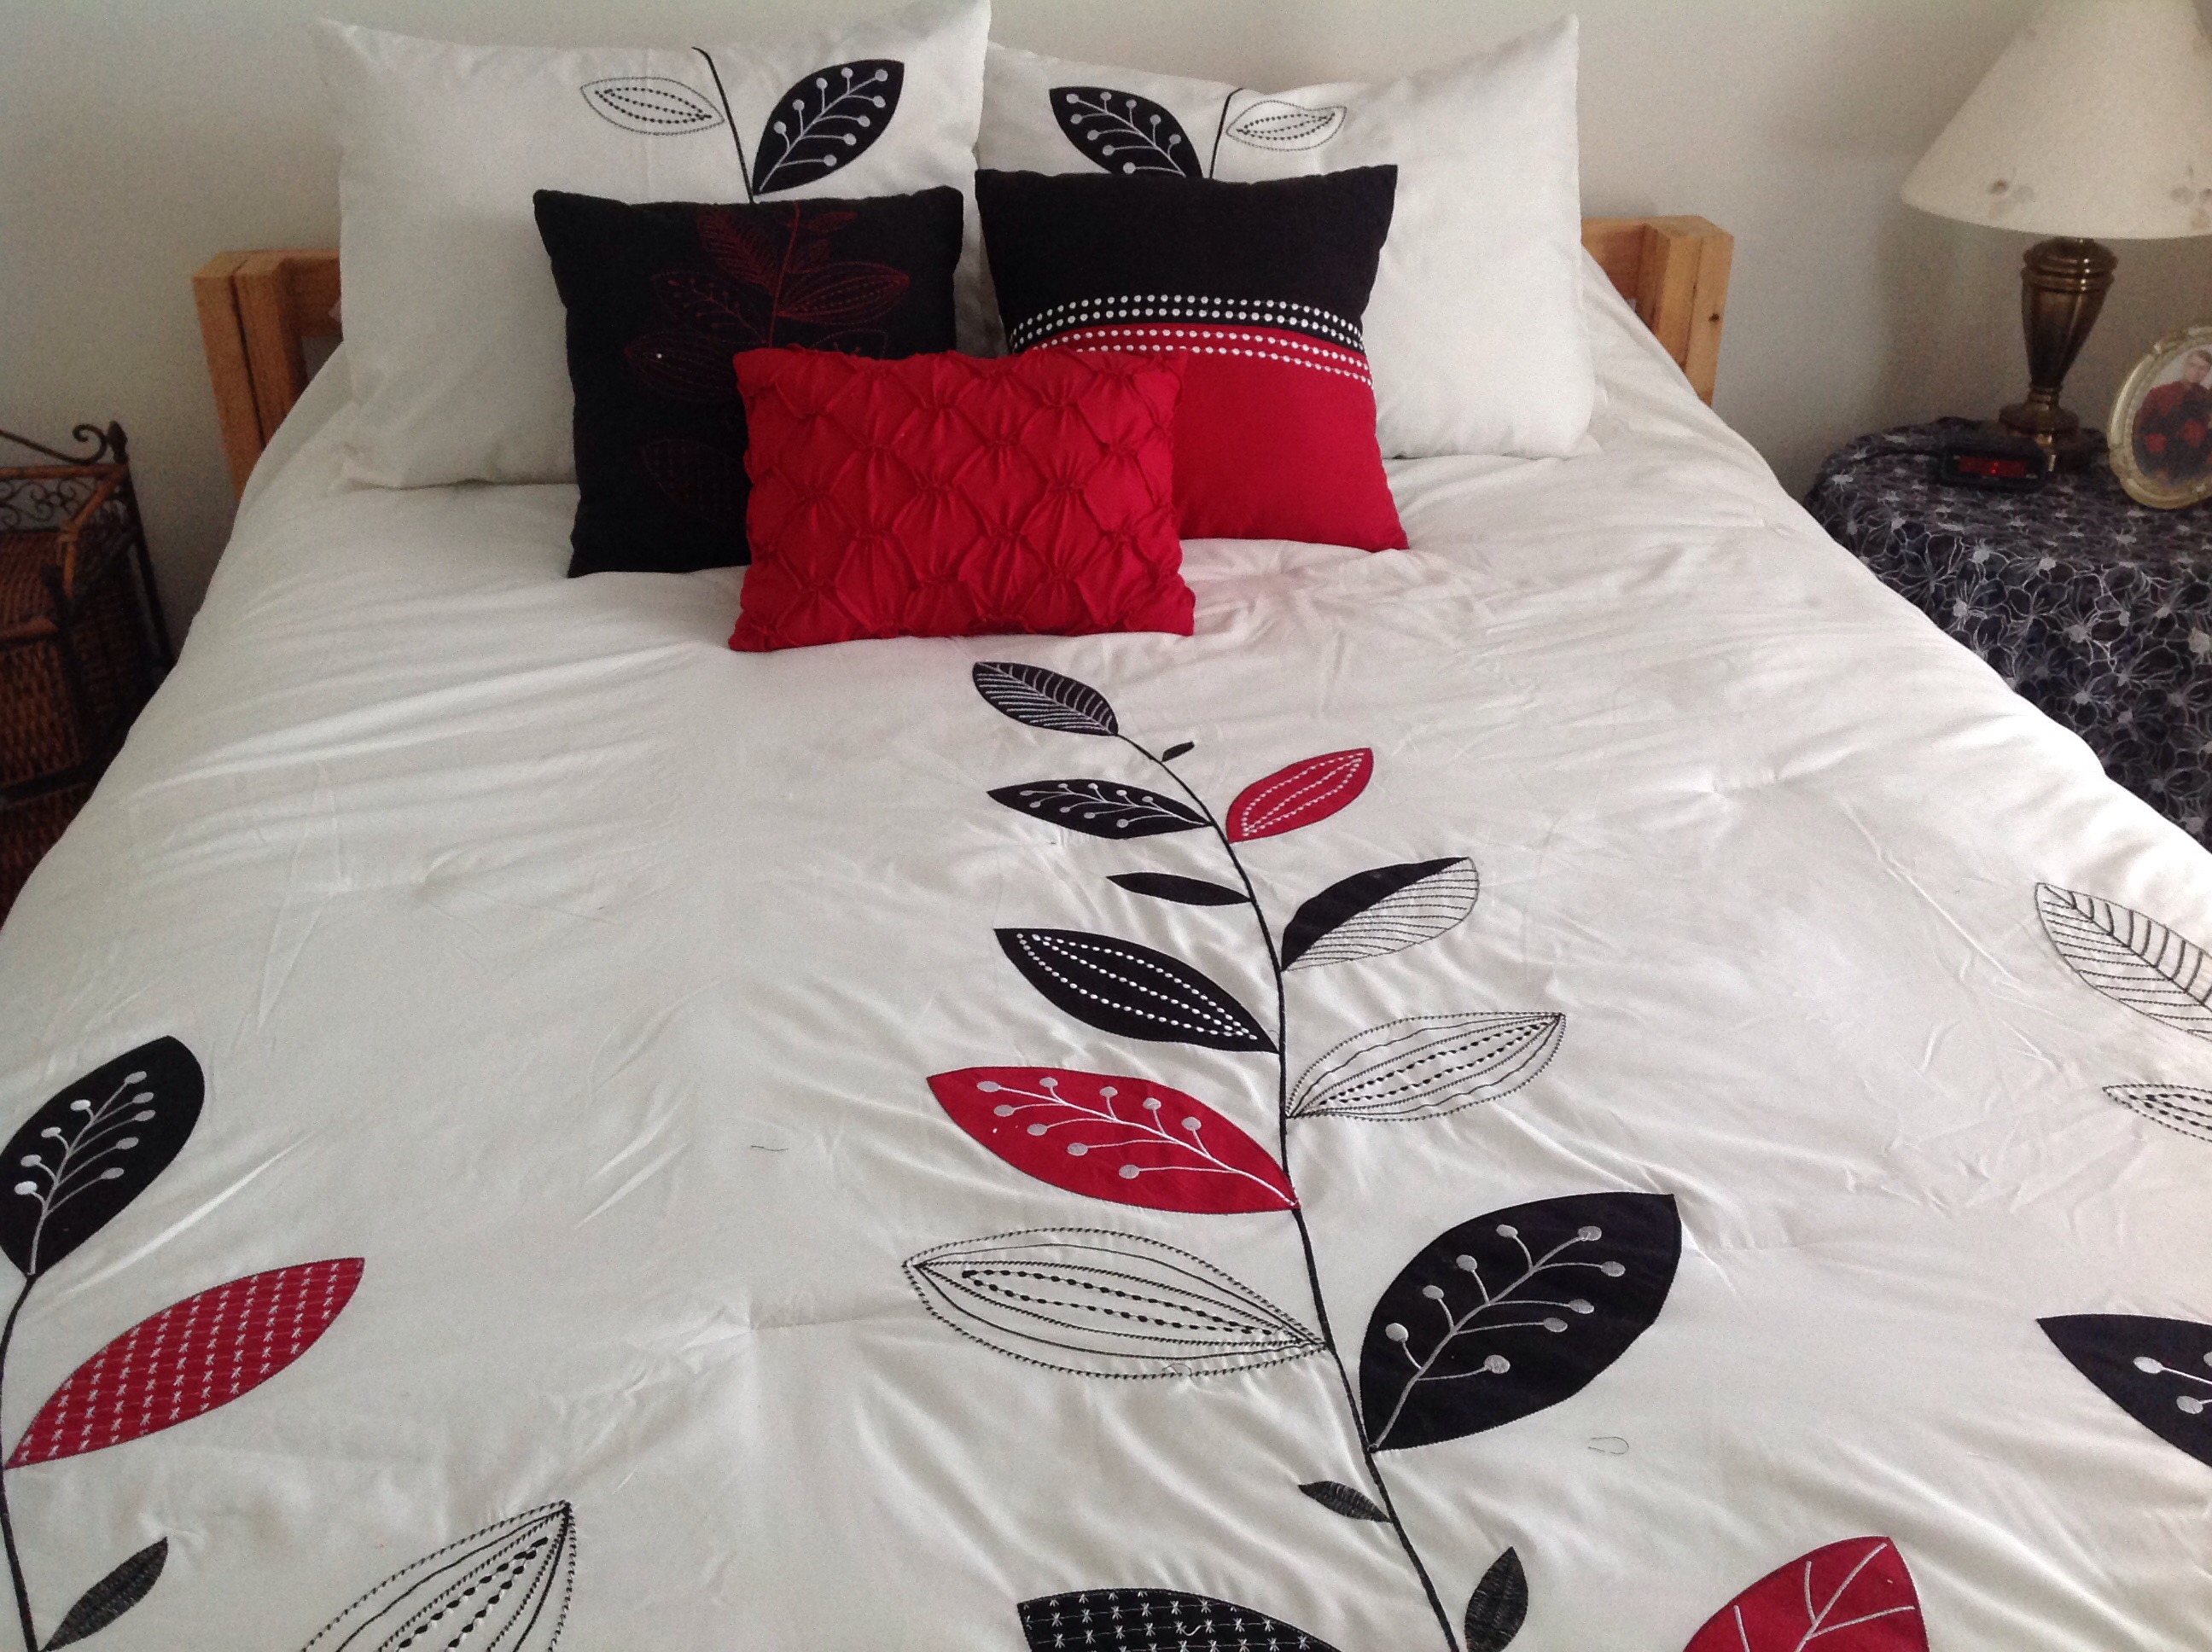
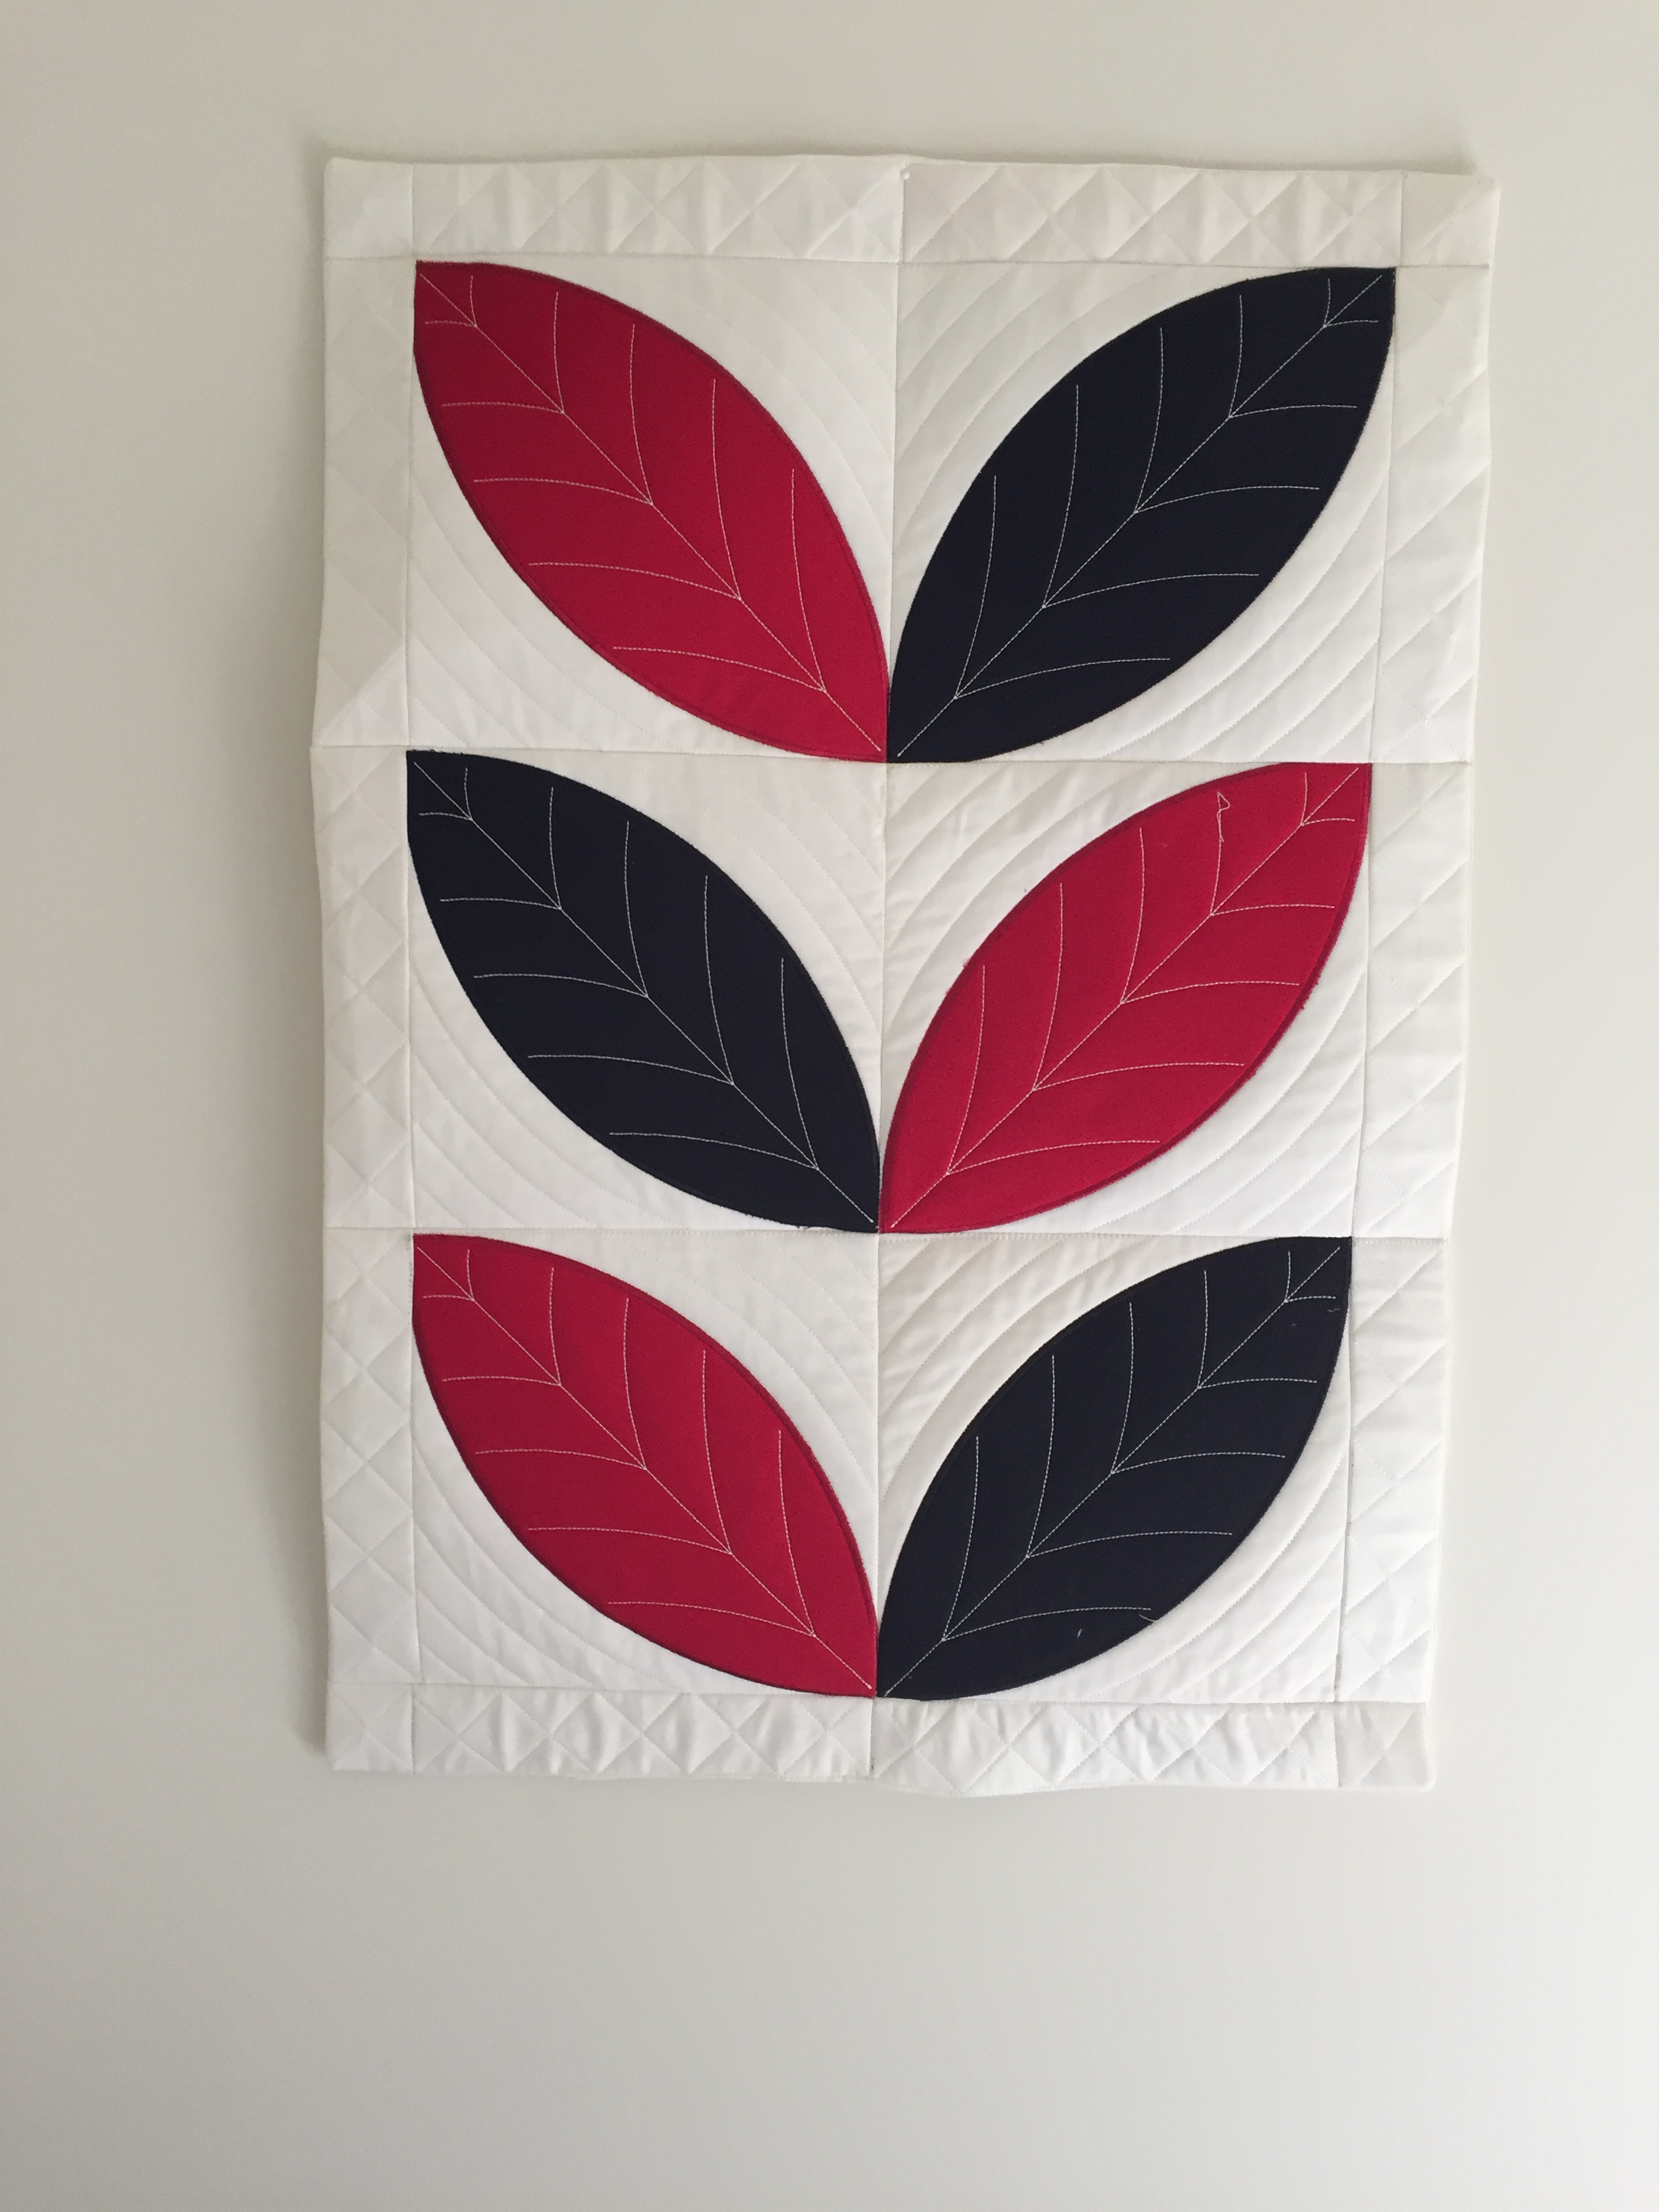
I made a couple of small wall hangings a few weeks ago to match this comforter in my guest bedroom.

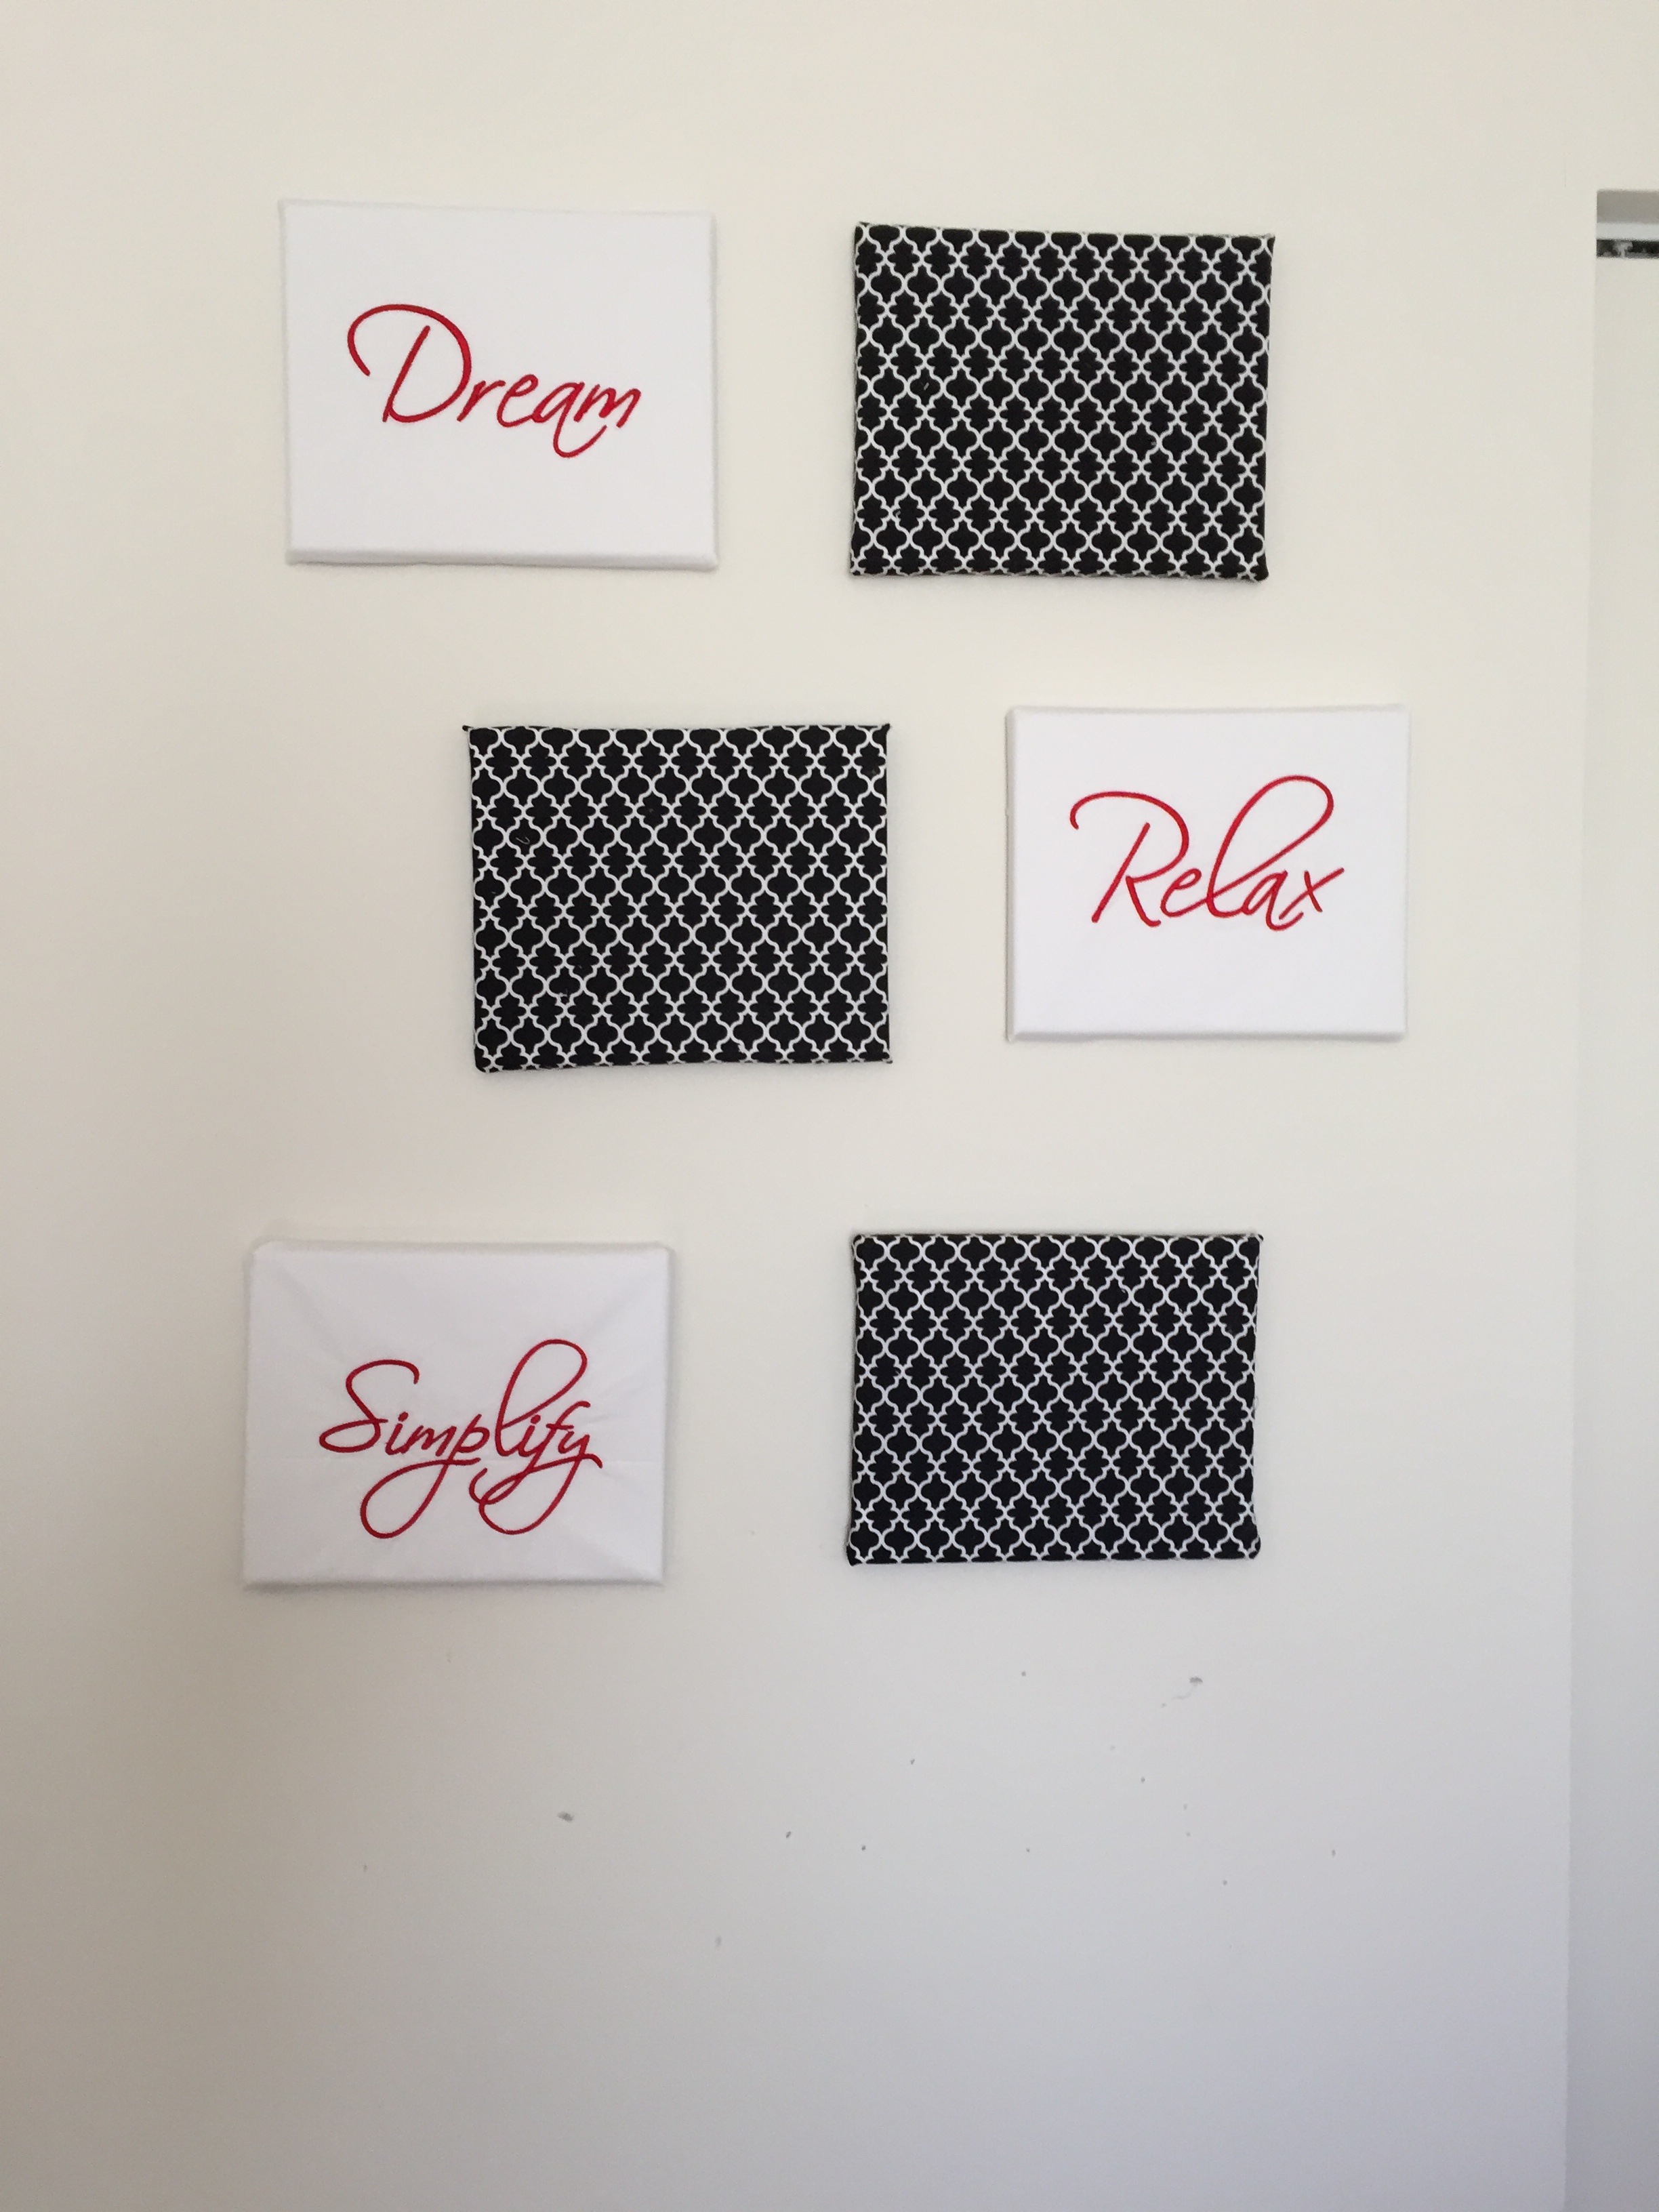
The first one I embroidered the words “Dream”, “Relax” “Simplify” on white Kona Cotton then wrapped the fabric on canvas. I really love how the arrangement on the wall turned out! The petal wall hanging was made with my embroidery machine – including the borders and cornerstones. If you look closely the quilting stitches match perfectly –  I love it!

Overall I think they are a good match to the comforter giving the room a modern look.

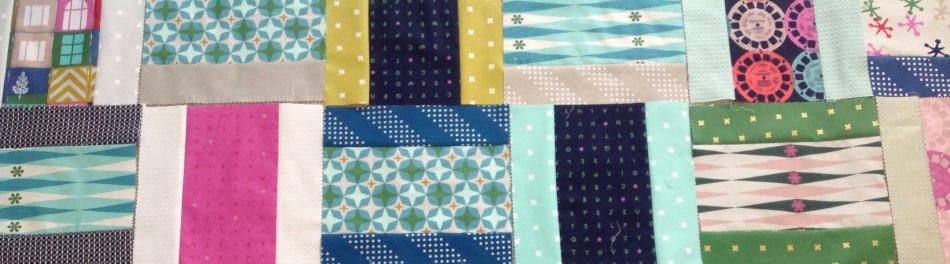
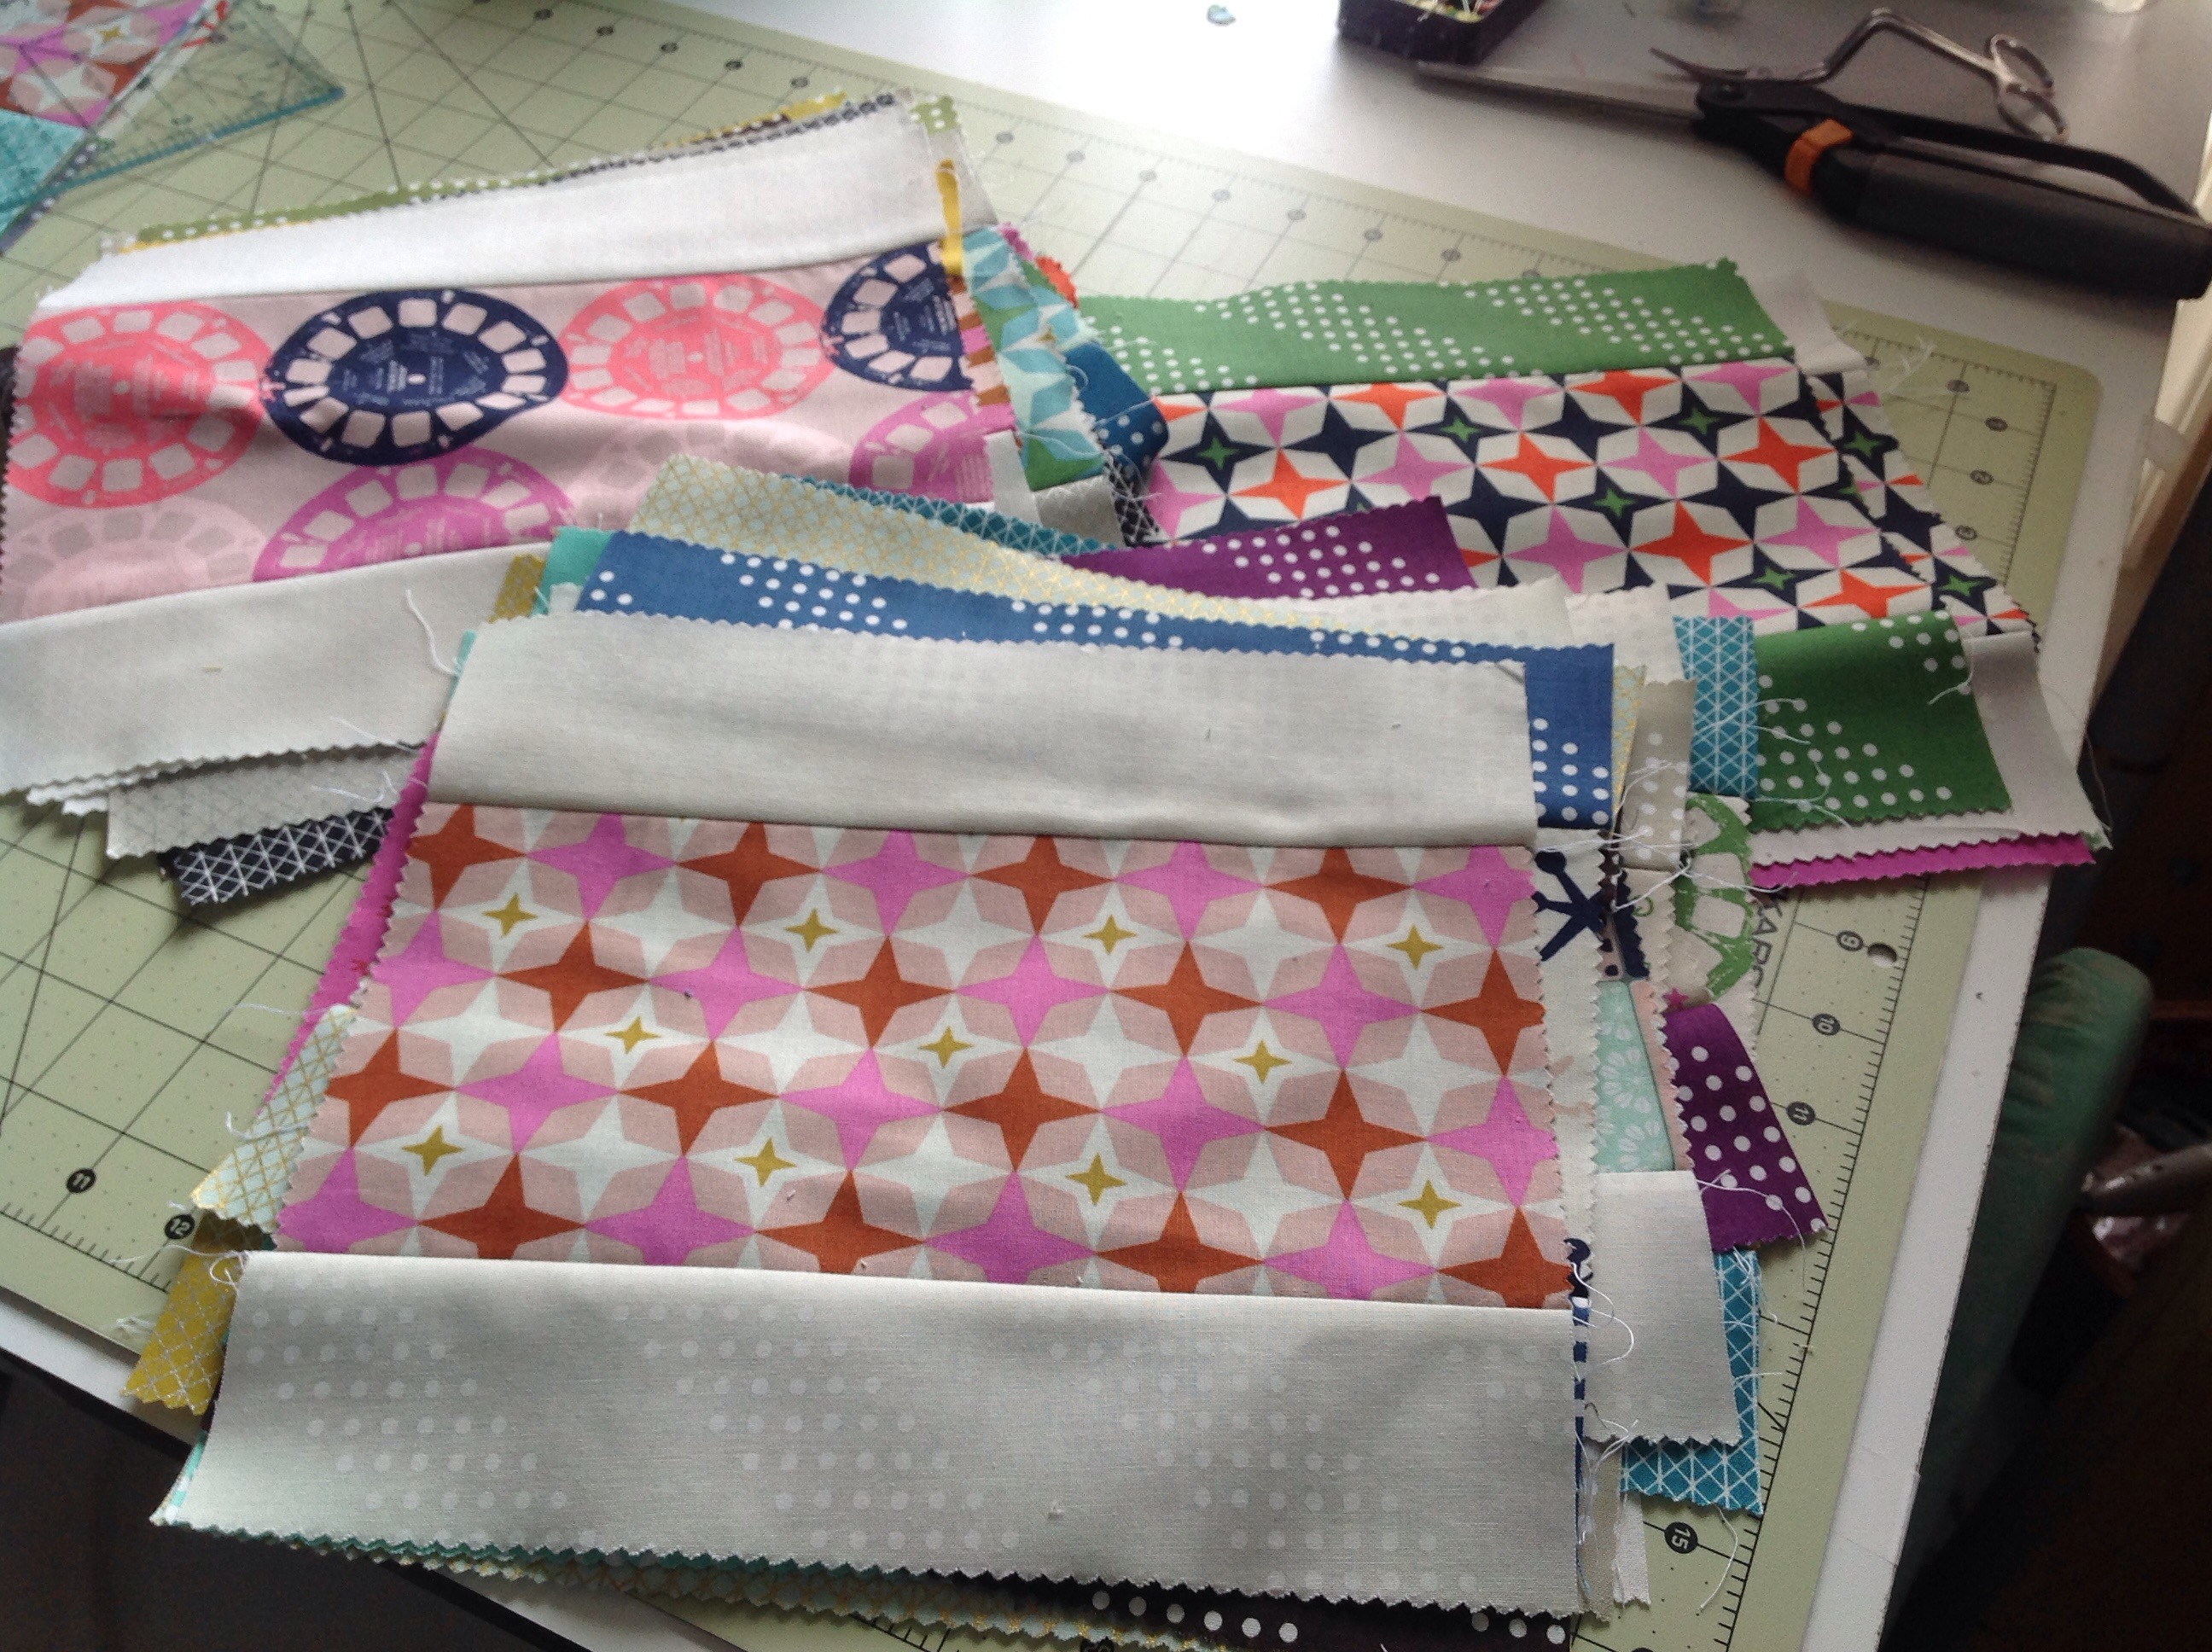
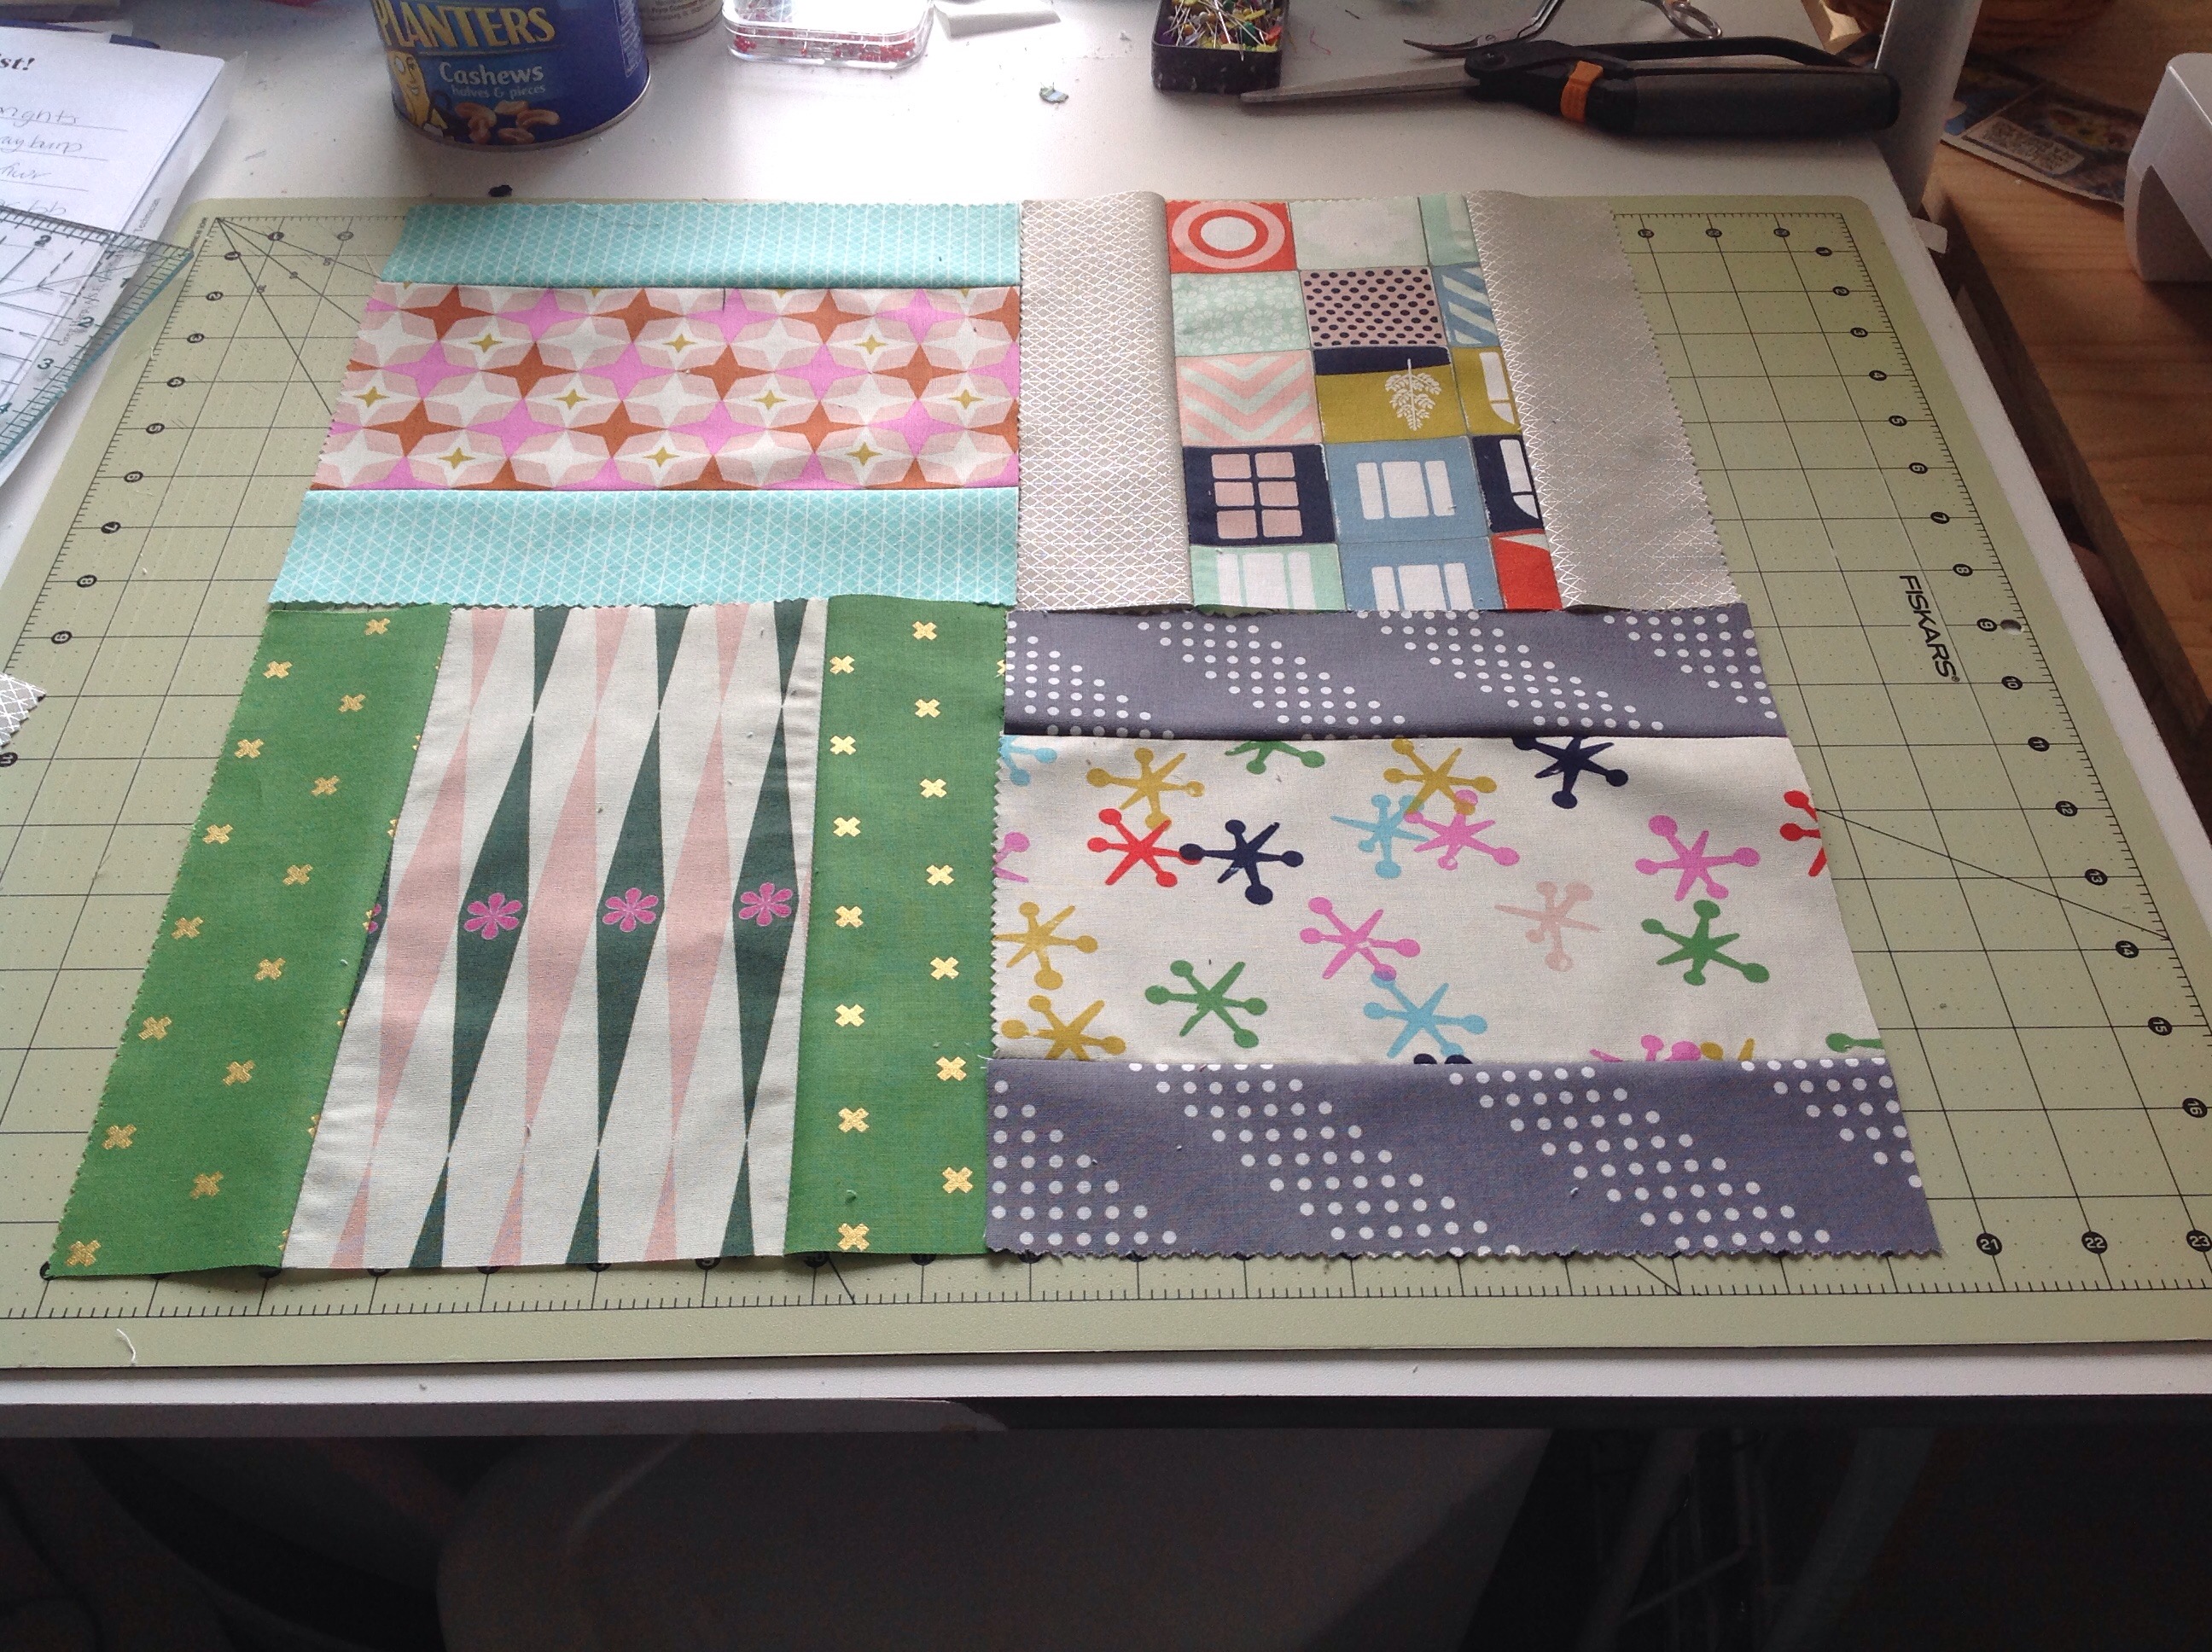
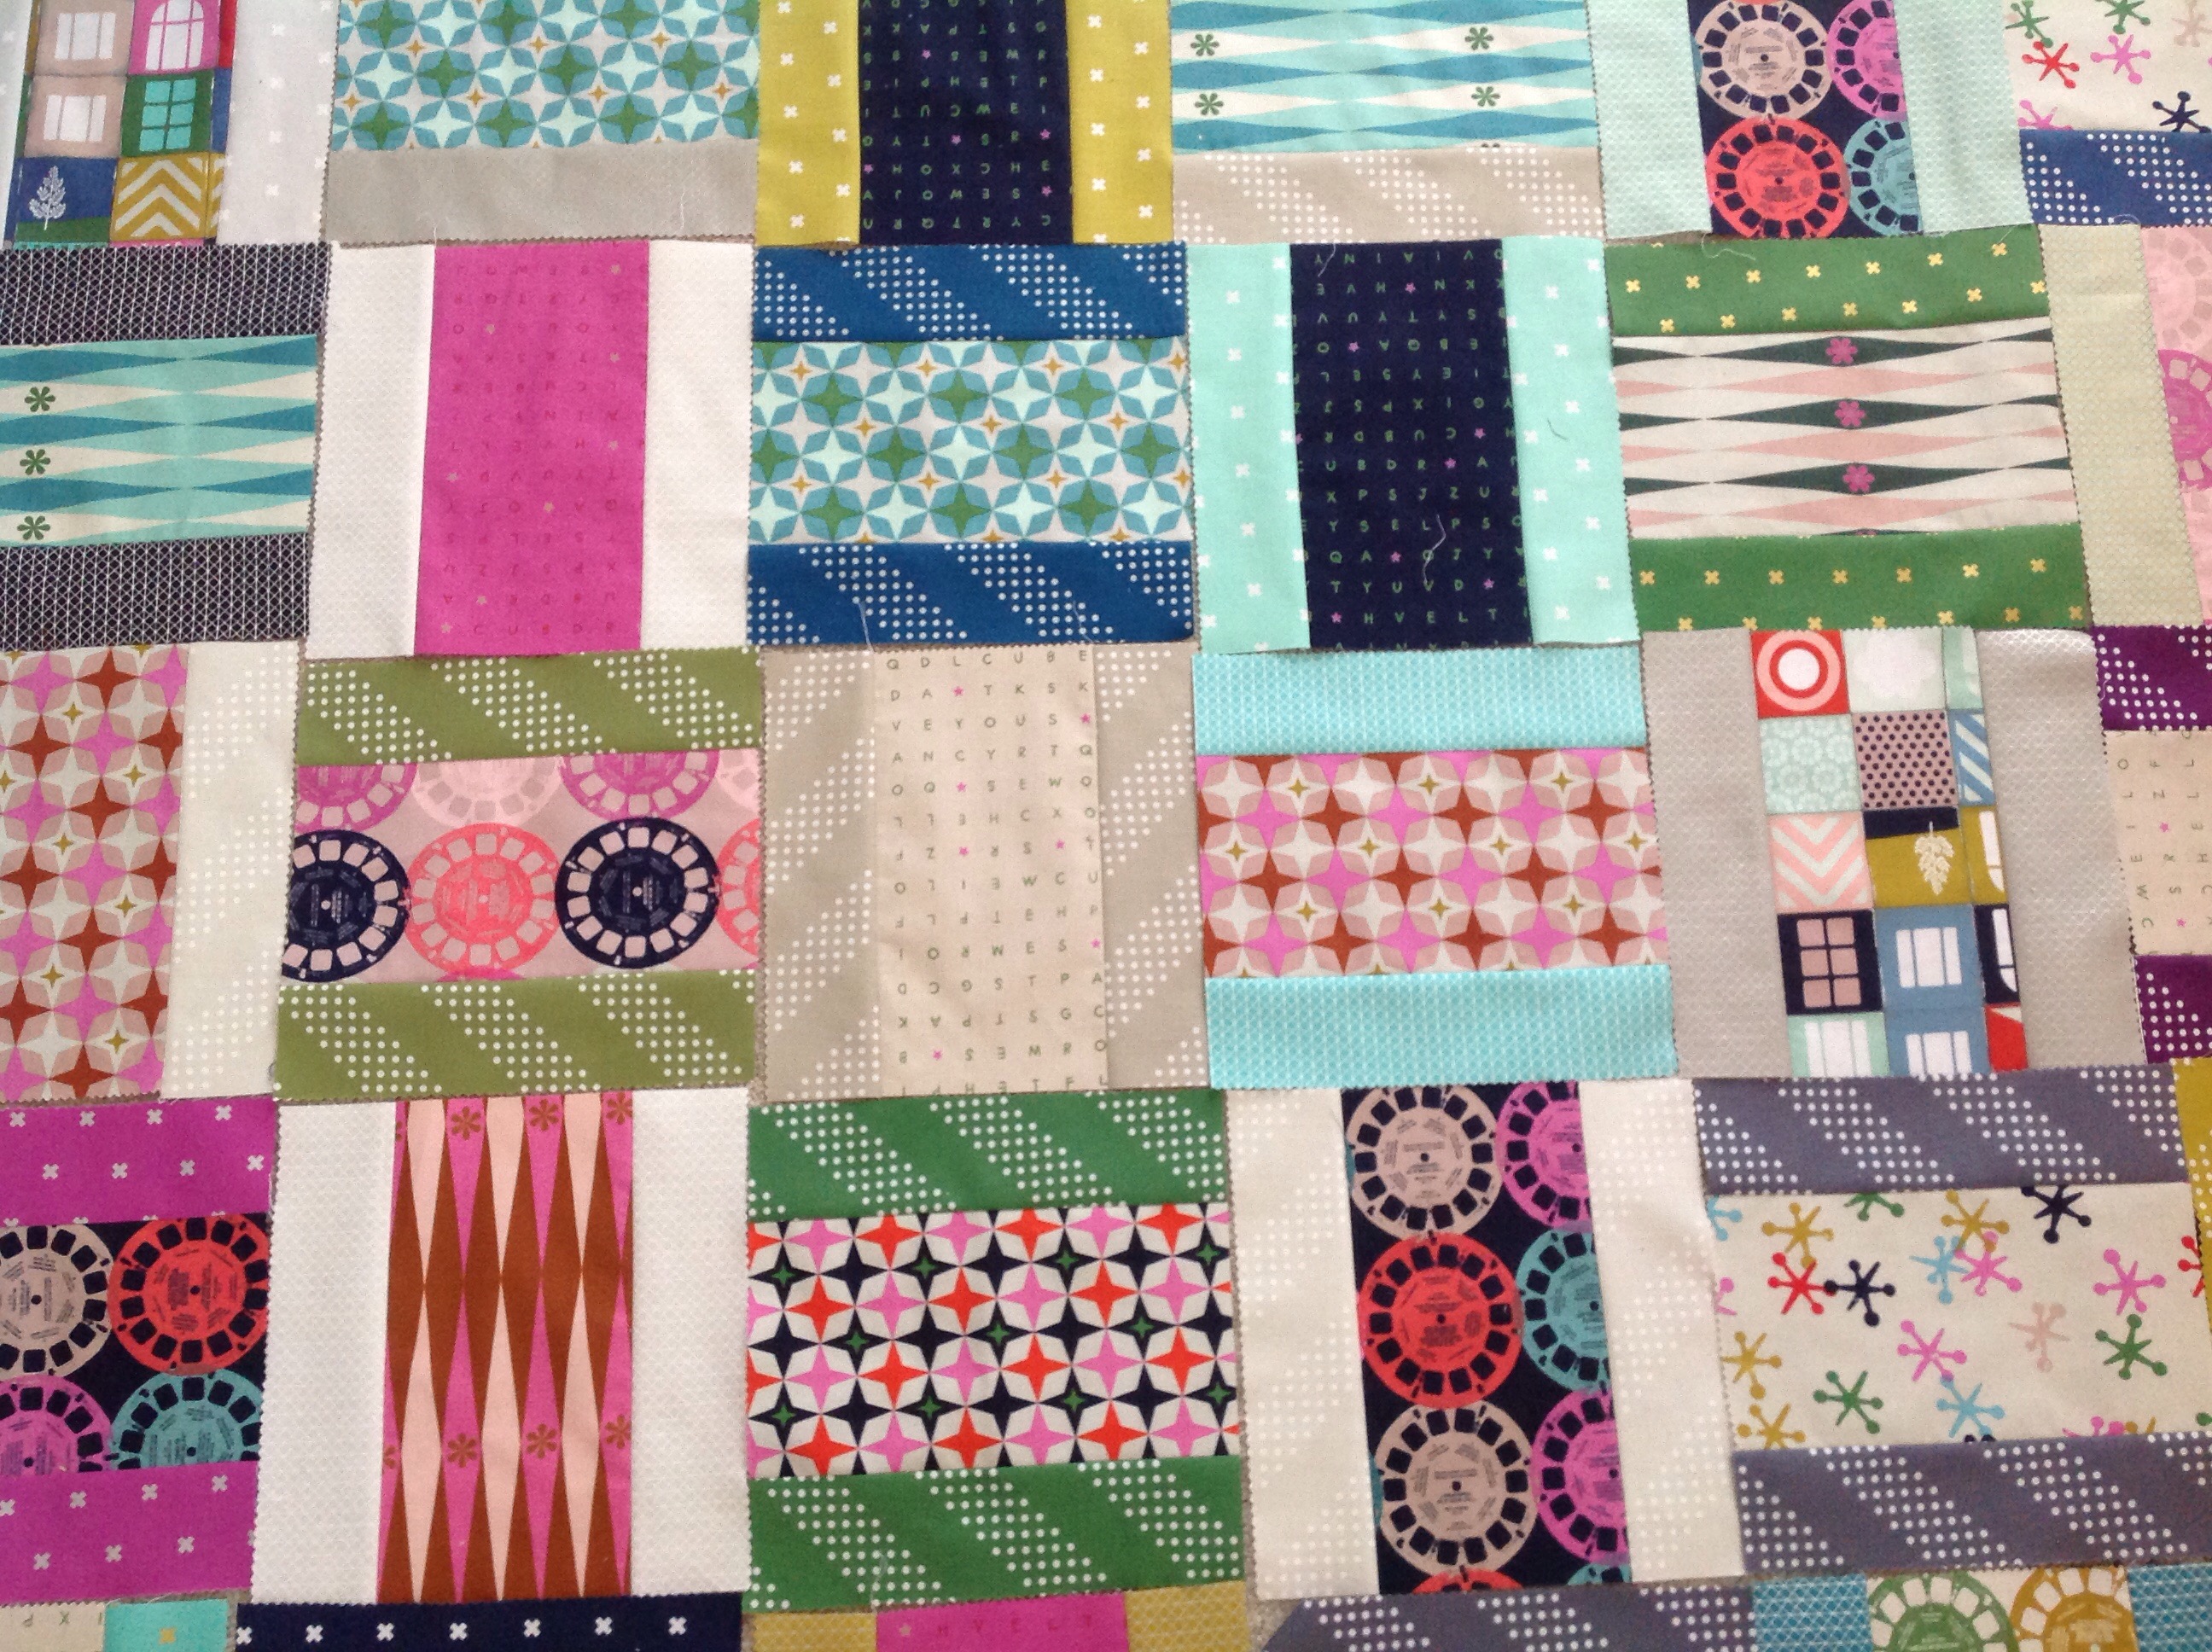
I’m taking a class on Craftsy. The instructor is Jenny Doan from Missouri Star Quilt Company – I adore her. I am a pre-cut fabric junkie and most of her projects are made from pre cuts. One of the strip piecing projects in the class uses a layer cake (10 inch pre cut squares) and a jelly roll (2.5 inch wide precut strips). If I were to use all of both precuts it would make a queen size quilt – I only want lap size so I’m using half of the pre cuts.

The fabric I’m using for this project is Playful and Basic by Cotton & Steel for RJR. The prints are funky and retro. The quilt design is a variation of the fence rail. I will keep you posted as I finish up this project.  Until next time live love and sew!

Playful and Basics by cotton and steel

Jelly Cake layout

Playful Basic Jelly Cake Fence Rail

Welcome

Welcome to my online sewing journal! I started sewing when I was 8 years old; my mom, grandmother and aunts all had a hand in teaching me.  I went to a Catholic school and wore a uniform, Friday was our free dress day – 90% of the time I wore something I’d made. I made my prom dress, wedding dress, and all other outfits for special occasion between the ages of 15 thru 25.  We had water damage in our home and lost pictures and the items I’d made and saved.

I am the mother to 3 wonderful young adults ages 27-31. While they were small I made most of their cloths. Once my daughter entered junior high school she didn’t want to wear dresses anymore only sweats and tshirts — Imagine that!!

I was shopping at JoAnn Fabric Shop in 2004 looking for supplies to alter a prom dress for my girlfriend’s daughter and stumbled on a machine embroidery demo. OMG I was hooked — and as they say the rest is history.

I bought my first Viking embroidery machine that same day and started stitching for the church, the high school anybody that wanted something personalized I figured out how to do it — I had to pay for that machine!!!  Eleven years later I still have that first machine plus 5 more!  I now have a shop on Etsy and my own website. I make personalized baby gift items — what’s the saying when you are doing something you love you never work a day in your life — well that’s how I feel!!

I have always admired quilts but never thought I’d ever want to make one myself.  I remember my grandmother and aunts getting together to hand quilt thinking that wasn’t for me. I’m 55 years old and I’ve gotten the “quilt bug” and want to share my journey with you!

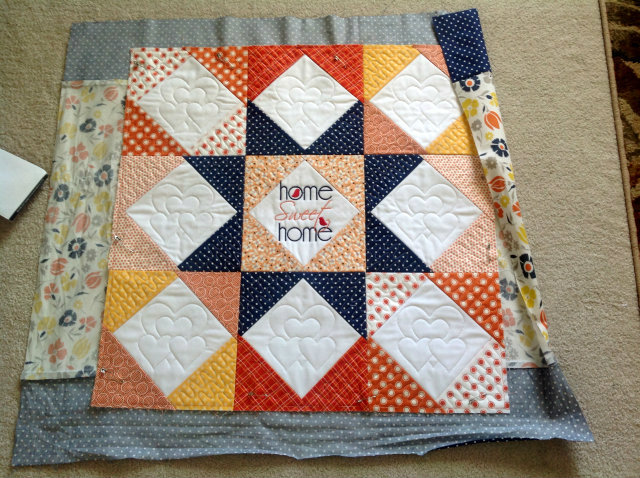
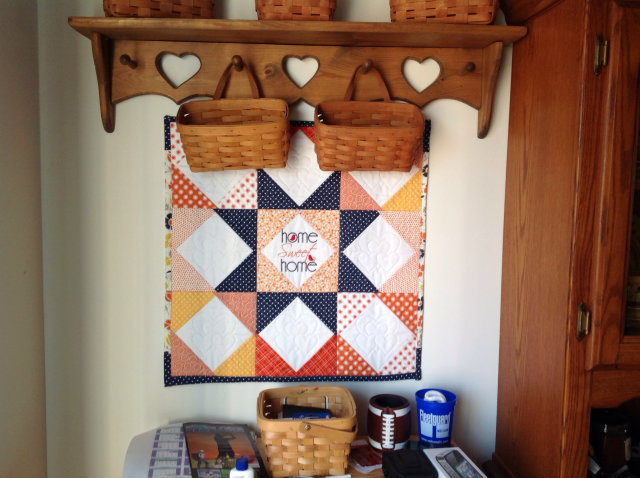
Once I decided to try making a quilt my first thoughts were how can I use my embroidery machine to make it happen. I found several sites but fell in love with Chantelle’s Creations.  Her site offers many options and the prices are reasonable. I pulled out my “wish list” folder to see if any of her designs could be used.  She offers a square in a diamond quilt block and I knew with proper placement of fabric a star forms as a secondary shape.

The process using the embroidery machine is relatively simple – kinda time consuming but the results are very accurate. Basically you hoop a piece of stabilizer the machine stitches an outline for batting placement. Once you trim the batting the machine stitches additional outlines for fabric placement.  The technique is simply stitch n flip.  The embroidery machine does the quilting also — win win right?!!  Once each block was completed I trimmed the seam allowance to a quarter inch, arranged in a 9 patch format to stitch together.  In this example I tried a self binding technique.

The wall hanging measures 24×24 inches. fabric used are from Denyse Schmidt. I loved how it turned out! Hopefully in the picture you can see the quilting lines inside of the diamonds, there is stippling also on each block.

Not bad for a first attempt — until next time — live love and sew!!

Post Navigation

Follow

Get every new post delivered to your Inbox.