Sewing Cushion Covers That Last
Cushion covers sewing is one of those jobs that looks simple until you reach the corners. A cover that fits properly and closes neatly takes an afternoon, and it will still look good after a long run of washes.
I have made covers for every chair in this house and for a good few gifts, and I keep returning to the same two closures and the same way of cutting. This is what I have learned about making them last.
Start With the Insert, Not the Fabric
The insert decides everything else: the size you cut, the depth of the cover and how firm the cushion feels. Measure the insert across the middle rather than trusting a label, because fillings settle and a written size can be generous.
Buy the insert first if you can, then choose the fabric to suit it. A plump feather or fibre insert asks for a cover cut a little smaller than the pad itself, so the cushion looks full rather than loose and baggy.
Fabric weight matters for long life. A firm medium-weight cotton, a linen blend or an upholstery cotton holds its shape through years of use far better than a thin dress cotton, and it takes a seam much more kindly.
If you are covering an existing cushion rather than a bought insert, treat the old cover as your template. Measure it flat and add a seam allowance, and the new cover will fit as well as the one it replaces without any guesswork.
Measuring and Cutting Without Waste
Cut one piece for the front and two overlapping pieces for the back. The back pieces together need to be a little wider than the front so they can overlap, and each one should be deep enough to hold the insert in place.
Mark the measurements on the fabric with a ruler and a soft pencil before cutting, and check them twice. Straight cutting is the difference between a cover that sits square and one that has to be coaxed into shape at every corner.
If the fabric has a pattern, think about where it lands. Centring a large motif on the front is worth the extra fabric, while small repeating prints only need the two sides to line up reasonably well.
Keep a note of the measurements that worked, once a set is finished. A small card in the sewing drawer with the front size, the two back panels and the closure used saves you remeasuring the same cushion every time you make a new cover.
Three Closures and How They Wear
There are three closures worth knowing, and each one suits a different kind of cushion. The table below sets them side by side, and this is the choice I would make before cutting anything.
| Closure | Best for | Why it lasts |
|---|---|---|
| Envelope back | everyday cushions and covers you change often | no moving parts, so nothing wears out |
| Concealed zip | a tailored finish and a snug fit | the zip is hidden and the seam takes less strain |
| Buttons or ties | loose covers and cushions that are mostly decorative | easy to open, and easy to mend later |
Whichever you choose, the aim is the same: an opening that closes cleanly and does not pull open while the cushion is in use. A closure that gaps will always look unfinished, however carefully the cover was sewn.
Covers that are leaned on every day are best served by a closure you can open without a fight. Cushions that are mainly decorative can take buttons or ties, which are slower to open but far easier to replace when one comes loose.
The Envelope Back That Needs No Zip
An envelope back is the closure I recommend to anyone starting out. It is simply two overlapping panels on the reverse, and the cushion slides in between them. There is no zip to insert and nothing to break.
Finish the two raw edges of the back panels before anything else. A double fold gives a clean edge that will not fray with use, and it also makes the opening easier to press flat once the cover is closed.
Sew the panels to the front with the right sides together, stitch around all four sides, then clip the corners and turn the cover through. Press it, and the opening sits neatly shut under the cushion.
A Zip, Piping and Neat Corners
A concealed zip gives a cover a tailored look and is worth learning if you make several. Sew the zip in before you join the side seams, so you are handling a flat piece of fabric rather than a closed tube.
Trim the seam allowance across each corner before turning the cover. Cutting the corner off at an angle removes the bulk that makes a finished cushion look pointed and lumpy, and it costs nothing to do.
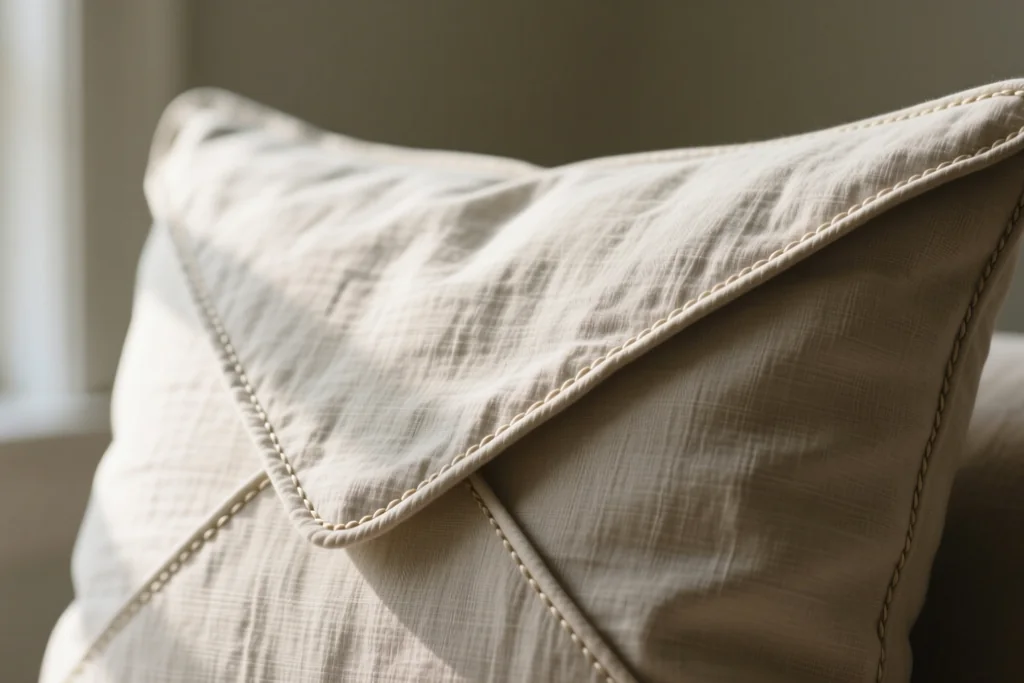
Piping is the detail that makes a cover look bought rather than made. A narrow strip of fabric folded over cord and stitched around the front panel before assembly gives a crisp outline and quietly strengthens the edge as well.
Press every seam as you go rather than at the end. Pressing while the work is still flat is quick, and it is the habit that separates covers that look considered from covers that look unfinished.
Washing and Making Them Last
Wash covers inside out on a gentle cycle and let them dry flat or on a line. A hot wash and a hot tumble are what shrink a cover until the insert no longer fits, and both are easy to avoid.
Here is the order of work that keeps a set of covers in good condition for years.
- Test the fabric for colour running before the first full wash.
- Wash inside out with like colours and a gentle detergent.
- Dry flat or on a line, and reshape the cover while it is damp.
- Press on the reverse, with a pressing cloth over decorated fabric.
- Keep a spare set, so covers rest between washes and last longer.
In the end, good cushion covers sewing comes down to two things: a closure that stays closed and corners that lie flat. Get those right and the cover will outlast the cushion inside it.