Sewing Machine Care: Keeping It Running for Years
Sewing machine maintenance is not a hobby in itself, which is exactly why it gets forgotten. The machine works, then it coughs, then it goes in for a repair that ten quiet minutes could have prevented.
I keep one machine that has sewn almost daily for years, and the routine that keeps it running is short and unglamorous. These are the habits worth keeping, in the order I do them.
Why a Short Routine Pays Off
A sewing machine is a set of parts moving very fast against one another, and fluff, dust and thickened oil are what wear them. Most faults people describe as the machine playing up are simply lint in the wrong place.
Cleaning and oiling on a regular plan also keep your stitching even. A machine that runs smoothly makes a consistent stitch, and consistency is what makes your work look skilled.
The routine is small enough to fit at the end of a sewing session. If it happens every time you finish, it never becomes a chore you keep postponing.
It also pays to know your own machine properly. The manual shows where the oil points are, how the bobbin case comes out and which screws hold the needle plate, and those few pages save a great deal of guesswork.
Cleaning the Bobbin Area and the Feed Dogs
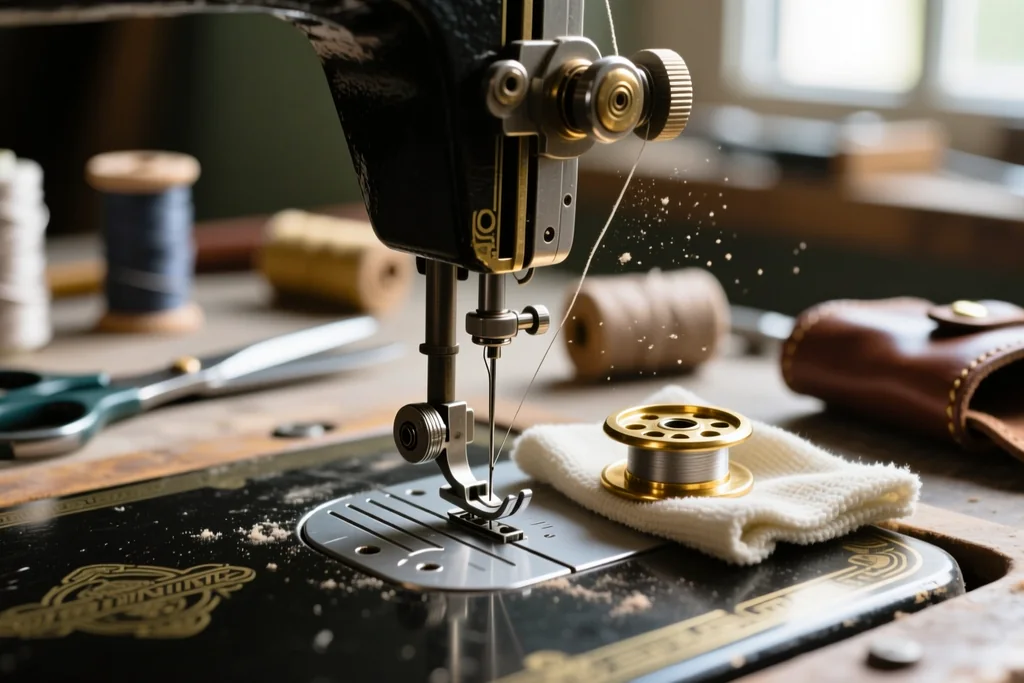
Remove the bobbin, the bobbin case and the needle plate, and look at what has gathered underneath. Lint collects there as a felted mat, and it is the single most common cause of skipped stitches and a noisy machine.
Brush it out with the small brush that came with the machine, working outward from the centre. Never use a can of compressed air, because it drives lint further into the mechanism instead of removing it.
Clean the feed dogs at the same time. A fine brush and a toothpick lift the compacted fluff from between the teeth, and a dry cloth wipes the exposed parts before you reassemble everything.
A soft brush and a dry cloth are the whole toolkit for this job. Work over a sheet of paper, so the lint can be folded up and thrown away rather than drifting back into the machine while you reach for the next part.
Oiling and Lubricating Correctly
Oiling is the step where more damage is done by enthusiasm than by neglect. Modern machines have sealed bearings and need very little oil, so the manual is the authority rather than a habit carried over from an older machine.
Where oil is needed, use one drop at a time in the points the manual lists, and use only sewing machine oil. Household oil, cooking oil and sprays thicken with time and attract the very dust you are trying to keep out.
Run the machine on a scrap of fabric after oiling, so any excess is taken up by the cloth rather than by your next project. Then wipe the surface clean before you begin work on something you care about.
Needles, Thread and Tension
A blunt or bent needle causes more trouble than any other single part, and it is the cheapest to replace. A needle that thumps, skips or leaves a ragged hole is telling you it is finished.
Match the needle to the fabric as well as to the thread. A fine needle for a fine cotton and a heavier one for denim or upholstery keep the stitch clean and stop the machine from straining.
Tension problems are usually not tension at all. Check that the machine is threaded properly, that the bobbin is wound evenly and that the needle is in the right way round before you touch the tension dial.
Keep a few spare bobbins wound in the colours you use most. Changing one mid-project is quicker than emptying and rewinding, and a machine runs better on bobbins that are filled evenly from edge to edge.
A Maintenance Plan for the Year
Keeping all of it on a simple schedule is easier than remembering it in the moment. The table below is the plan I follow, and it takes very little time in total.
| Part | What it needs | When to do it |
|---|---|---|
| Bobbin area and feed dogs | brushed out and wiped clean | at the end of every sewing session |
| Needle | replaced with a sharp one | at the start of a new project |
| Exterior and handwheel | wiped with a soft dry cloth | before a large project |
| Machine service and adjustment | checked over by a technician | once a year for a machine in regular use |
A service is worth the cost for a machine used often, because a technician can reach and adjust what you cannot. Between services, the daily and weekly habits are what keep everything else in order.
Write the service date inside the manual, or on a slip kept with the accessories. A note on paper is far more reliable than memory when the months pass quickly.
Warning Signs Not to Ignore
Some symptoms mean clean and re-thread, and others mean stop. Here are the signs that point to something beyond ordinary sewing machine maintenance.
- Thread shredding or breaking repeatedly with a fresh needle.
- A burning smell, or a motor that becomes hot to the touch.
- A handwheel that turns with effort or grinds as it moves.
- The needle striking the plate or snapping for no clear reason.
- Stitching that stays uneven after cleaning and re-threading.
If the machine runs hot, or the needle keeps hitting the plate, switch it off and take it in rather than pushing on. Small faults become expensive ones very quickly.
Before you take the machine anywhere, write down what it does and when it started. A repairer who knows it fails only at speed, or only through one fabric, will find the fault far faster than one who is told it simply sews badly.
Sewing machine maintenance is really just attention paid at the right moments. A clean machine, a fresh needle and a drop of oil where the manual asks for one will keep it sewing straight for years of projects.