Upcycling Fabric Scraps: Clever Ways to Use Every Piece
Every finished project leaves a small heap behind: trimmings, test squares, the strip cut off a backing. Thrown away they are waste, and sorted and kept they become the raw material for fabric scrap projects that cost nothing but an evening. Most of my favourite makes began in that heap.
The trick is not to save everything in one bag. Sort as you cut, and the scraps themselves start telling you what they want to become. It is a small habit that changes a whole cupboard.
Sort Scraps by Size, Not by Sentiment
Three piles will do: pieces larger than your hand, strips and squares, and crumbs too small to sew. Give each pile a box, and the sorting takes seconds rather than an afternoon. Keep the boxes small enough to live under the table.
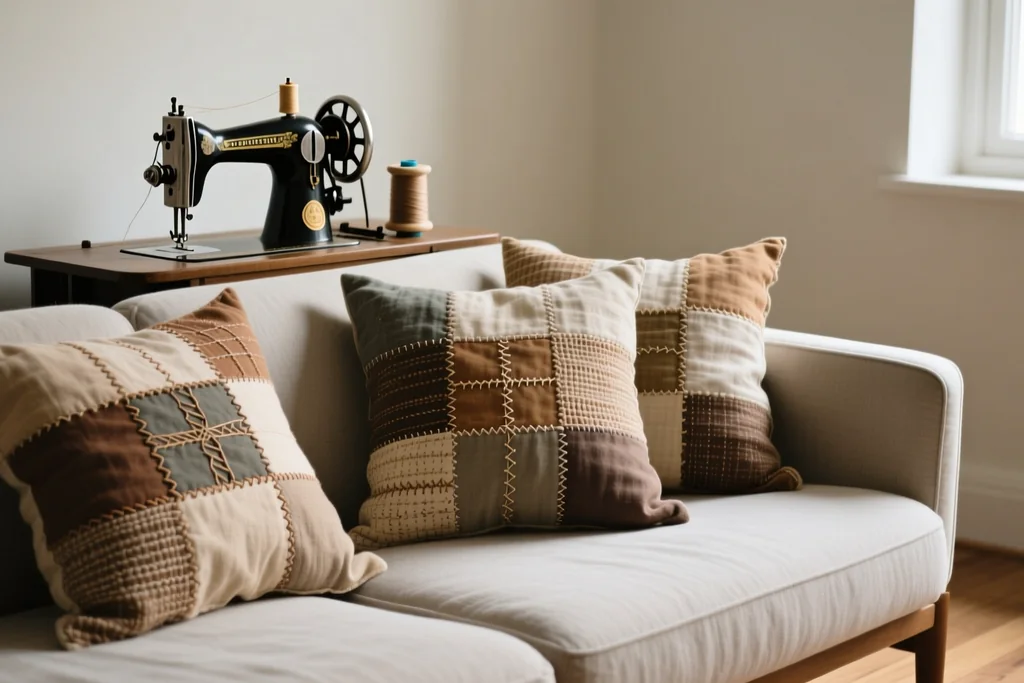
The large pieces are the useful ones. They can become a bag lining, a tea cosy, or a patch over a worn spot on a cushion. A lining is invisible, so it does not need to be beautiful.
Strips and squares are the patchwork pile. Cut them to a common width as they arrive, and a future project is half prepared before you start it. Squares cut now are squares you never have to cut later.
Crumbs have one honest use: stuffing for a small pincushion or a doorstop. Anything finer than that belongs in the bin, and there is no shame in admitting it.
What Each Size Will Make
Matching the piece to the project is where scraps stop being clutter. The table below is the rough map I use when a bag is full and I want to make something. It saves the slow feeling of staring at a heap of fabric with no plan.
| Size of scrap | Projects it suits | Notes |
|---|---|---|
| Hand-sized pieces | Bag linings, cushion backs, patches | Cut to a square first, then trim to fit |
| Long strips | Binding, basket trims, ties | Join on the diagonal when you need length |
| Small squares | Coasters, patchwork mats, mug rugs | Keep one common size so they join easily |
| Tiny crumbs | Pincushion stuffing, doorstops | Cut them fine so the filling sits smooth |
Sizes are a guide rather than a rule. If a piece looks right for a project, it usually is, and nothing has to be measured before you begin.
Nothing needs writing down. After a few weeks the three boxes tell you at a glance what is possible.
Joining Small Pieces Into One Cloth
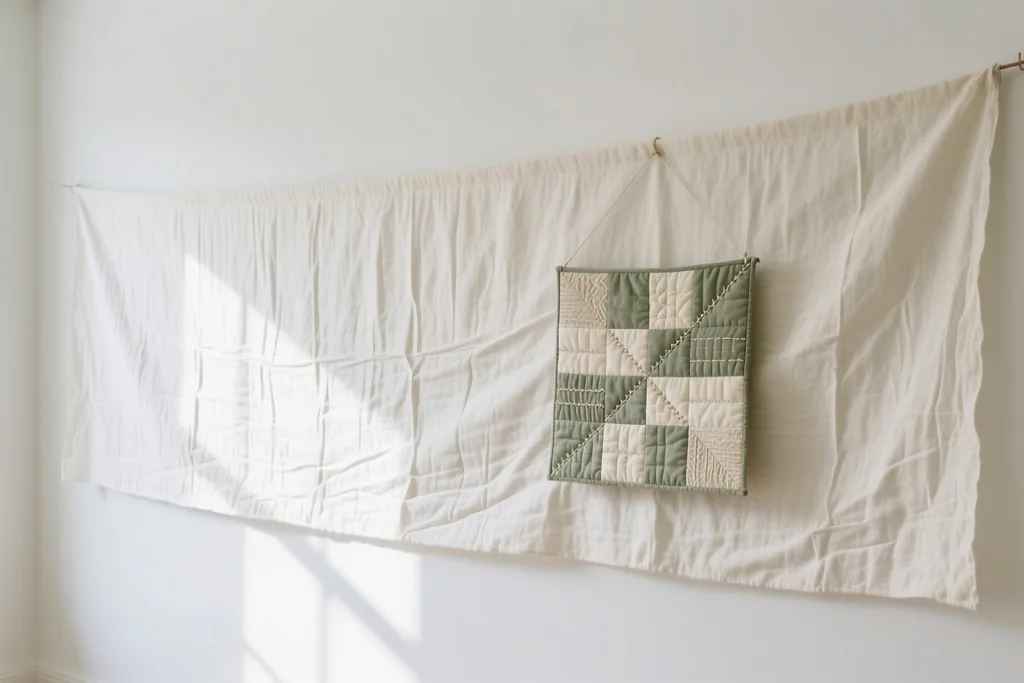
Small squares become cloth when you sew them in pairs, and then sew pairs of pairs. This is how a scrap quilt grows without any planning at all. Two squares make a rectangle, and four rectangles make a block.
Press every seam as you go, to one side, and alternate the direction so the joins lock together. Unpressed seams bunch and make the next row harder than it needs to be. A hot iron and a few seconds are all it takes.
Do not worry about matching every print. A mix of plains and small patterns in a narrow range of colours reads as deliberate rather than accidental. The colour family matters far more than the pattern on each piece.
Strips, Binding and Rolled Edges
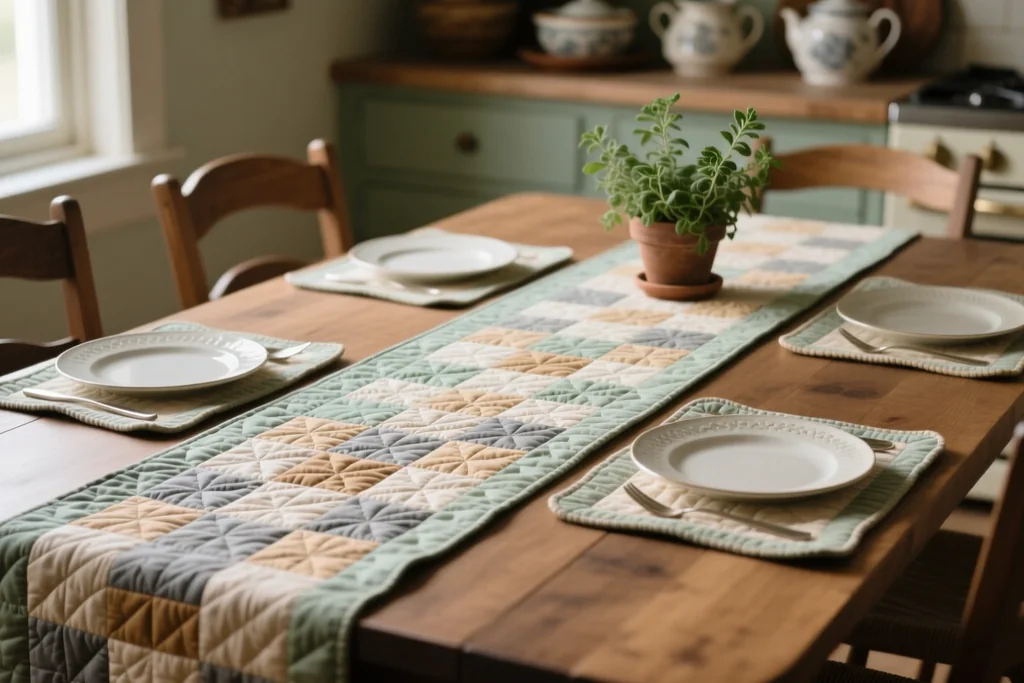
Long strips are the most wasted scrap of all, because they are the hardest to store and the easiest to use. The binding for a quilt or a mat can come entirely from leftovers. Joining your own saves a trip to the shop and uses up fabric you already own.
Join strips end to end on the diagonal, trim the seam and press it open. The join disappears into the finished binding and nobody will ever find it. Trim the little triangles away as you go so the seam stays flat.
Strips also make rolled fabric baskets, bag handles and simple ties. Anything that needs length and can tolerate a seam will work.
Making Something Useful, Not Just Pretty
A scrap project earns its place in the house if it actually gets used. Coasters, mug rugs, a pincushion and a small bag for the sewing kit are all quick, and all get picked up daily. Wearing out is the highest compliment a handmade thing can earn.
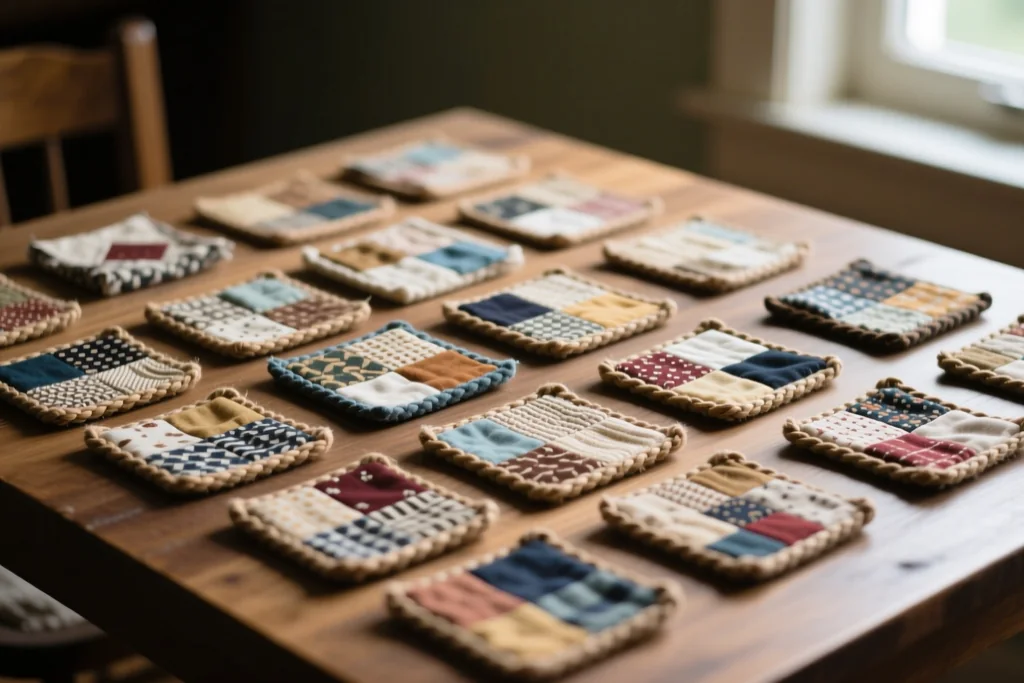
A set of coasters makes a good gift and uses fabric that would otherwise linger for years. Four squares, a backing and a few lines of quilting are enough, and light quilting keeps them flat in the wash.
If a gift needs to feel considered, tie the set with a strip of the same fabric. It costs nothing and looks as though you planned it carefully.
Keeping the Pile Under Control
Scraps multiply quietly. Without a limit the boxes fill up and the room stops being pleasant to work in. The first sign is usually a lid that will not close.
- Sort pieces into their boxes as each project ends, not weeks later.
- Cut strips and squares to a common width before they go into the box.
- Set a size limit, and pass anything below it to someone who stuffs cushions.
- Use the smallest box that will hold a year's worth, so it never overflows.
- Make one small project from scraps before starting something new.
One small project between the larger ones keeps the pile moving and the habit alive.
If the boxes still fill faster than you can sew, the limit is the problem rather than your speed. Lower it and pass the surplus on.
Nothing Wasted, Nothing Hurried
Fabric scrap projects suit the way many of us work now: shorter sessions, smaller pieces, and a finished thing at the end of an afternoon. A coaster takes half an hour and uses up four squares.
Keep the boxes tidy, make a coaster when the mood takes you, and let a scrap quilt grow quietly in the background. That steady rhythm is what makes fabric scrap projects so easy to live with. The fabric already in your cupboard is the least expensive material in the house.
Start with the pile on the table today, and let the first small finish lead to the next one.