Machine Quilting Basics for Home Sewers
Quilting a finished top on a domestic sewing machine is the step that makes most people nervous, and there is no reason for it. Your machine does not need to be large or expensive. It needs to be set up so the layers behave and the needle is not fighting the weight.
I machine quilted my first quilts on an ordinary machine at the kitchen table, and the lessons came mostly from doing it badly the first time. These machine quilting basics are the setup habits that would have saved me the most unpicking.
The Three Layers and How They Meet
Machine quilting joins the pieced top, the batting and the backing with lines of stitching. The stitching is what holds the batting in place and gives the quilt its surface pattern. Everything about the setup exists to keep those three layers moving together.
The backing should be a little larger than the top on every side, and the batting a little larger again. That extra margin lets you hold the edges without pulling the centre out of shape, and it gives the machine something to grip at the start and end of a line.
Press both the top and the backing before layering. Pressing makes the fabric lie flat, and flat fabric is the difference between stitching that sits smoothly and stitching that catches a fold.
Basting So Nothing Shifts
The layers must be held together before any stitching begins. Pins are quick but can catch the needle, while thread basting is slower and much safer. Many quilters now use a spray adhesive made for fabric, which holds firmly and does not gum the needle.
Whichever method you choose, work from the centre outwards. Smoothing the layers outward from the middle pushes air and wrinkles to the edges where you can deal with them, rather than trapping them under the middle of the quilt.
Keep the sandwich flat while you baste. Lay it on a hard floor or a large table, and do not fold it until the basting is complete.
The Walking Foot and the Straight Line
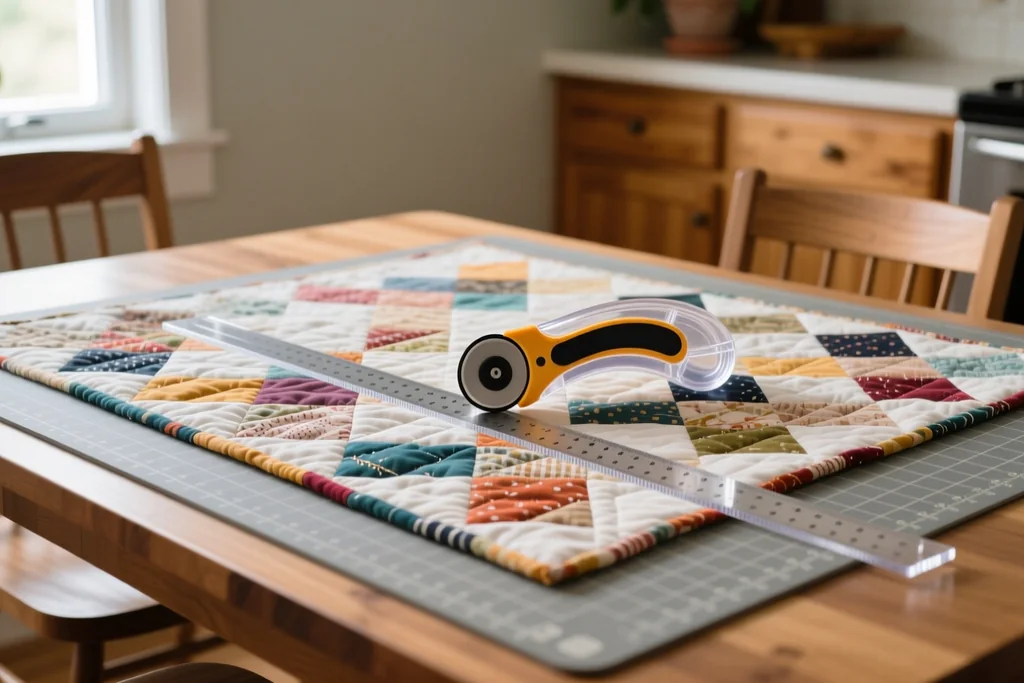
For straight-line machine quilting, a walking foot is the single most useful accessory. It has its own feed dogs that move the fabric from above while the machine moves it from below, so all three layers travel at the same speed.
A fresh needle in a size suited to the thickness handles the extra bulk. The table below sets out the basic setup for straight lines on a home machine.
| Setting | What to use | Why it helps |
|---|---|---|
| Foot | a walking foot | feeds top and bottom together, so the layers do not slide |
| Stitch | straight stitch, medium length | a slightly longer stitch travels through thickness better |
| Tension | start at your usual setting | test on a scrap sandwich before you touch the dial |
| Speed | slow and steady | control matters more than pace on a first quilt |
Always test on a scrap sandwich made from the same fabrics and batting. The test tells you whether the tension is balanced, whether the stitch length suits the thickness and how the fabric feeds.
Guide the quilt rather than steering it. Your hands should support the fabric and let the machine pull it through, because dragging the quilt sideways bends the needle and wobbles the line.
Supporting the Weight of the Quilt
A large quilt hanging off the edge of a small table pulls the stitching off course, and it is hard on your shoulders too. Set the machine so the bed is clear on the left, where most of the bulk will sit, and use the table behind you for what has already been stitched.
Roll the quilt rather than folding it. Rolls are compact and feed through the machine smoothly, while folds create ridges that the needle has to climb over. Two rolls, one either side of the needle, keep everything under control.
Take breaks. The work uses your shoulders, neck and hands, and a few minutes away from the machine keeps the stitching steady for longer.
Simple Stitching Plans for a First Quilt
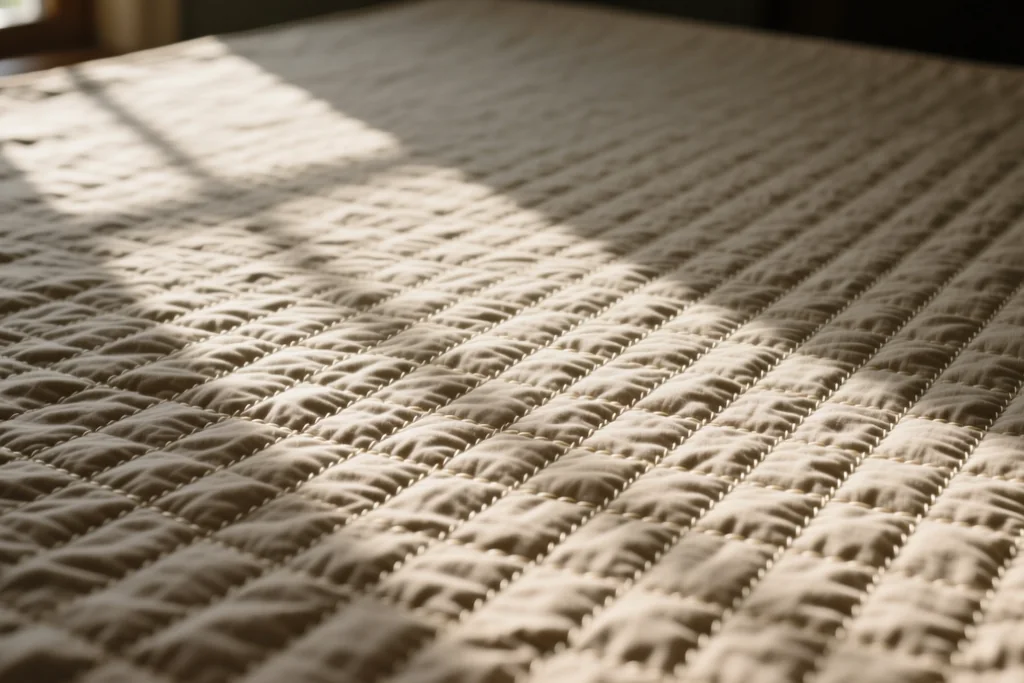
The simplest plan is a grid of straight lines across the quilt, spaced evenly. It is calm, forgiving and works on almost any design. Mark the first line lightly with a removable marker and then use the edge of the walking foot to guide each following line.
Stitching in the ditch, which means sewing right alongside the seams of the patchwork, is another honest option. It hides the stitching inside the piecing and never argues with the design, though it does mean a lot of turning.
Outline stitching, following the shapes of the blocks at a consistent distance, is easy to plan and easy to see. Whatever you choose, draw it on paper first, so you know how the lines will cross and where you will start and stop.
Needles, Tension and Good Habits
Change the needle at the start of a big quilt rather than in the middle of it. A fresh needle in a suitable size for the thickness of the sandwich prevents skipped stitches and small holes in the fabric.
Check the thread path and the bobbin before starting each session, and clean the bobbin area when you finish. Lint builds up quickly while you are quilting, and a clean machine feeds more evenly.
A short routine before each session keeps the work smooth.
- Put in a fresh needle and check it is seated all the way up.
- Wind a full bobbin so you are not stopping in the middle of a long line.
- Test the tension on a scrap sandwich before you touch the real quilt.
- Clear the table behind the machine so the quilt has somewhere to go.
Lower the needle into the quilt before you start the machine and stop with the needle down. That small habit keeps the line straight at the beginning and stops the layers shifting every time you pause.
Finishing the Quilt and Moving On
When the stitching is done, trim the edges square and bind the quilt. The surface will not be perfect, and the small variations are what make it handmade rather than manufactured.
Keep a note of what you used, the stitch length and anything you would change. Those few lines are the most useful record you can keep, and the next quilt will go better because of them.
Do not judge the first attempt by the stitching on the back. Look at the whole quilt on a bed with the light behind you, and see how the lines you made hold the layers and give the surface its shape.