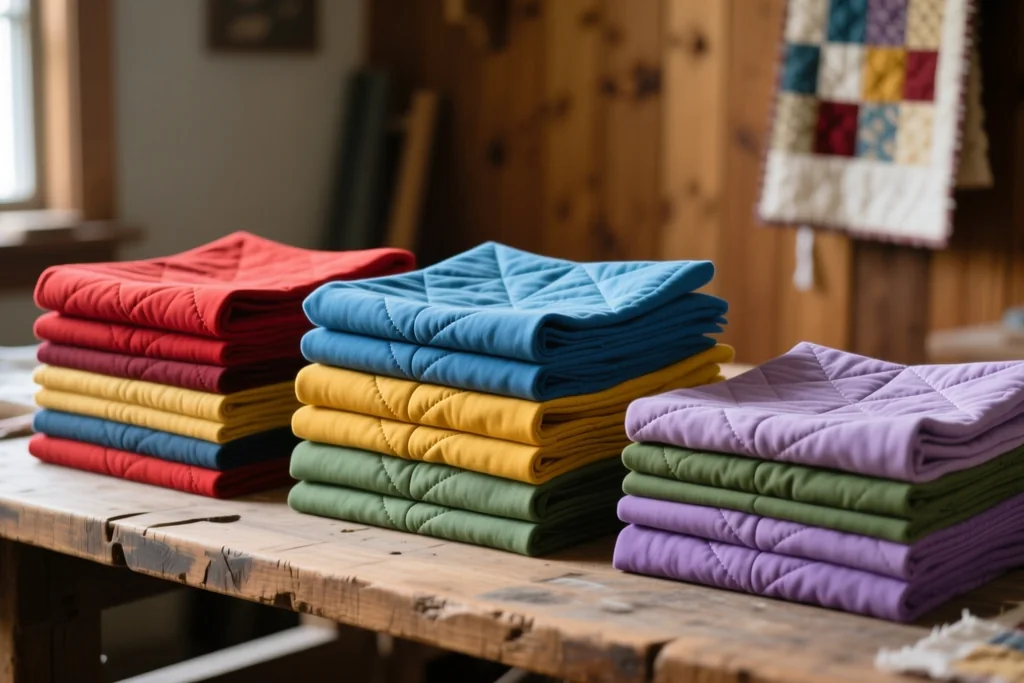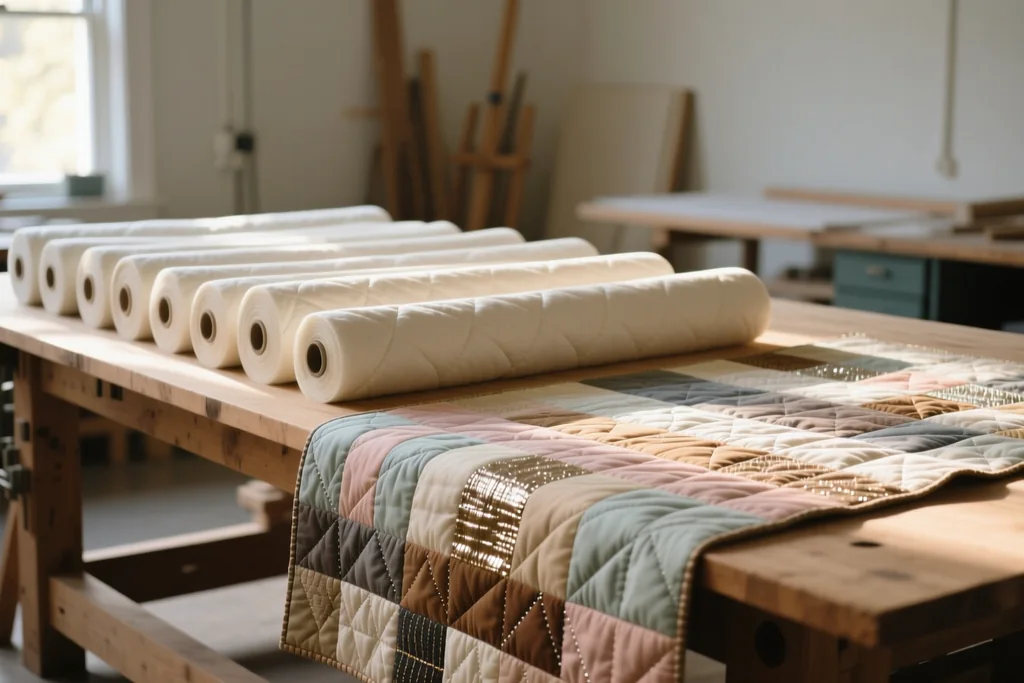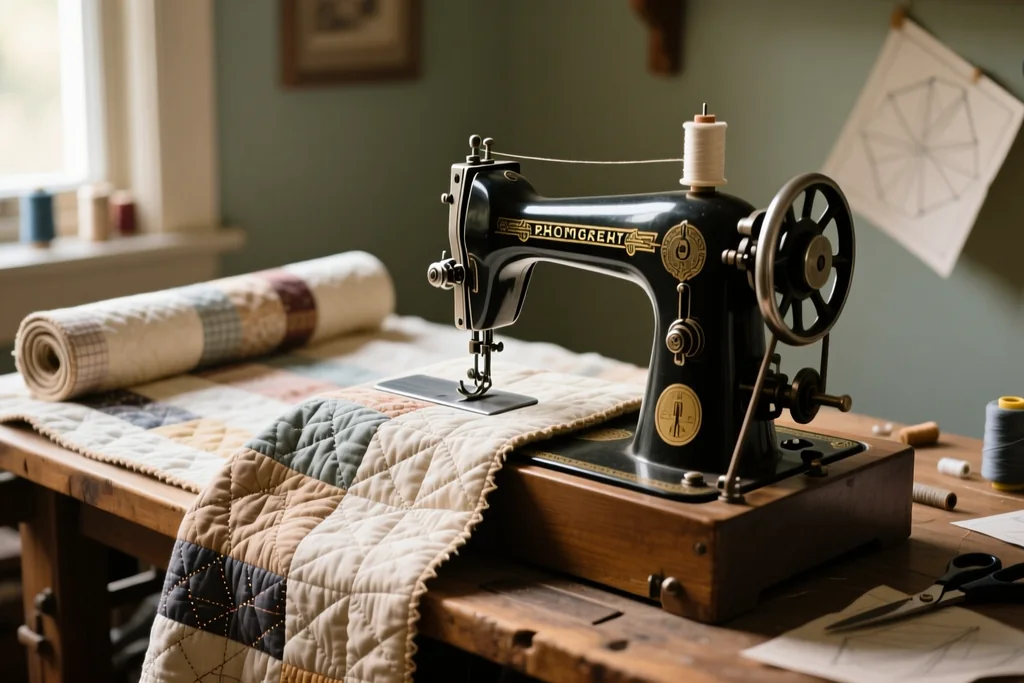
Quilting for Beginners: How a Quilt Comes Together
Quilting for beginners is mostly a question of order. A quilt is not one large project but a series of small ones, and each step is finished before the next one begins. Once you know the sequence, the whole thing stops feeling daunting.
I learned to quilt slowly, one block and one seam at a time, and I still use the same order today. This is how a quilt comes together, from the first decision to the last stitch on the binding, written for anyone who has never made one before.
What Makes a Quilt a Quilt
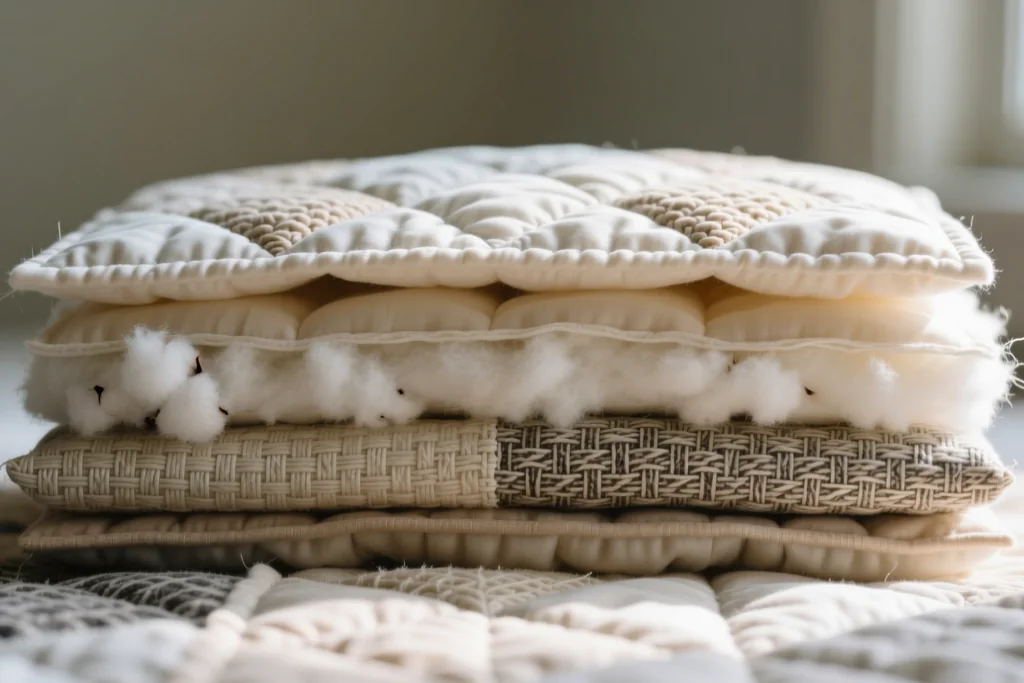
A quilt is three layers held together by stitching: a pieced or plain top, a layer of batting in the middle, and a backing fabric underneath. The stitching that runs through all three layers is what turns it into a quilt rather than a blanket.
Each layer has a job of its own. The top carries the design, the batting gives warmth and loft, and the backing holds everything together and shows on the reverse side. Change any one of the three and the finished quilt feels completely different.
Batting comes in different weights, from thin and flat to thick and puffy, and that choice changes both the warmth and the look of the stitching. For a first quilt a thin batting is the kindest option, because the layers stay manageable under the machine.
Choosing a First Block You Will Enjoy
The block is the repeating unit of the quilt top, and for a first project it should be simple and forgiving. Squares, rectangles and half square triangles are the classic starting points. A simple block repeated across a whole quilt looks deliberate and calm.
Pick a block you actually like, because you will sew it many times. If a design looks tedious in the pattern, it will feel tedious in the sewing. Enthusiasm for the design is what gets a first quilt finished rather than parked in a bag.
It also helps to choose a small quilt as your first one. A lap quilt or a wall hanging can be completed in a reasonable amount of time and will teach you every stage of the work.
Fabric, Cutting and a Quarter-Inch Seam
Quilting is built on accurate cutting, and accurate cutting comes from a rotary cutter, a self-healing mat and a long ruler. Cut strips and squares on the straight grain, with the fabric folded and the edges lined up. Sharp blades and steady hands matter far more than speed.
Piecing uses a quarter-inch seam allowance almost everywhere, and a quarter-inch foot for your machine makes that automatic. Sew a test seam on scrap fabric and measure it before you begin on the real pieces. Small errors multiply very quickly across a quilt.
Press the seam after each step rather than at the very end. Pressing sets the stitches into the fabric and gives the next seam a clean edge to follow. Set the seam with the iron first, then press it to one side.
Piecing the Top and Pressing as You Go
A quilt top grows by joining small units into bigger ones. Sew the rows first, then join the rows to each other, and keep the pieces in order so nothing is lost or turned the wrong way. A design wall or a clean floor helps you lay the work out before you commit to a seam.
Nesting seams is the trick that keeps corners crisp: press the seam allowances of adjoining pieces in opposite directions so they lock together as you sew. It is a small habit that makes joining rows far more accurate.
Take the top to the ironing board often and check that it lies flat. If the fabric starts to wave or measure differently than you expected, it is much easier to correct one seam now than the whole top later.
Layering and Basting the Quilt Sandwich
The quilt sandwich is the top, the batting and the backing layered together, and how it is assembled decides how the quilting behaves. The table below sets out the three layers and what each one asks of you.
| Layer | What it does | What to watch |
|---|---|---|
| Quilt top | carries the design and the colour | seams pressed flat so the surface stays even |
| Batting | adds warmth and loft | choose a weight you can move under the machine |
| Backing | closes the quilt and shows on the reverse | cut generously and press out every crease |
Layering is easiest on the floor or a large table. Smooth each layer before adding the next, working from the centre outwards so that no air is trapped between them. The backing goes down first, the batting in the middle, and the top last.
Basting holds the layers together until the quilting is done. Pins, safety pins or a loose hand stitch all work, placed closely enough that nothing shifts. Rushing this step is the most common cause of a puckered quilt.
Quilting and Binding to Finish
Quilting is the stitching that runs through all three layers, and it can be as simple as straight lines across the quilt. Straight lines with a walking foot are the friendliest option on a home machine. Work from the centre outwards so the fabric is pushed rather than dragged.
Binding finishes the raw edges, and it is made from a strip of fabric folded and stitched around the outside of the quilt. Working slowly around the corners gives the neatest result. A hand-finished binding on the back is well worth the extra evening.
Before you start a project, it is worth having your kit in one place. Here is what a beginner really needs.
- A rotary cutter with spare blades, a cutting mat and a long acrylic ruler.
- Good cotton fabric, pre-washed if you plan to wash the quilt often.
- Batting and backing, both cut larger than the quilt top.
- Safety pins or needles for basting, and a walking foot for the machine.
- A seam ripper, which every quilter uses far more than they expect.
Your First Quilt, Finished
The last step is to label the quilt and then use it. A small label with your name and the year is a gift to whoever owns the quilt later. Then put it on a bed or the back of a chair rather than folding it away.
Your first quilt will not be perfect, and it does not need to be. Look at it again in a few months and you will see how much your seams and your corners have improved. That progress is the real result of the project.
Quilting for beginners is a skill built one seam at a time, and every quilter you admire started with a crooked corner. Choose a block, cut carefully, press often, and finish it.