My Introduction to Paper Piecing
Happy Tuesday!
I’ve had Paper Piecing on my “to do” list for a few years now. The technique both intrigued and scared me. Stitching on a line seemed easy, but sewing in reverse seemed odd.
Cherie, from one of the blogs I follow Cherie’s Quilting Journey finished piecing a beautiful quilt in January that had some paper pieced components to it. You can see Cherie’s quilt here.
Granted I’m not ready to tackle something so big..I did some research and decided I would start with a triangle in a square quilt block as my sample. This block only has 3 pieces and no severe angles.
I watched lots of You Tube videos demonstrating paper piecing techniques. My favorite was by Amanda Rolfe and you can watch the video here if you are wanting to learn how to paper piece.
I made a mini quilt, measuring 16 x 21 inches. Below is a picture of my focus fabric. I used it as the backing for the mini quilt.

PP-Triangle In Square Back
My triangle in a square units measure 4.5 x 4.5 inches unfinished. I decided to go with a diamond layout. The points are perfect — I was extremely pleased.

PP – Diamonds Mini Quilt
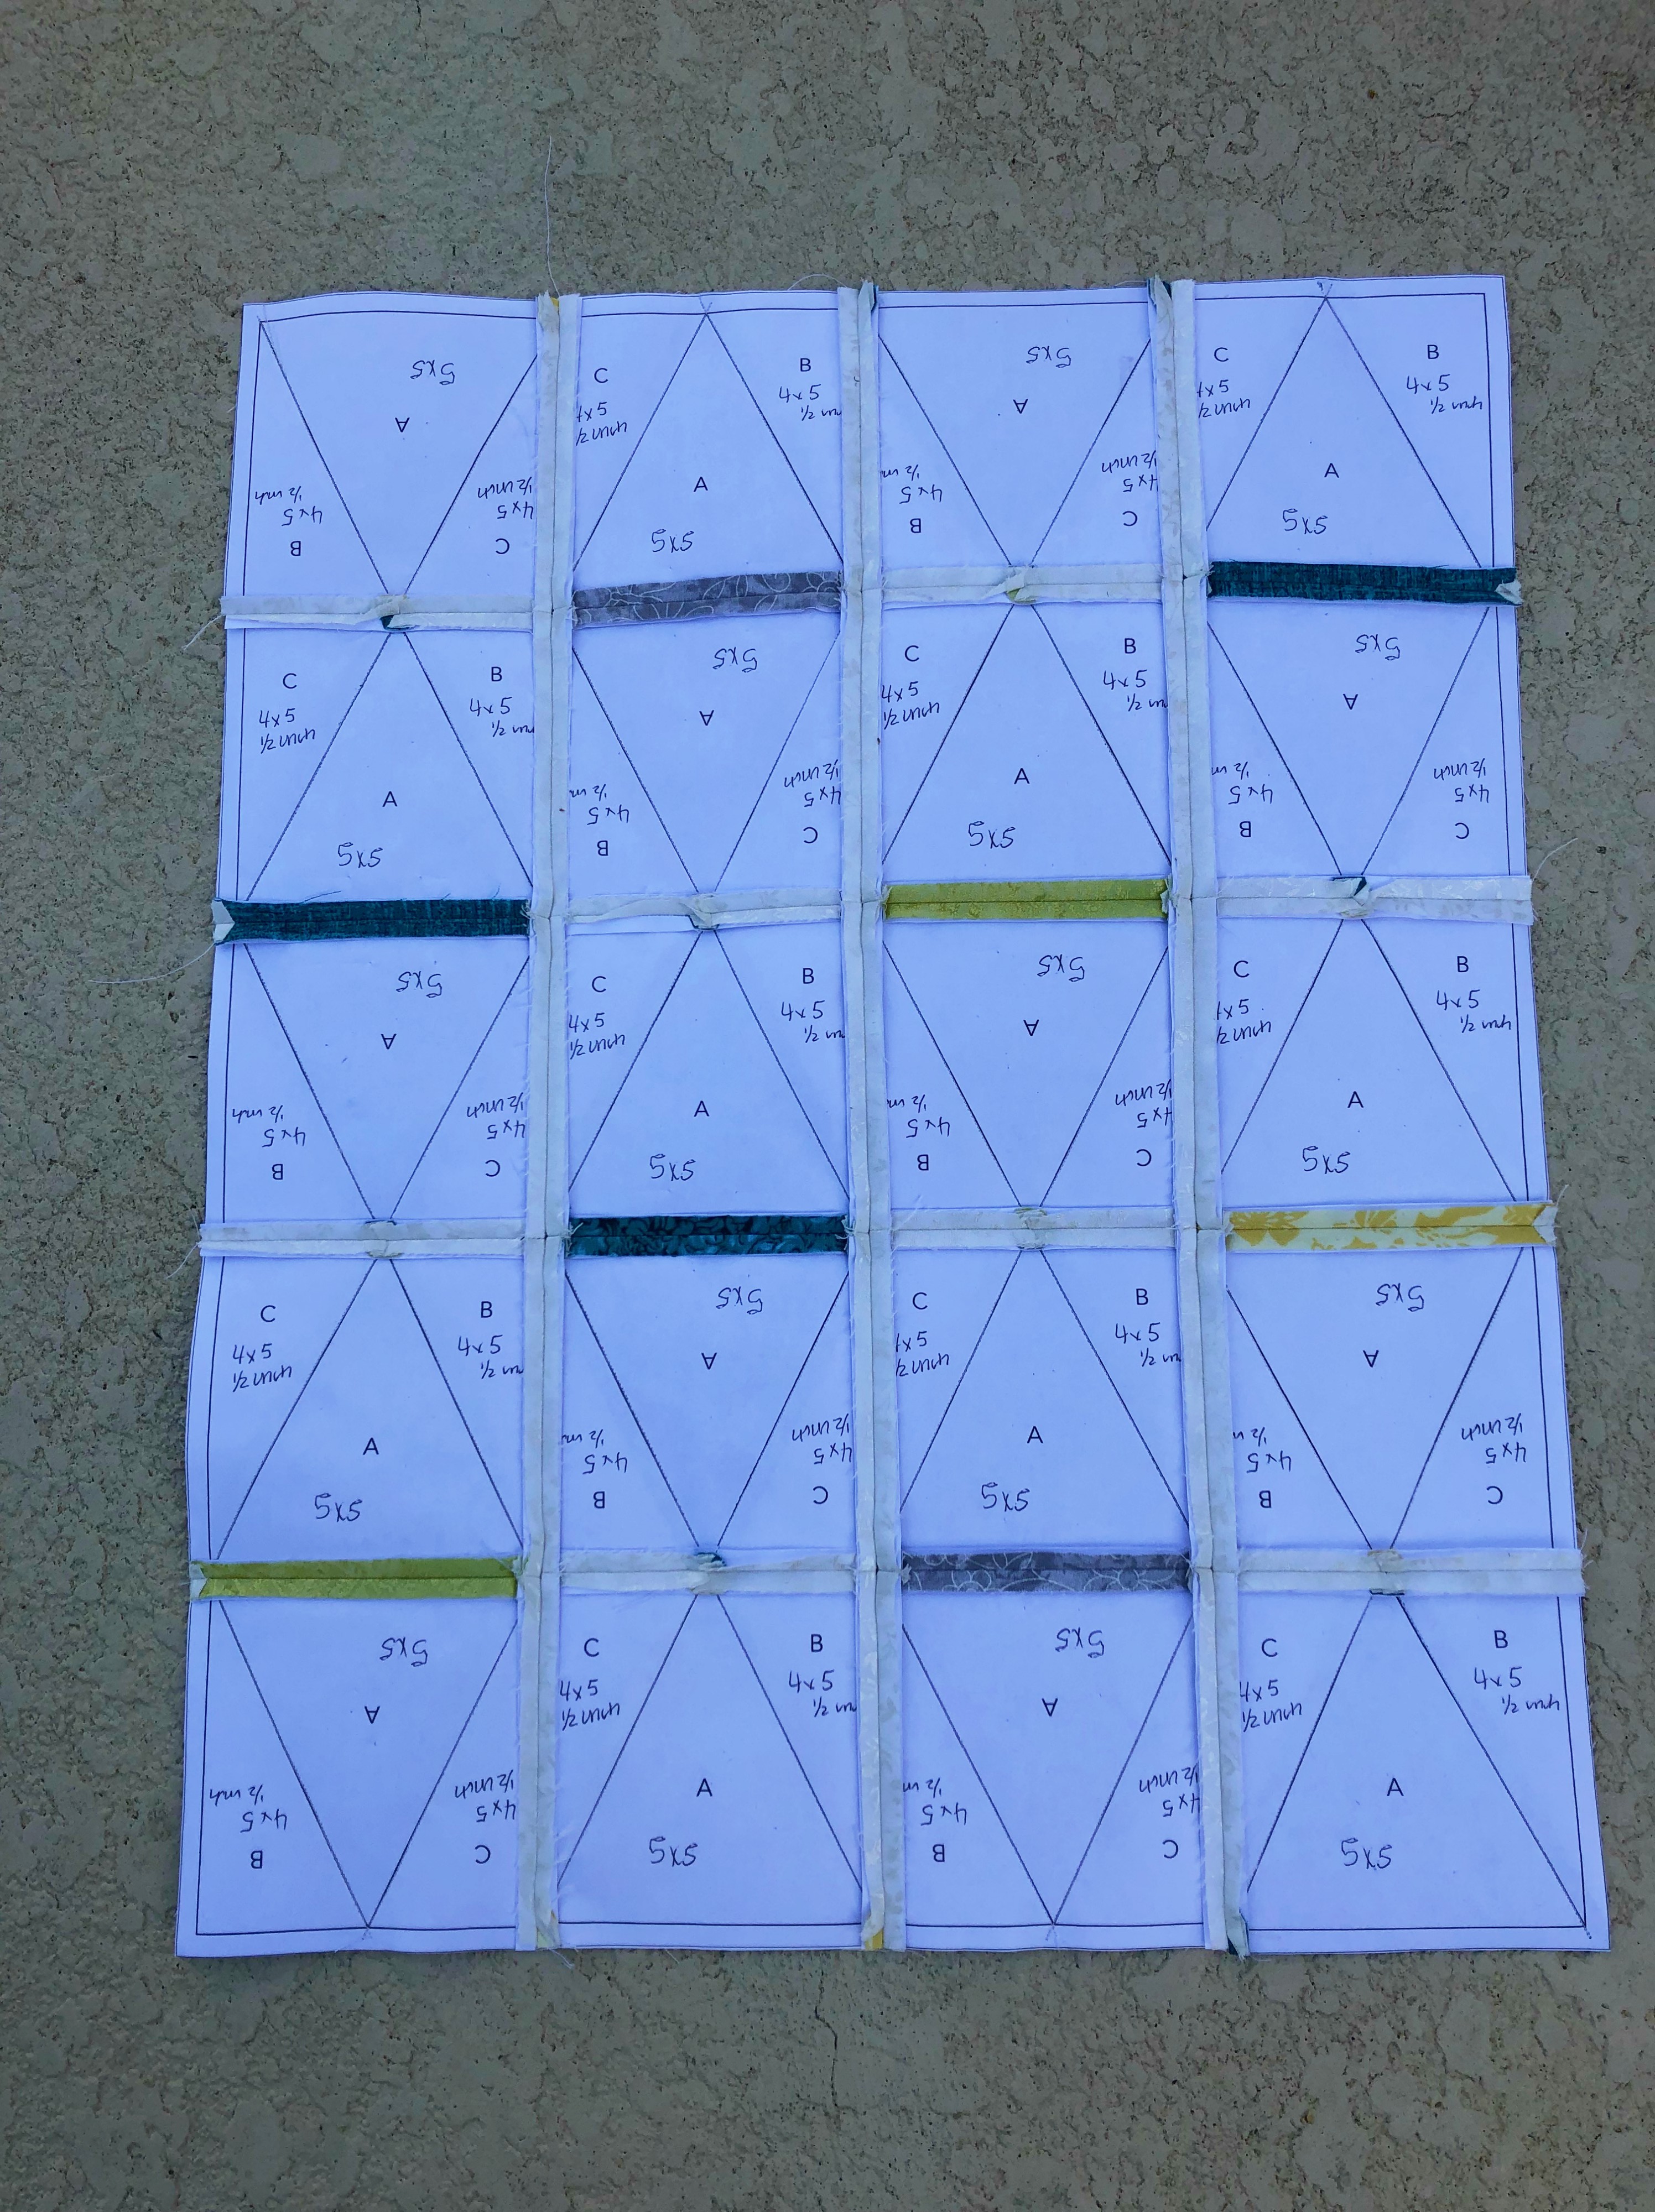
I didn’t tear off the paper until the entire mini quilt top was finished. Sewing on the lines kept everything aligned. Below is how it looked before removing the paper.

paper piecing TIS B
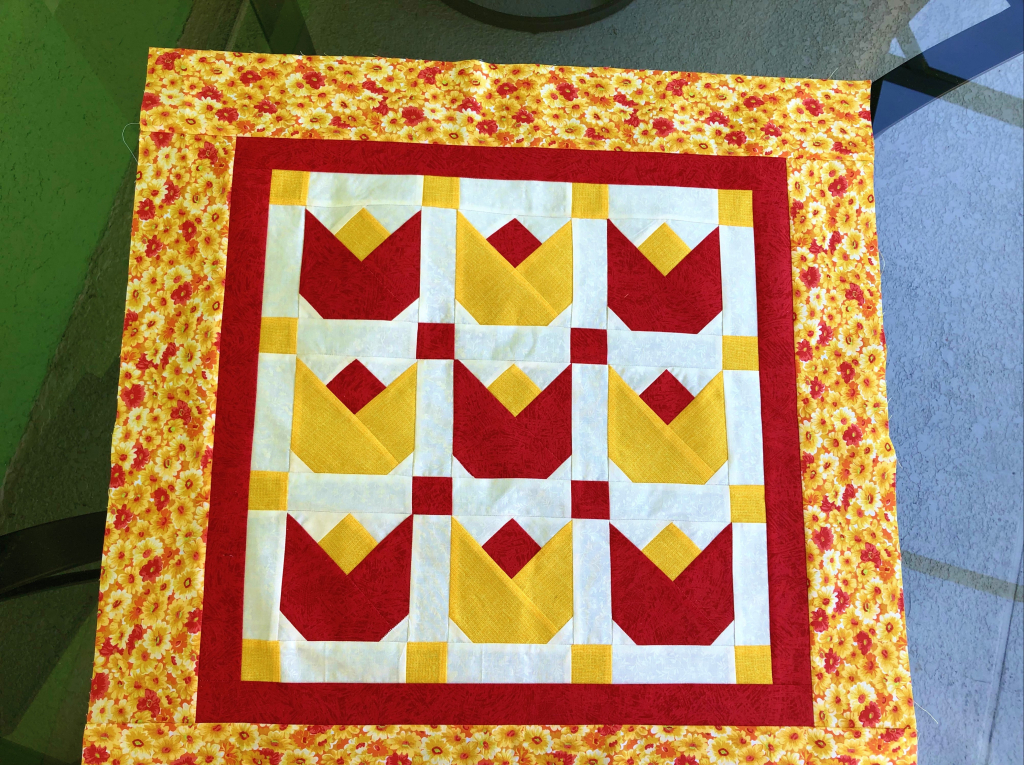
I moved on to another paper piecing project “Blooming Tulips” a pattern I found in one of my quilt magazines. The tulip pattern has 7 pieces, a little more challenging but the results were great.

PP – Blooming Tulips
Now that I’m feeling a little more confident there are several really cool patterns I hope to try someday!
Linking with Connie at Free Motion by the River.
Happy Sewing!
