To Do Tuesday – #2
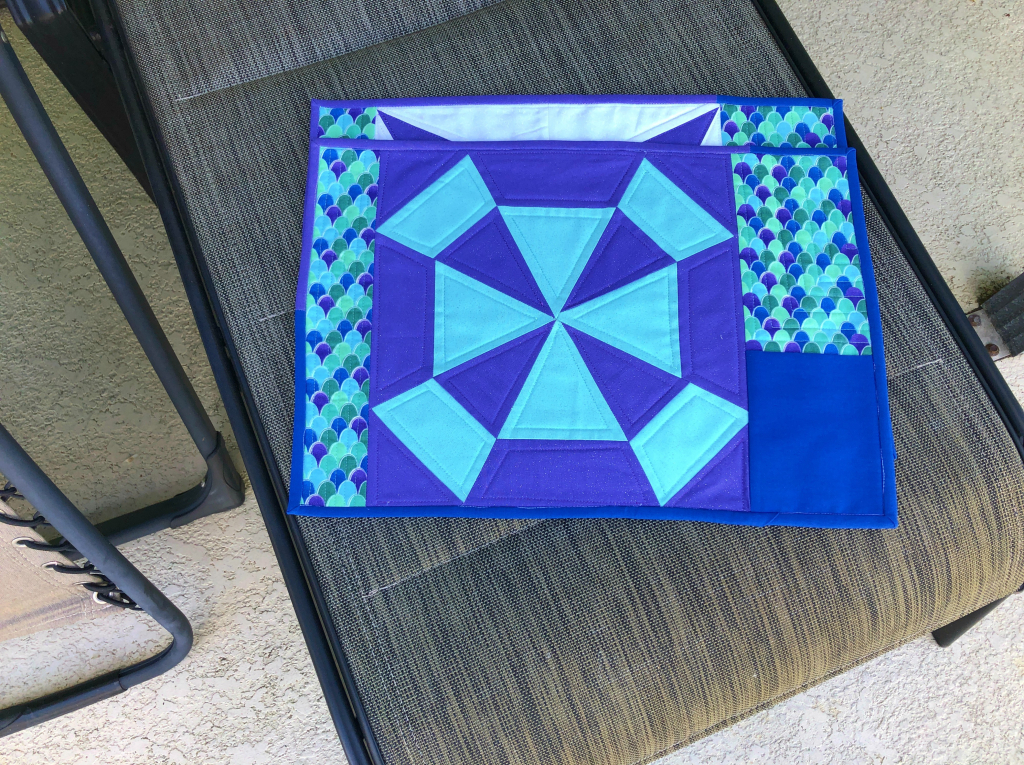
I know it’s not Tuesday….I didn’t realize I hadn’t hit the “publish” button yesterday. ? To Do Tuesday is a linky party hosted by fellow blogger and quilting friends Roseanne & Sue at Home Sewn By…
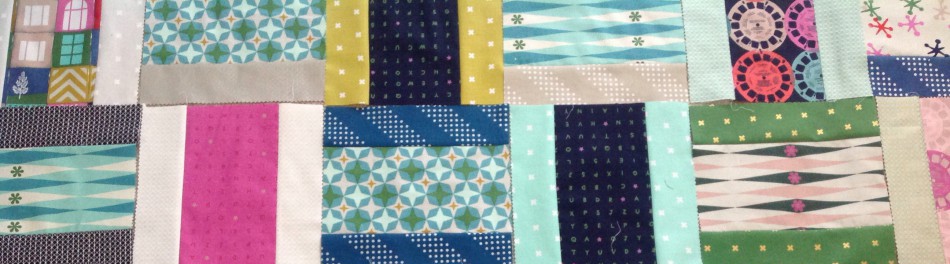
I know it’s not Tuesday….I didn’t realize I hadn’t hit the “publish” button yesterday. ? To Do Tuesday is a linky party hosted by fellow blogger and quilting friends Roseanne & Sue at Home Sewn By…
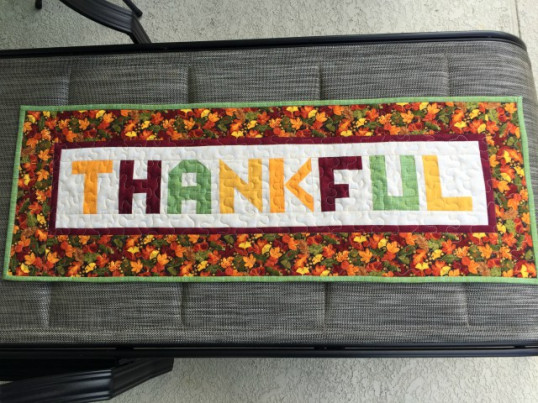
Hello everyone! A few months ago the talented ladies from Gray Barn Designs released a free pattern “Thankful Table Runner”. It was love at first sight for me and knew it would be the perfect…