Fall Will Be Here Soon!
Happy Monday!
Its been awhile since I last posted. I’ve been busy creating fall projects for the embroidery/quilting club I’m a member of.
Fall is my favorite time of year and was more than happy to volunteer to lead our group for a few weeks.
Pumpkins seem to be the universal symbol of fall and my brain has been swimming with ideas! Our group tends to focus on budget friendly small quilting projects that can be made quickly.
Inspiration for this project came from a refrigerator magnet I saw at Cracker Barrel! As soon as I saw it I was hooked and couldn’t wait to bring it to life with fabric.
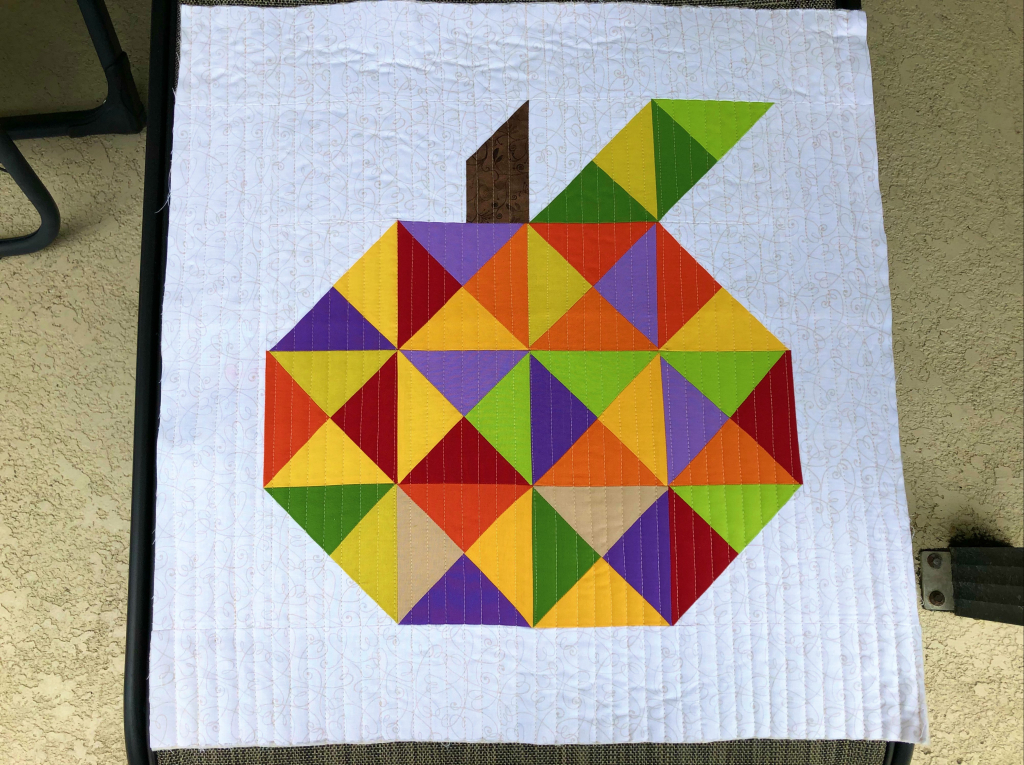
For the quilt top I used (8) 2.5 x WOF strips of Kona Cotton in fall colors, 1/2 yard of a cream tonal print and a scrap of brown fabric measuring 2.5 x 4.5.
Using my Fons & Porter Quarter/Half Square triangle ruler I cut the needed triangles – 44 quarter triangles and 6 half square triangles. If you don’t have the Fons and Porter ruler, the easy angle and companion ruler work also. Or any other quarter triangle ruler that uses strips for cutting.
I laid out 32 quarter triangles into 8 hourglass blocks and stitched them together with a quarter inch seam. The hour glass blocks are 4.5 x 4.5 inches unfinished.
The remaining 12 quarter triangles were stitched together with the 6 half square triangles creating the leaf and corner blocks which also measured 4.5 x 4.5 inches unfinished.
To create the stem I used the stitch and flip method using a 2.5 x 2.5 inch square of background fabric with the brown 2.5 x 4.5 rectangle.
I arrange the assembled blocks into the pumpkin shape, added a 4.5 x 6.5 rectangle of background fabric to the left of the stem and sewed all the rows together.
Finally I added a 3.5 inch border all around. I then quilted the pumpkin – I prefer to do my quilting before adding the embroidery.

Pumpkin Mini Quilt
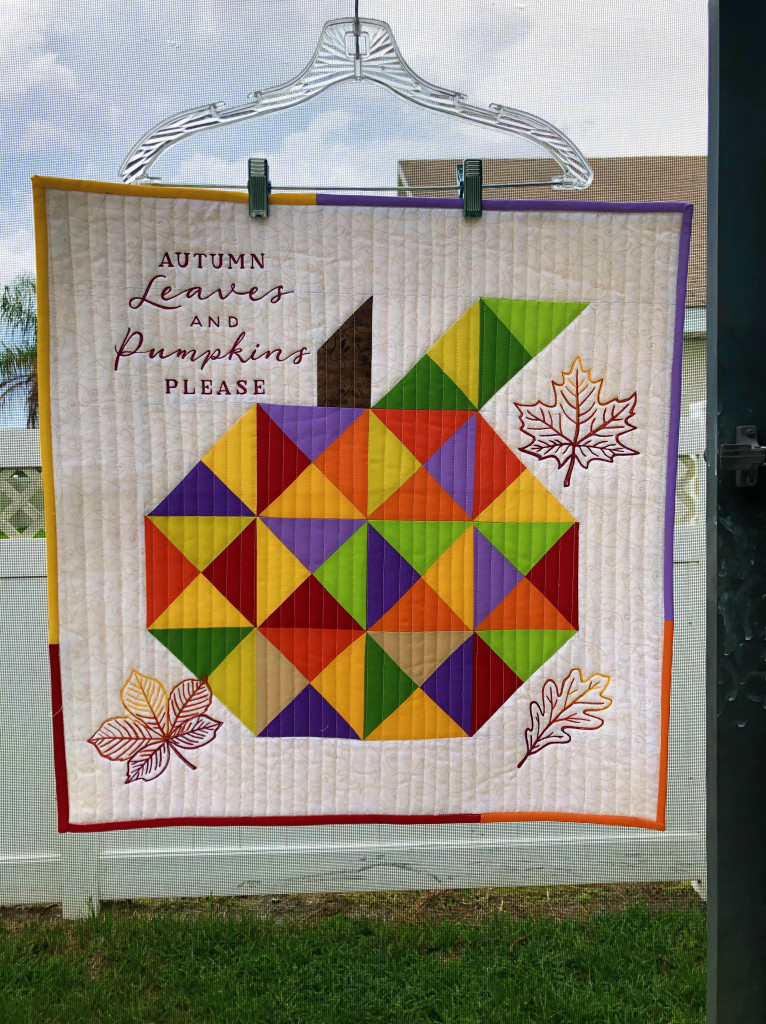
I chose 4 embroidery designs from Embroidery Library to use for this project. The members of the group aren’t required to use the same designs. I did give the members heads up on what I was planning because the designs were on sale when I created this project.
After quilting I added the embroidery designs. To attach the backing I used mono-filament thread on top to stitch in the ditch around the pumpkin, stem and leaves. I used the remaining pieces of the 2.5 strips to create a scrappy binding.
The mini quilt measures 22 x 22 inches and I’m looking forward to hanging it in my office.

Pumpkin Mini Quilt w embroidery
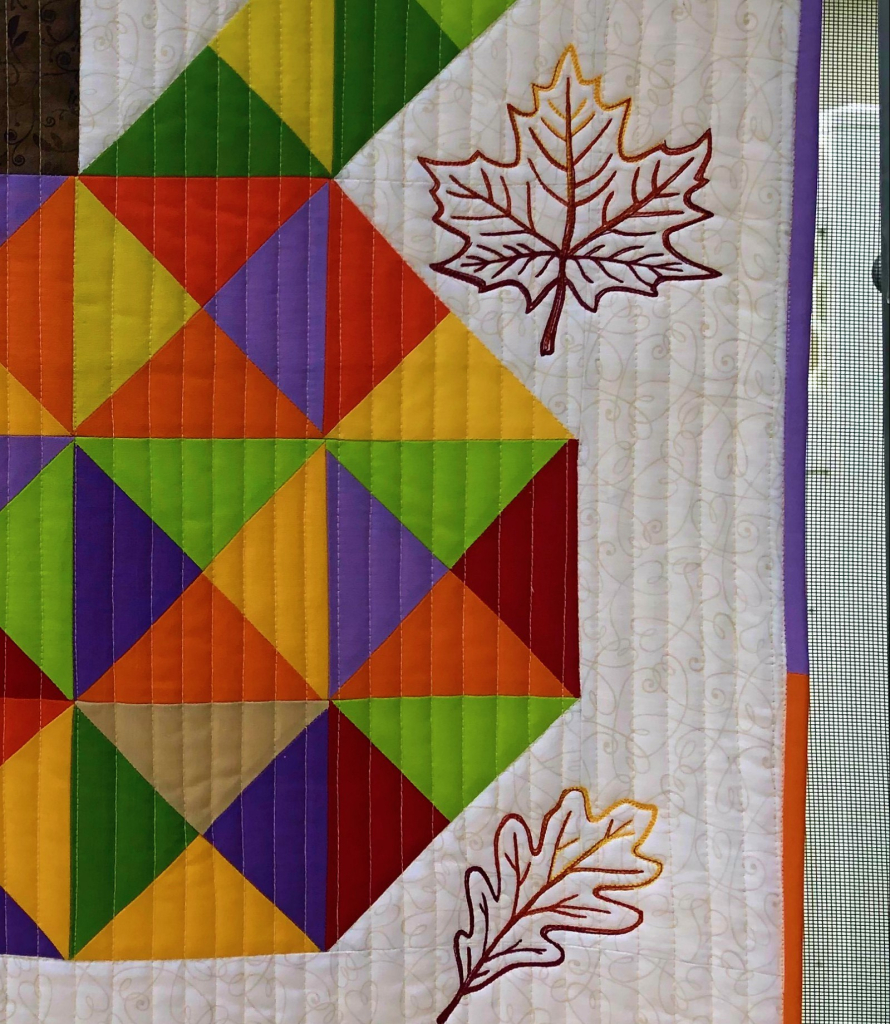
The shading on the leaf designs is awesome!

leaf shading
Happy Sewing!
